Post by Mastercaster on Jul 7, 2011 9:07:55 GMT -8
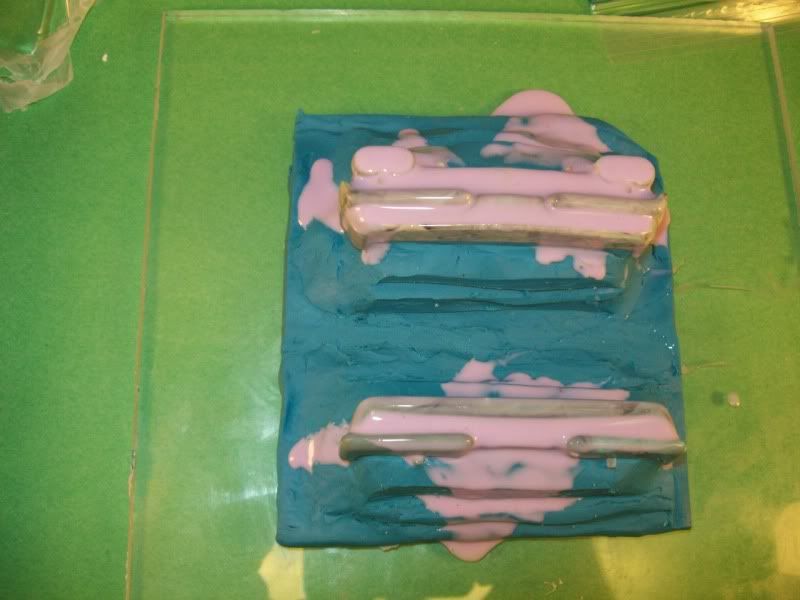
In this section I will show how I do wheels and try to do the best I can to make certain detail in a mold is not foiled by the silicone itself. Here are a pair of bumpers for a special commission project. I mixed a small amount of resin on the clayed up parts and poured a small amount over the detail. Through experience I have learned that it will take several cycles in the vacuum chamber to truly pull all the air out of the silicone to get it to firmly settle into the tiny detail the original part has. If you don't do this the grille will look like some rednecks dirty teeth with tiny junk stuck between them. I just brushed my teeth. YUP! Once a week whether they need it or not! LOL
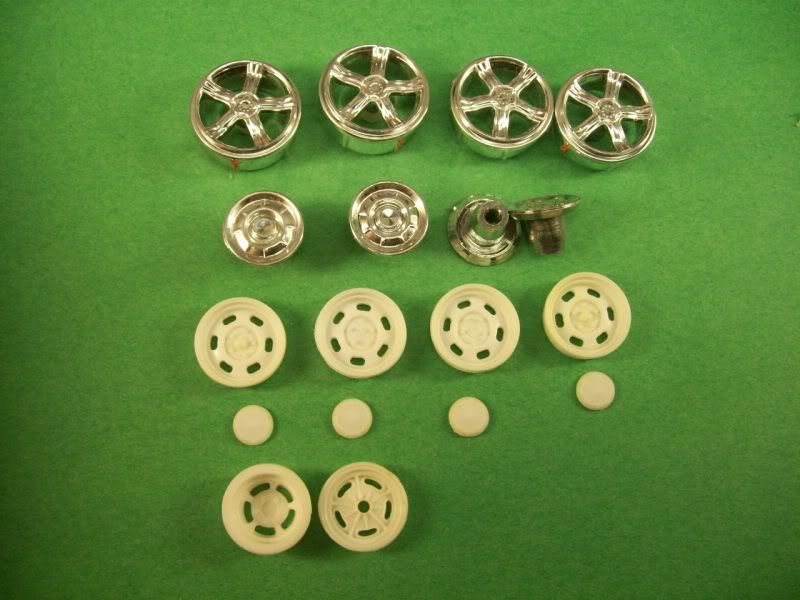
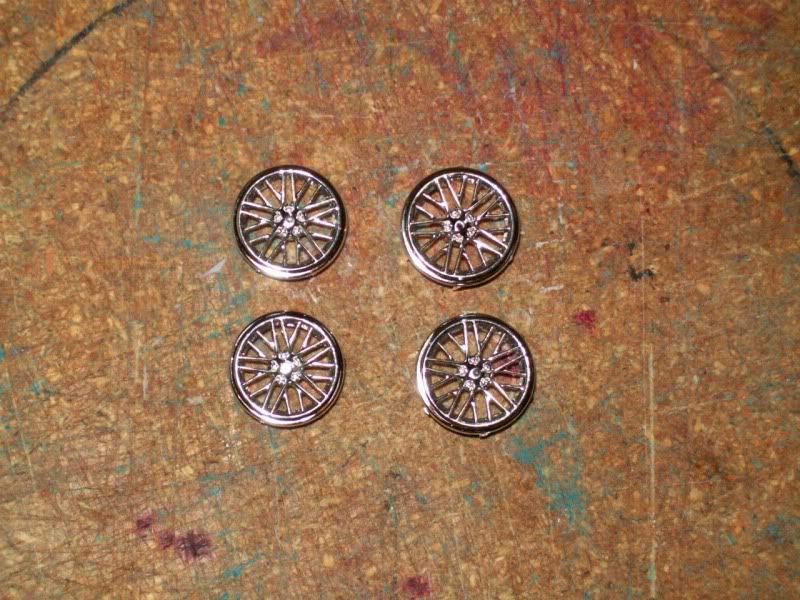
Here are some wheels that I want to make molds of. The top row is a set of custom Corvette wheels. The next row are some vintage Chrysler wheels. Next row are the plane Jane wheels and caps from a 70 Roadrunner kit. The bottom 2 are from I believe the Malco Gasser Mustang clear body. I will attempt to do these in a clear resin.
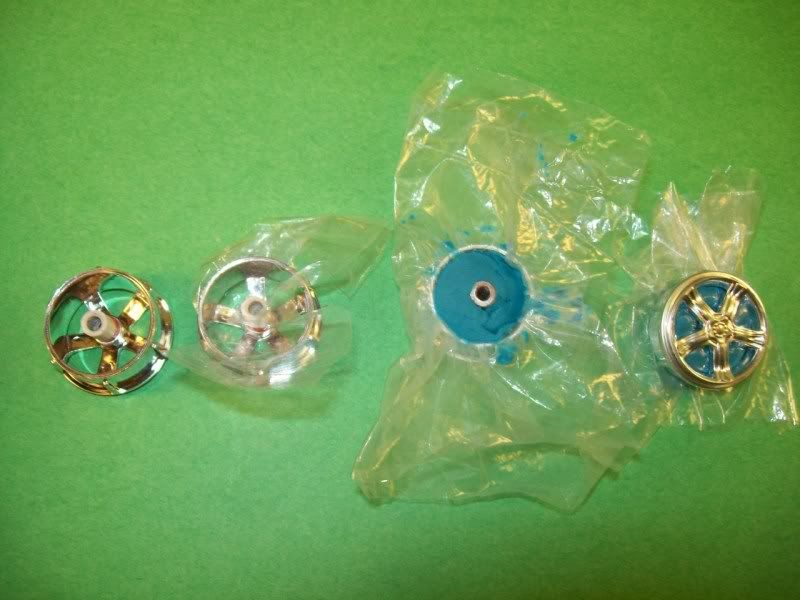
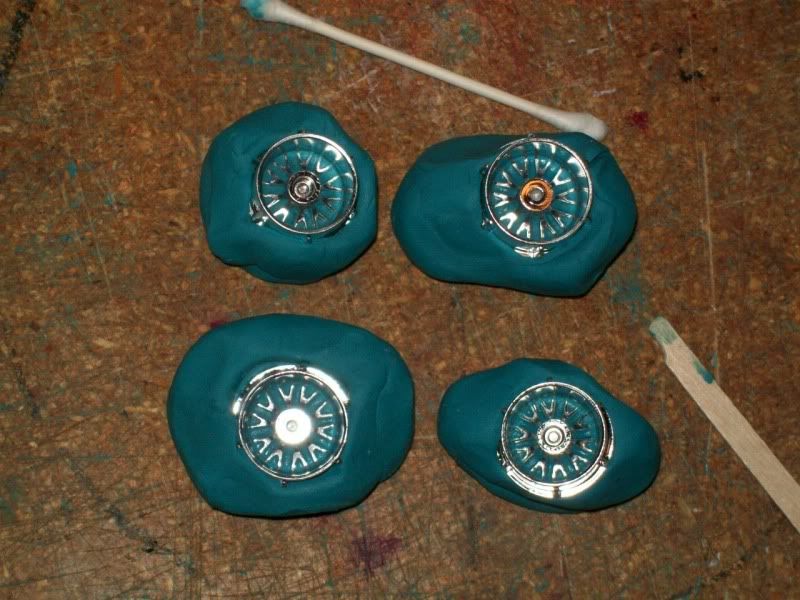
Doing the Vette wheels takes some time and patience. I take two layers of a cheap food storage bag and carefully poke a hole in the middle with an exacto knife blade. Holding the blade in the center of the axle hole I force the plastic over the axle. I push clay in the back side of the wheel. This is harder than it looks and will take awhile to do four wheels. Keep in mind as to where your parting line will be. When you use the mold there will be a thin layer of flash just behind the wheel spokes.
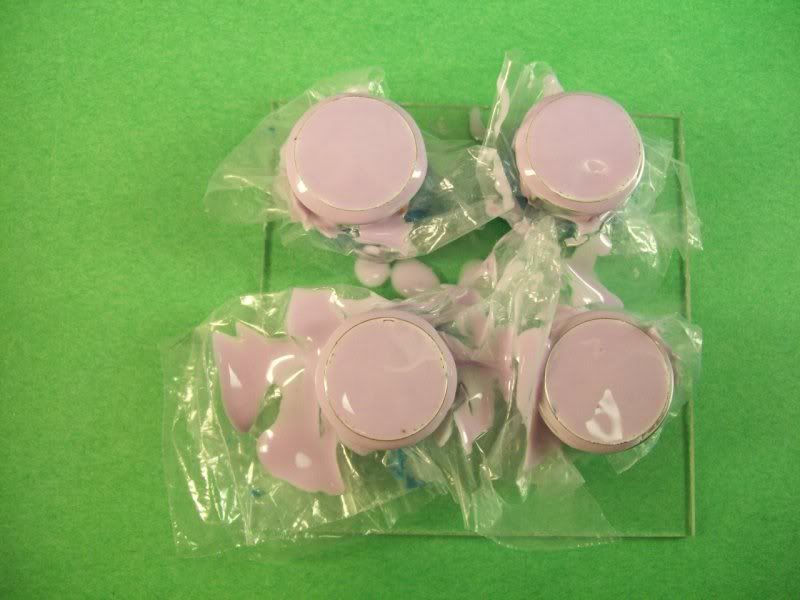
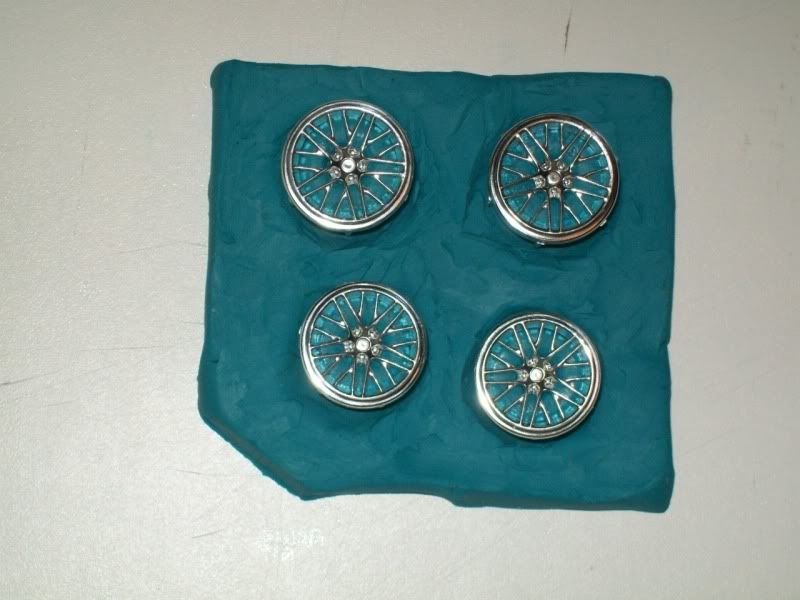
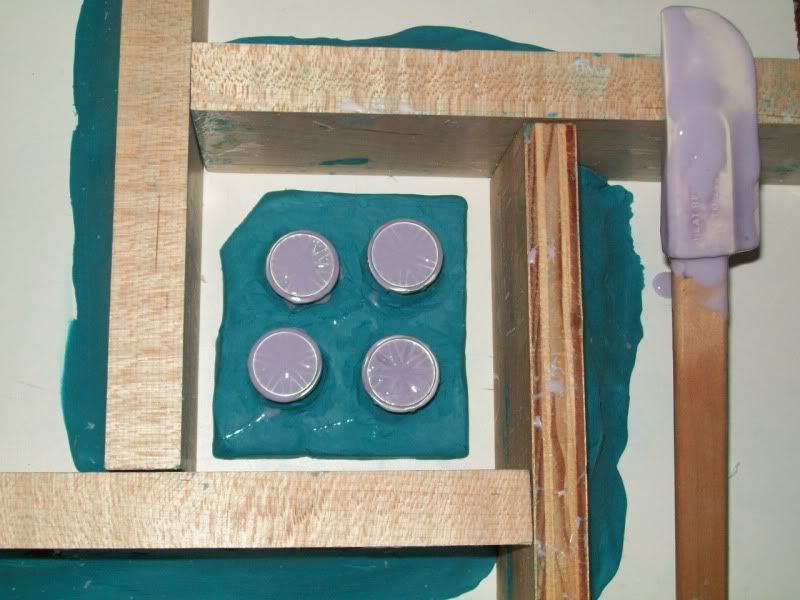
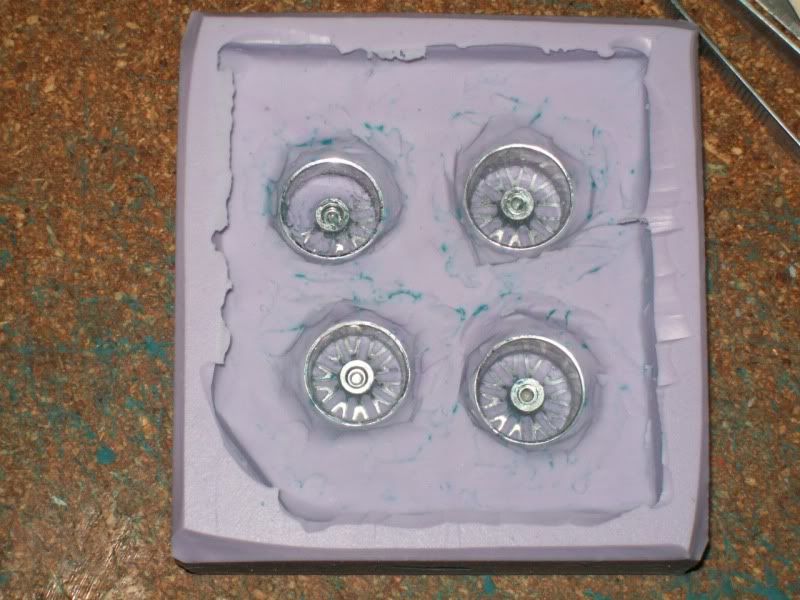
All four wheels have been filled with clay in the back. They have been cleaned with a Q-tip and inspected to make certain no clay was left in the wheel detail. a small amount of silicone was poured into the front and ran through several cycles in the vacuum chamber. You can be certain that there will be some silicone underneath the spokes once the clay is removed. I will let the silicone cure before moving on with this set
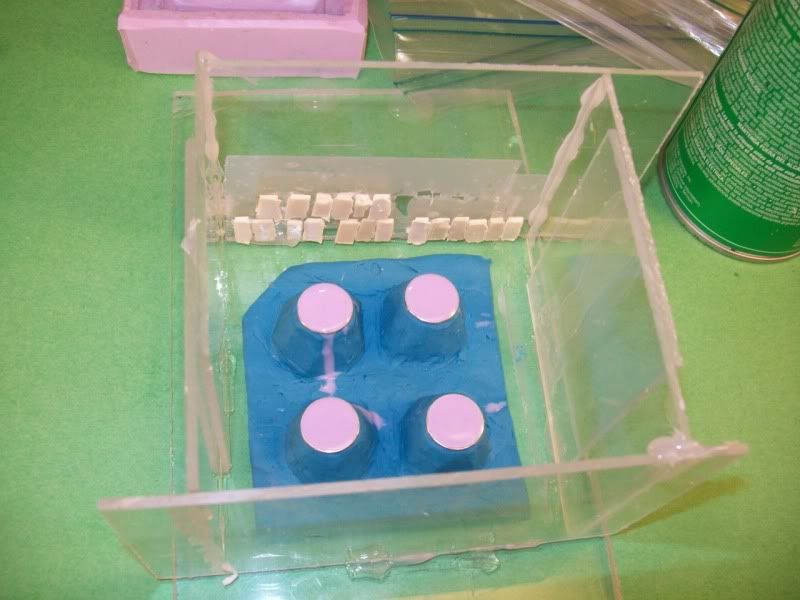
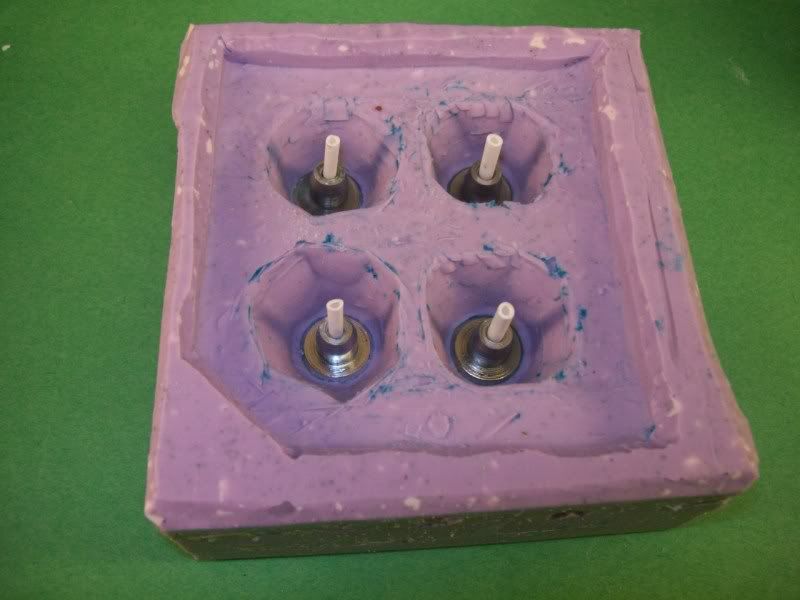
Here are the Chrysler vintage wheels. They are clayed up with some silicone in the detail. The mold has been finished on the one side. I took some styrene tubing and put it in the axle hole. It was a bit too big in diameter so I had to sand it smaller to fit in the hole. When I actually start using the mold, I will put a layer of silicone grease on these so that the resin will not stick.
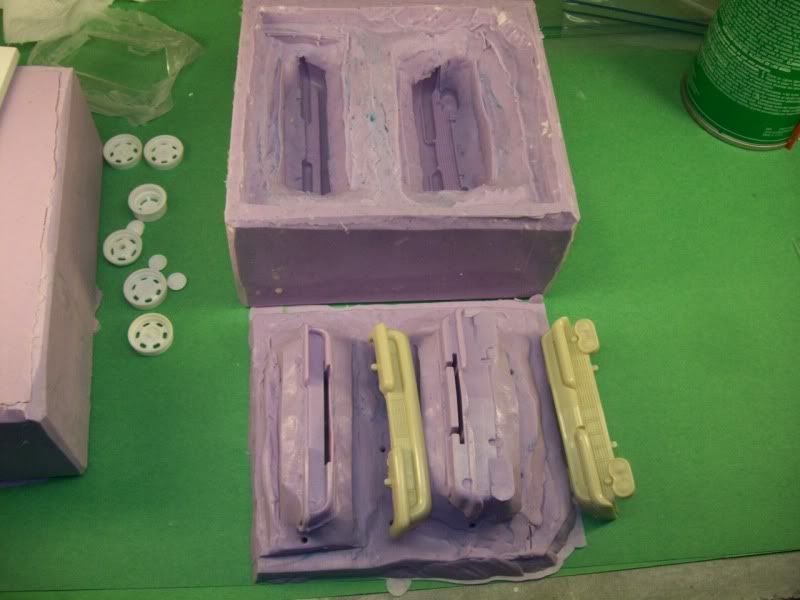
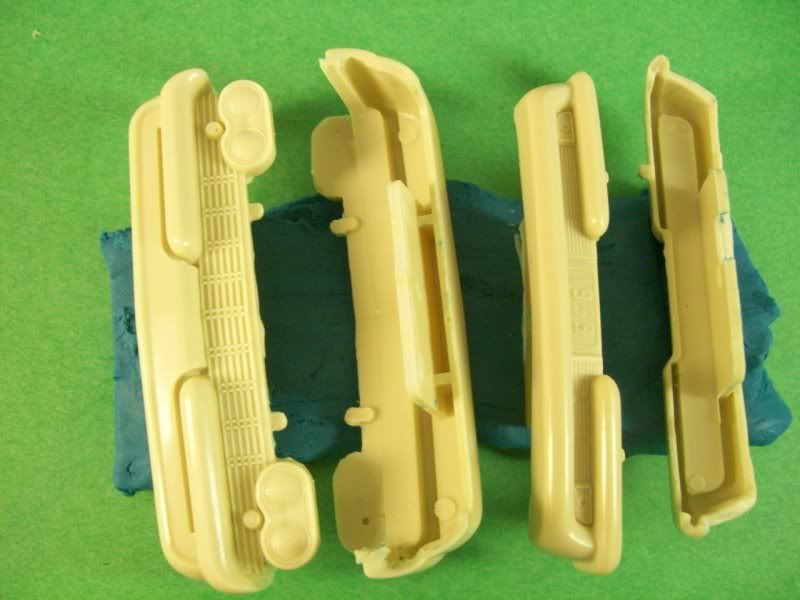
Here is a set of bumpers. You will need to pour a little resin in the areas of the top part of the mold that forms the back side of the bumpers.
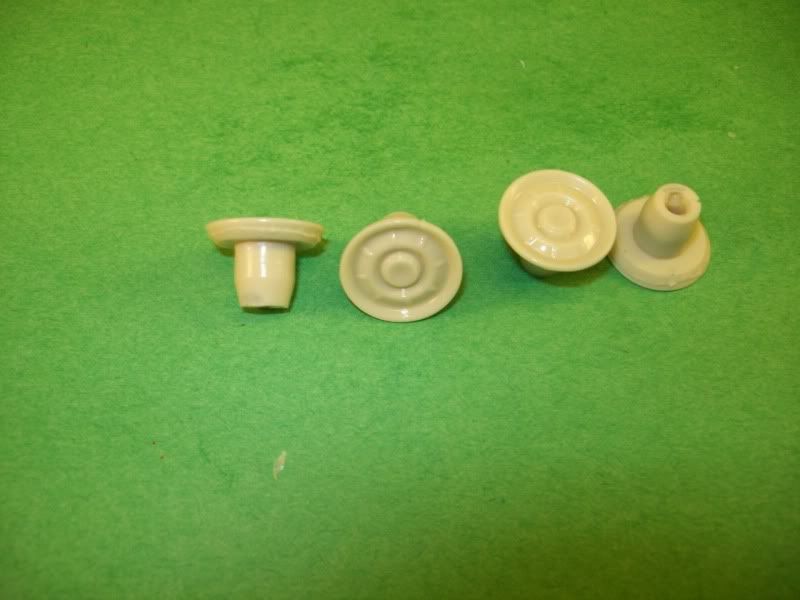
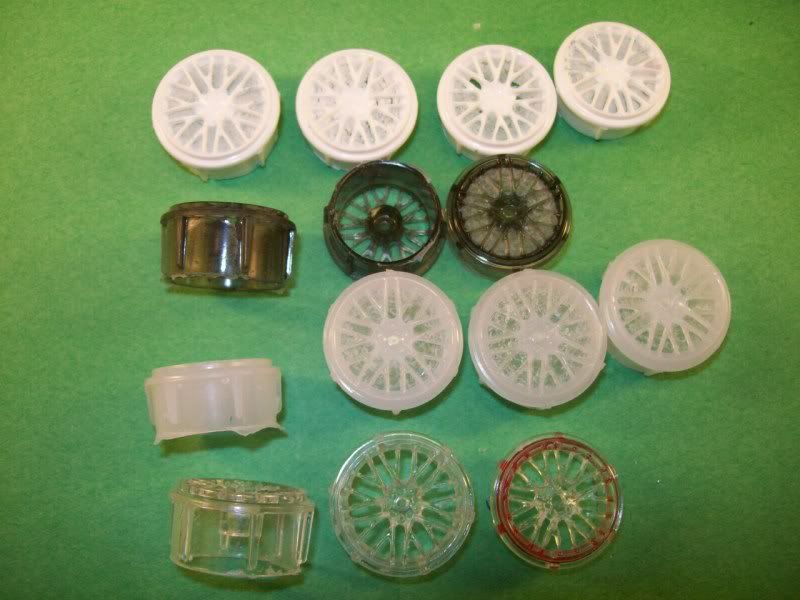
Here is a set of wheels I made of the Chrysler wheels I made. Since there was not a lot of deep detail on these and I was pouring silicone into another mold I cycled the silicone a couple of times and put a little on each one. If you look at the third wheel you will see a couple of tiny bumps. Those are tiny air bubbles ! I got fooled again. Just goes to show you can't be too careful. They do come off easily though. I think the chrome will cover it, I hope
