|
|
Post by Mastercaster on Jan 13, 2012 10:05:18 GMT -8
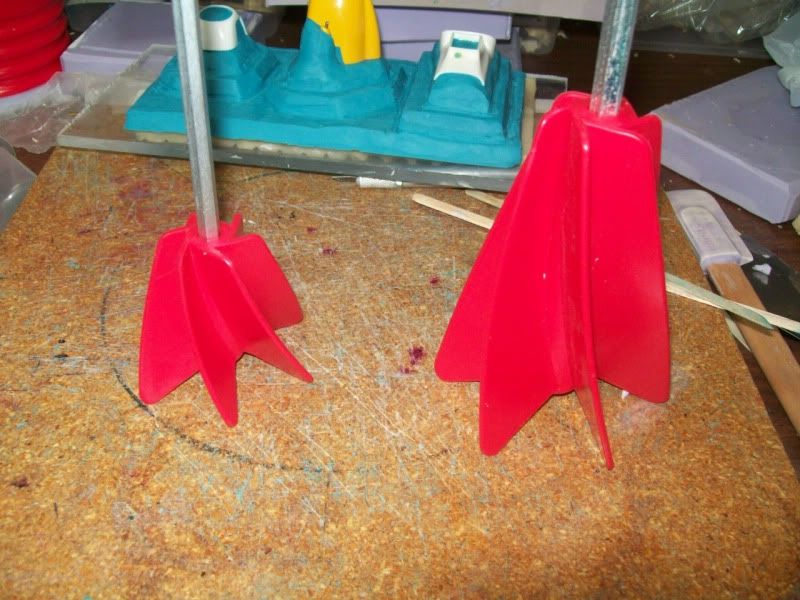 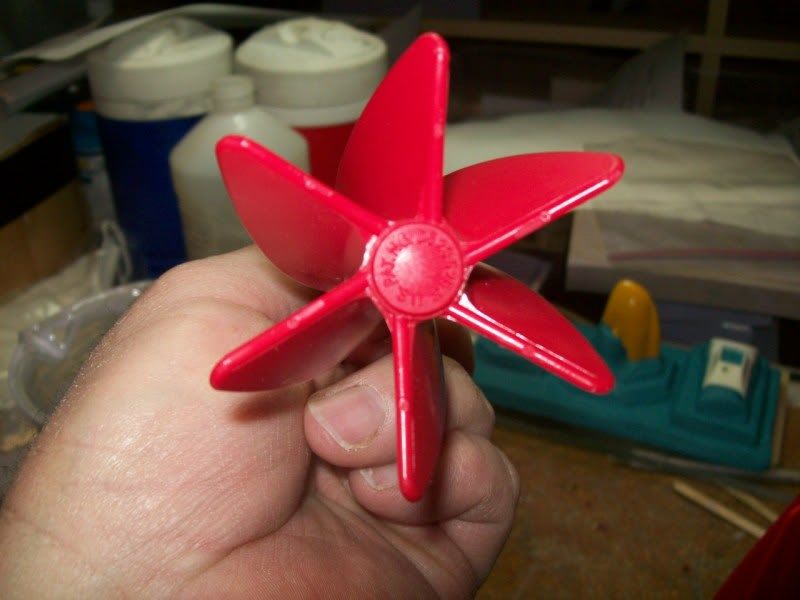 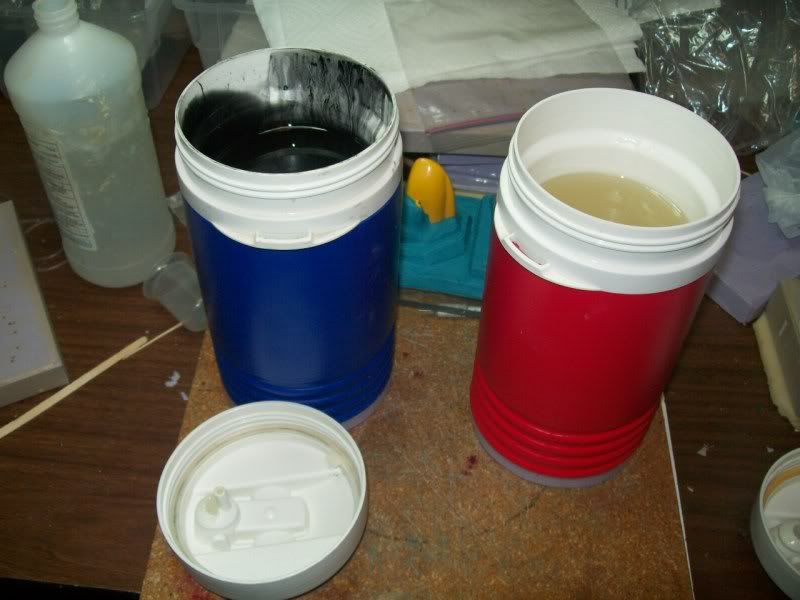 Well, here is another project for lab use. Originally I bought one of these like the one on the right. It is a 5 gallon sized one, it is about 17 " long. I bought it and put it in my silicone dispenser bucket. It's good to exercise the silicone in the bucket to keep it mixed well. The one on the left is a smaller one gallon version that I want to copy in the resin I will use to make tires. The red plastic is a bit hard so I don't want it to possibly scrape loose any of the white plastic in these cooler containers that I got from my good old local GOOD WILL store. These containers of course are bigger than the bottles that the resin came in and gives me ample room to stir. Because of the piece of metal that I put in the bottom of my silicone dispenser bucket the stirrer has gotten some little pieces of red plastic mixed in the silicone but does not effect a mold. White plastic or red plastic particles will kill a tire! Also, one of these containers did not set flat so I turned it over and put a ring of duct tape around and poured silicone in to make the bottom flat and help stabilize it. I have done this to my pressure pots to make them more bottom heavy so they are less likely to tip over. And so now I will proceed with project ALL STIRRED UP! 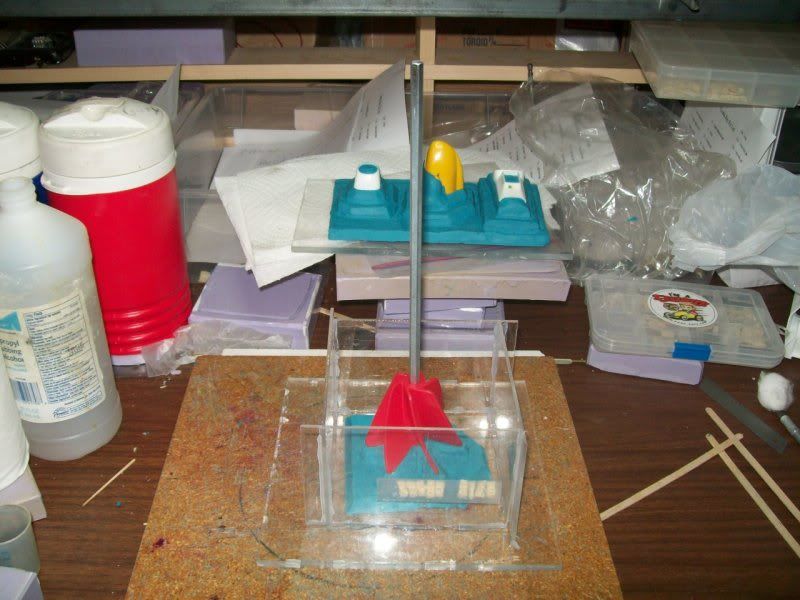 Here it is all clayed up and ready for silicone. I put the mold box together with GE SILICONE II. Use clear only. White will take much longer to cure so the box will hold silicone. The clear cures in about twenty minutes and allows me to start the mold process more quickly. I buy the small tubes at Home Depot or Ace Hardware. Yes, I could buy it by the caulking gun size tube but it would be just a pain in the A S S to have to deal with something that size. I have dealt with plenty of caulking tubes and guns in my day and they can be no fun at all when you really need it to work and perform. |
|
|
|
Post by Mastercaster on Jan 14, 2012 3:52:14 GMT -8
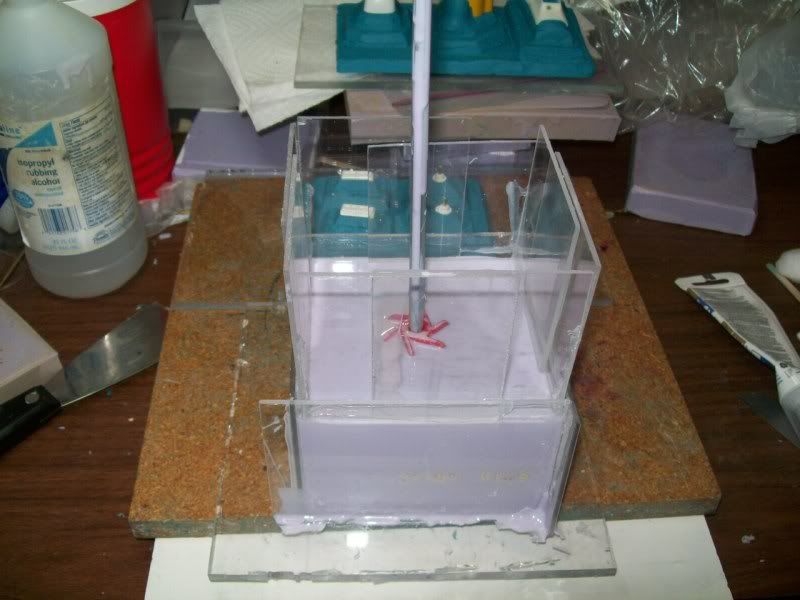 I need the mold to be taller to accommodate more shaft length, so I siliconed some plastic to make it taller. So far there is 990 grams of silicone in the mold. Another 330 gram pour should do it. 300 of silicone and 30 of the activator. A total of 1320. |
|
|
|
Post by Danno on Jan 14, 2012 11:05:29 GMT -8
1320? That's a good omen!!
Interesting stuff, Sharmin. 
|
|
|
|
Post by Mastercaster on Jan 14, 2012 15:11:57 GMT -8
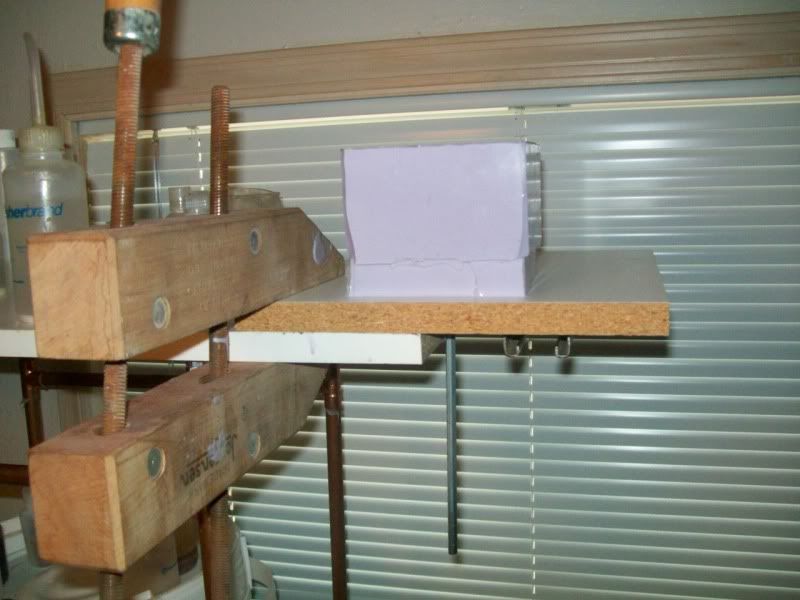 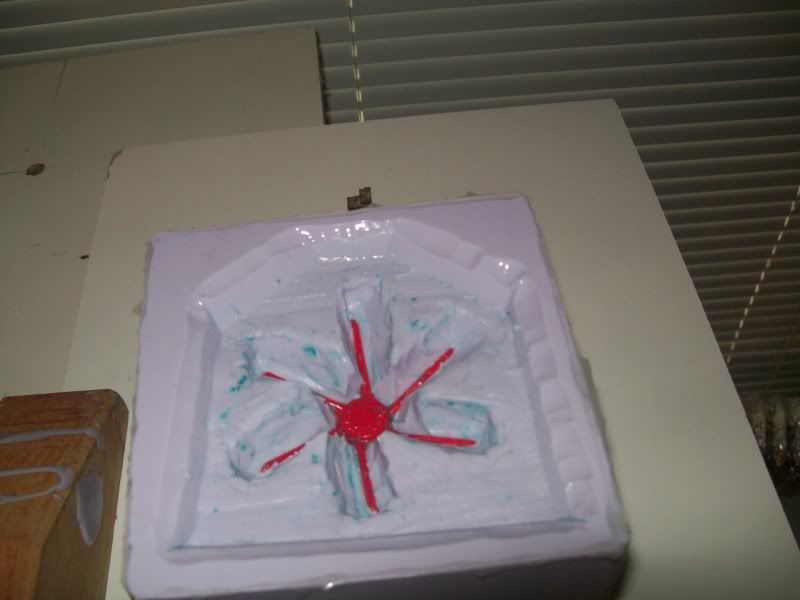 Here are a couple of pics. With the shaft in the way I clamped these boards together to make a handy place to work it from. I'm ready to pour silicone in the top. Still a ways to go. |
|
|
|
Post by Mastercaster on Jan 15, 2012 11:49:37 GMT -8
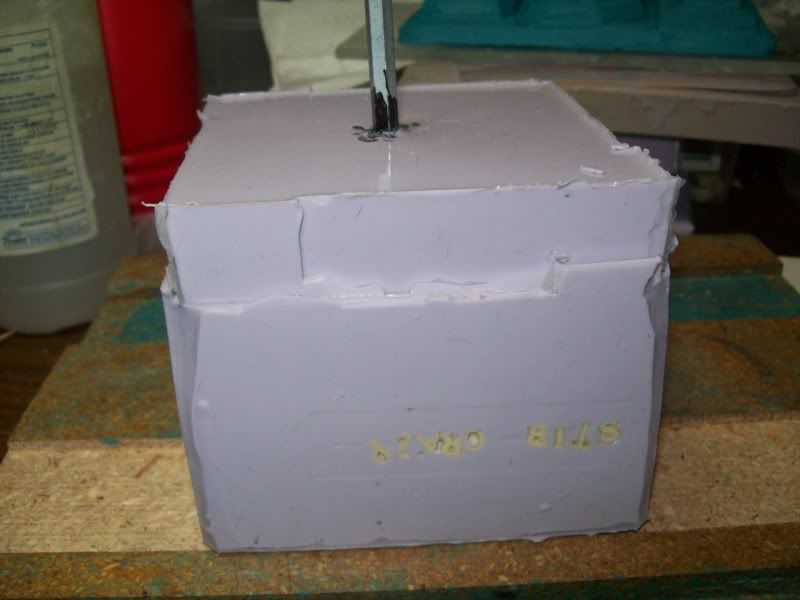 I made a sloppy mark on the shaft with my felt pen to see where the bottom is. 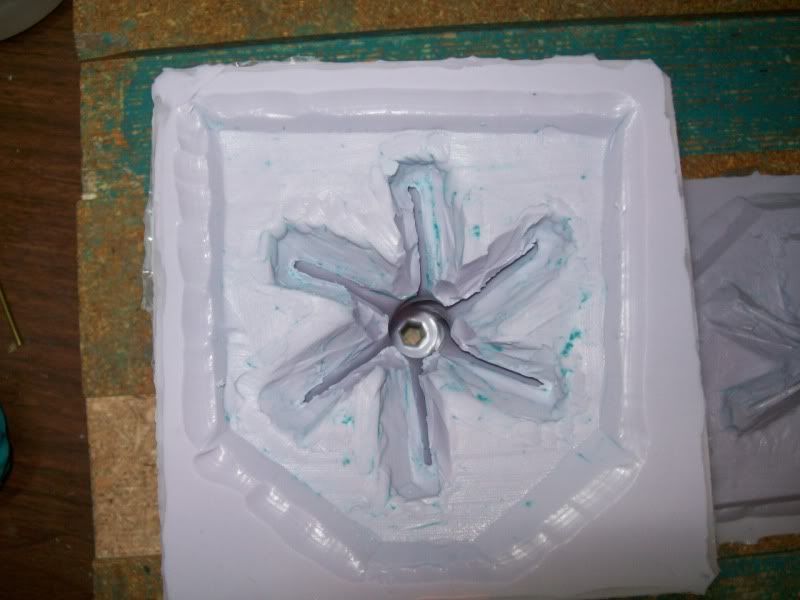 Here is what the inside looks like with the master removed. 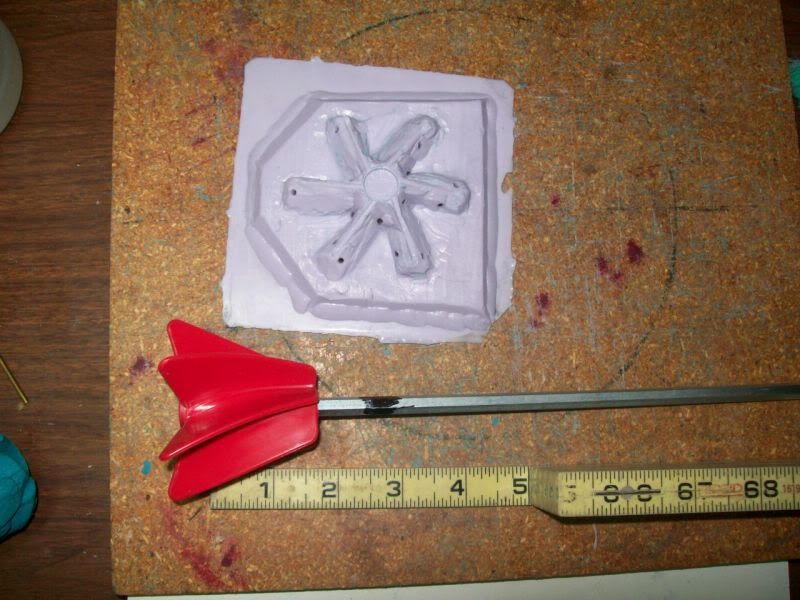 I cut some vent holes and took a length guestimate, I will say 2.25 " long. 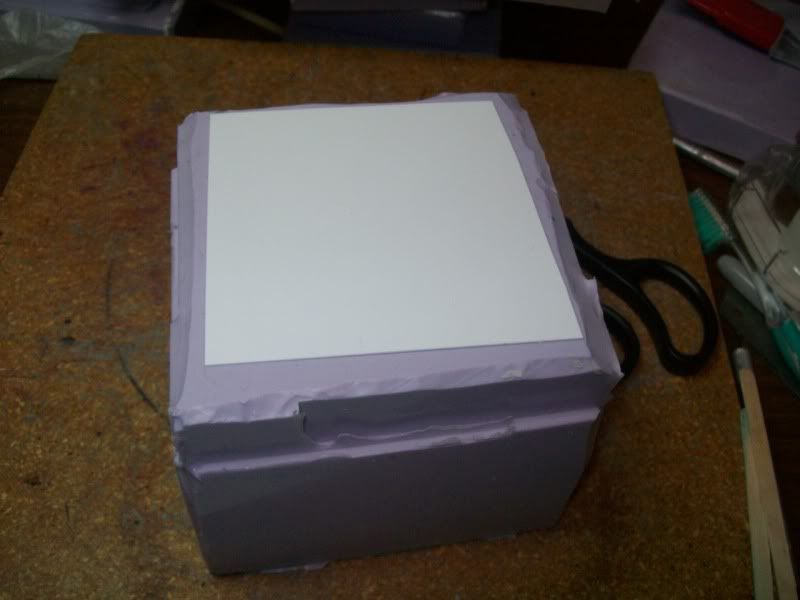 Next I glued a square of styrene with my trusty GE SILICONE II to cover the hole. 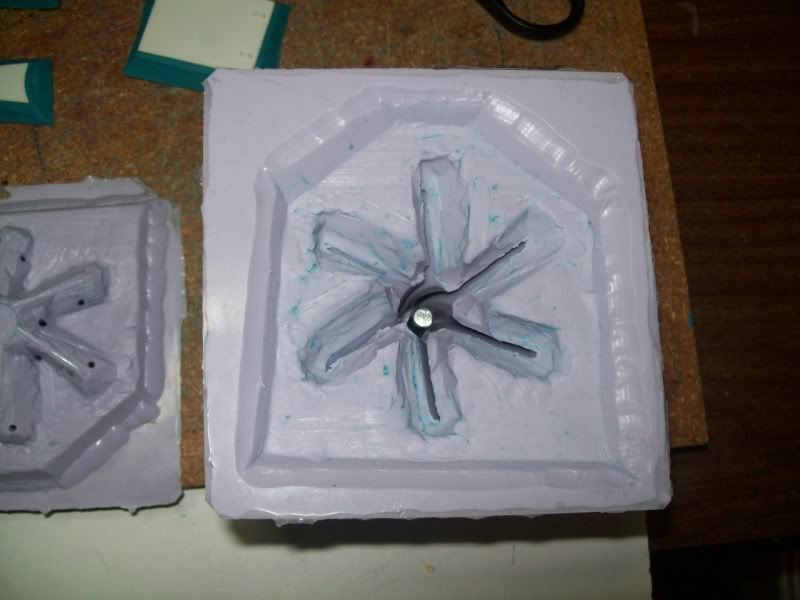 Now that I have a piece of the shaft in the mold, it is complete and I can give the mold a try. At this point you could put in a round piece of metal or even a piece of allthread to make it so you could screw something in it. |
|
|
|
Post by Mastercaster on Jan 15, 2012 13:01:08 GMT -8
1320? That's a good omen!!
Interesting stuff, Sharmin.  Sharmin? You mean Shartin or Charmin or Shaman? |
|
|
|
Post by Mastercaster on Jan 16, 2012 9:15:10 GMT -8
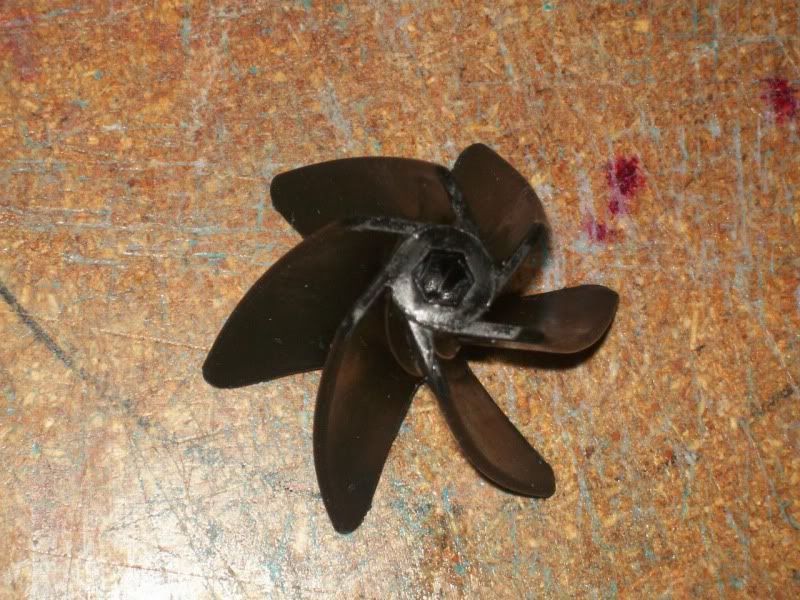 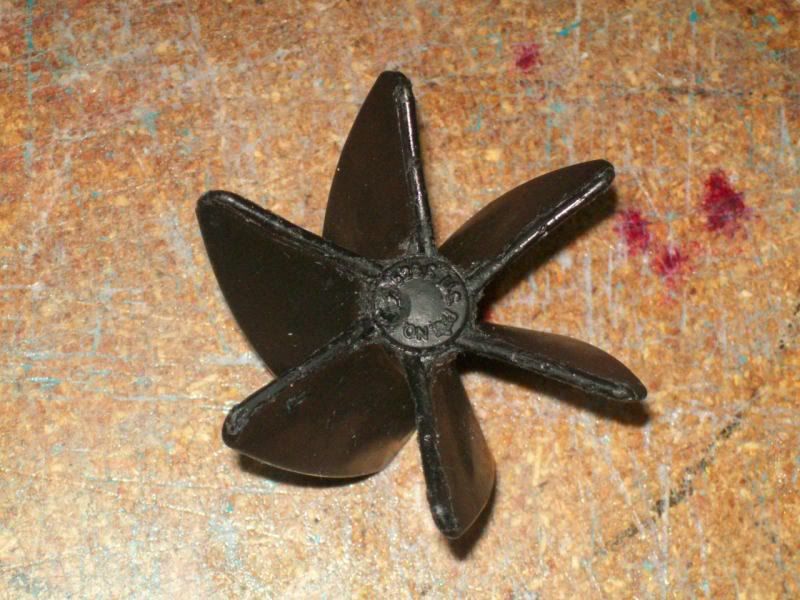 I made this yesterday and pulled it out of the mold about midnight. Not bad for a first time. The bottom edge is a little rough and I did find some anomalies in the mold. Sometimes silicone will sneak behind a portion of a part that silicone is already against and make another ghost layer that causes problems. The weird thing is most of the time it can be mostly removed with careful use of tweezers. I put the mold in my mold heating box for several hours. I like it to get 120 and then set for a good while in the heating box to make sure it is nice and warm clear through. Patience is a virtue. This stirrer is also really flexible where my master is not. It is made of a hard plastic. This was another fun and hopefully useful project here at Shartin Looms Lab. I still gotta get me some chicken eggs! NOTE: The square of styrene I tried to glue on the bottom of the mold with the silicone to cover the hole never really cured for some reason. I decided it was best to leave it off. I took the shaft of the master and used it to push the copy out, it was hard to push out. I'm hoping that once the resin is poured in for another try and put in the pressure pot, the pressure does not cause the resin to squirt out of the underside. We will soon see. Also, I originally titled this project STIR CRAZY but changed it to ALL STIRRED UP. I apologize if this makes you ALL SHOOK UP! LOL |
|
|
|
Post by davewilly on Jan 16, 2012 10:05:08 GMT -8
Cool stuff Greg Again thanks for sharing somemore of the top secret works coming from the lab! Hey that could also double for a whisper prop for a nuke sub!
|
|
|
|
Post by Mastercaster on Jan 16, 2012 10:41:38 GMT -8
WOW! A whisper prop? Makes sense that it would spin at a high revolution and move the sub fast and still quietly move the water through the veins of the prop. There is a whole science about cavitation and impeller efficiencies.
|
|
|
|
Post by Mastercaster on Jan 17, 2012 9:44:53 GMT -8
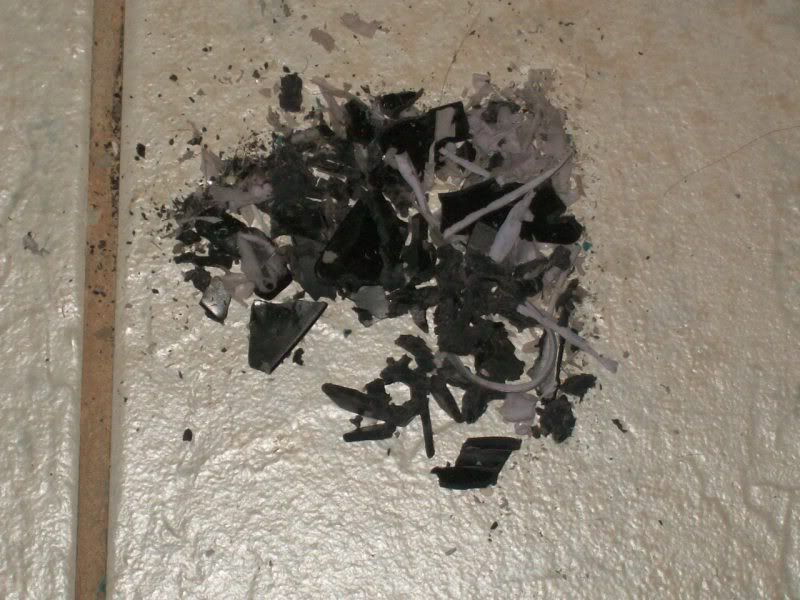 Well.........Here is stirrer number two. There is definitely a problem with this one. Kind of reminds me of the monkey out of the transporter in the movie "THE FLY" I did leave this one in my mold heating box all night with the bulb on thinking that a post heat treatment might make it more firm. It was still a little warm when I tried to remove this one. The shaft went through the bottom and it was down hill from there. LOL I gave the mold a good coat as best I could with mold release and put it back in the warmer for another try. |
|
|
|
Post by FMW on Jan 17, 2012 20:25:49 GMT -8
Or maybe you just found out how to cast an explosion.
FMW
|
|
|
|
Post by Mastercaster on Jan 18, 2012 11:29:49 GMT -8
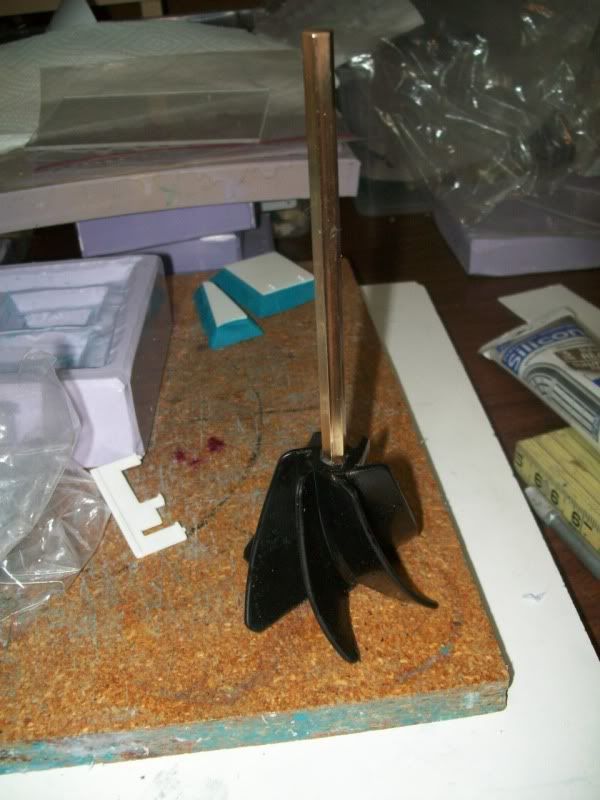 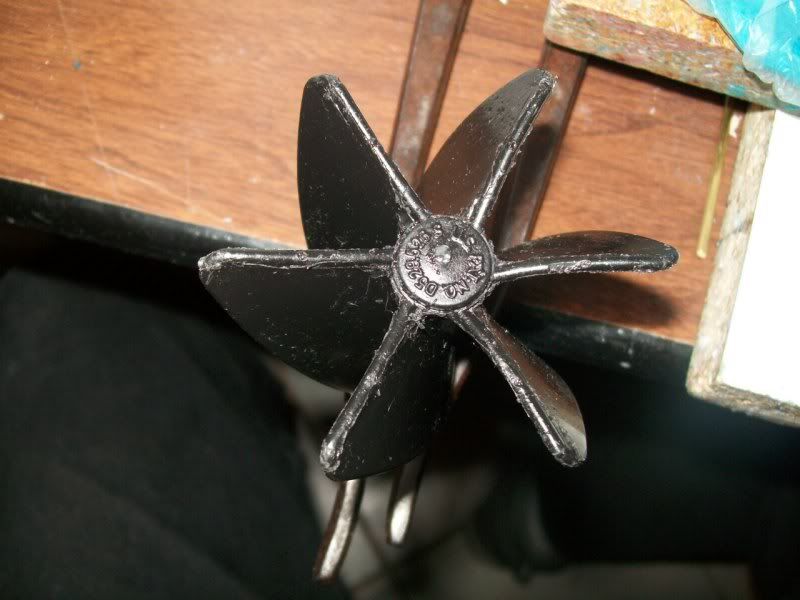 This one didn't explode. Number three is nicer than number one. I put a dab of resin in the top where the patent number is formed. I am going to put a thin coat of the GE SILICONE II on the shaft just in case the metals may have some sort of negative impact on the resin or vice versa. I also got a length of brass octagonal rod and polished it. Black and brass make a nice color scheme. Nice enough to hang on your wall. Get your Limited Edition Collector Shartin Looms Lab stirrer made of fine resin and brass for only $75.00 each. Use it to stir up whatever needs mixing, set it on your desk and use it for a paperweight. Use it as a back scratcher. Give it to your wife or significant other to use in the kitchen. She can use it with her online computer cooking classes. ICOOK software is an additional $10.00 LOL Hand crafted the the GOOD OLE USA It will become a nice family HEIR.........................................................UUUUUUUUUUUUUUUUUHHHHHHHHHHHHHHH......................OOOOOOOOOOOOOOOOOOHHHHHHHHHHHHHHHHHHHHH........................................................OOOOOOOOOOOOOOOOOOHHHHHHHHHHHHHHHHHHHHH.....................................NNNNNNNNNNNNNNNNNNNNNNNOOOOOOOOOOOOOOOOOO.....................................LOOM! ;D |
|
|
|
Post by Mastercaster on Jan 21, 2012 22:09:12 GMT -8
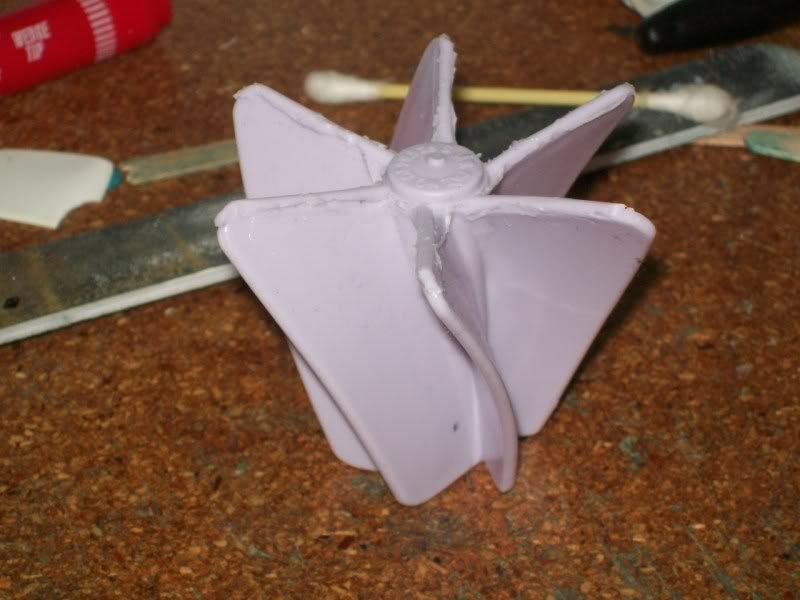 Just for the fun of it, I sprayed a good coat of mold release in the mold and poured in the mold making silicone to make this. |
|


