|
|
Post by Mastercaster on Apr 25, 2010 17:40:04 GMT -8
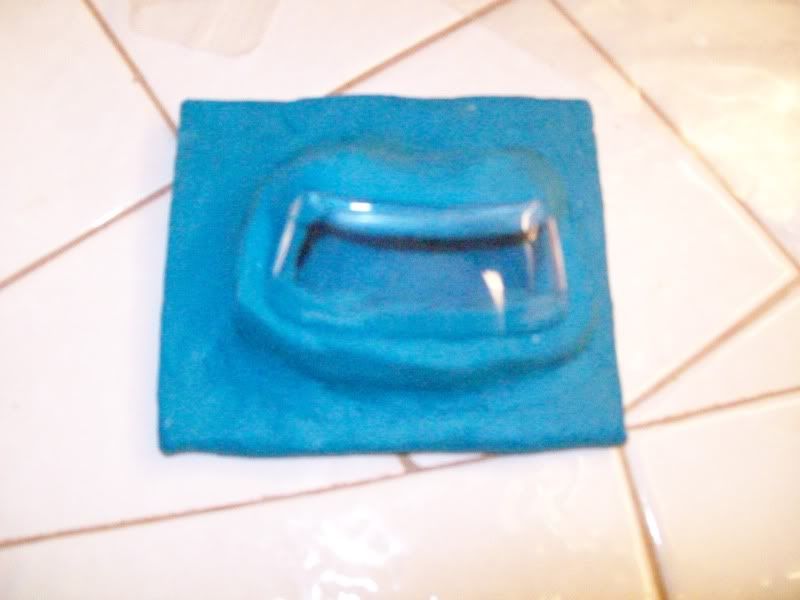
 Here is another nice grainy crappy pic. This is the unmolested windshield that I got with the second kit ready to be boxed in and have silicone poured on it to start the mold process. Notice that the glass has an open space beneath it. Because of past experience of the glass sticking to the sticky clay and being pulled from the mold with it, this gives me a way to insure I don't get stuck with a junk mold! I spent about an hour polishing out the scuffs and two scratches that were on it. |
|
|
|
Post by Mastercaster on Jul 11, 2010 15:12:20 GMT -8
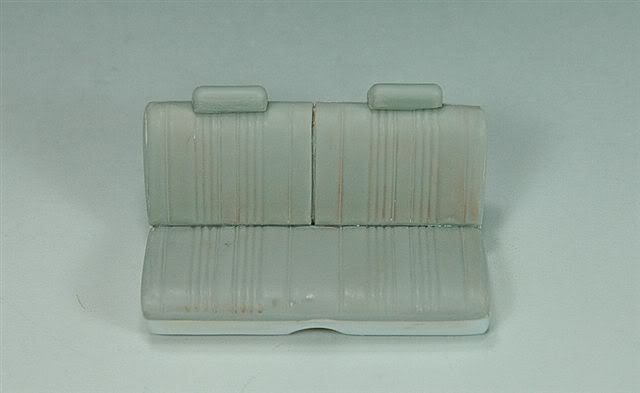
  Here are two pics of the front bench seat that I had mastered for me. |
|
|
|
Post by danschevelle on Sept 27, 2010 19:07:46 GMT -8
Greg, how's the Chevelle project? Any news?
|
|
|
|
Post by Mastercaster on Oct 2, 2010 20:39:10 GMT -8
Hi Dan,
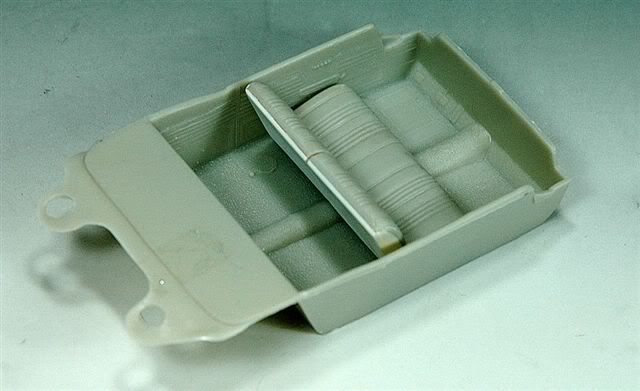
I have done some work on it. I took the built kit I bought and made the interior to have the door panels separate. I 'm going to make it like the new tool 442 and have the pedals in it. I find it hard to stay focused on one project. I need to stick with one project to the end. Since I got another unbuilt kit, I need to get your parts back to you.
|
|
|
|
Post by Mastercaster on Mar 30, 2011 11:01:53 GMT -8
Just a note about the above body mold pic. I started out making that open area so that the mold could be collapsed to better remove the body. I have discovered that once the mold is complete to leave this area empty when actually casting the body. The 40 PSI will put pressure on all areas of the mold. I believe it will make the flash thinner and the body more accurate.
|
|

