|
|
Post by Mastercaster on May 1, 2010 18:48:13 GMT -8
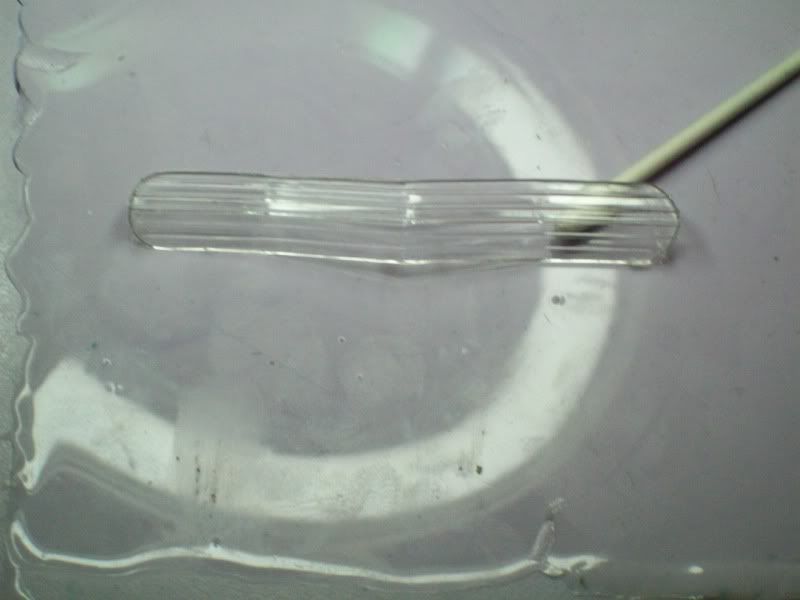 Today at the build session, Dan Doan requested this be copied. So, here is the start of another short project. The part will be inspected and polished then clayed up for the mold process. Dan says this part was only offered in some 1970's El Camino kits. So, it's a bit rare? 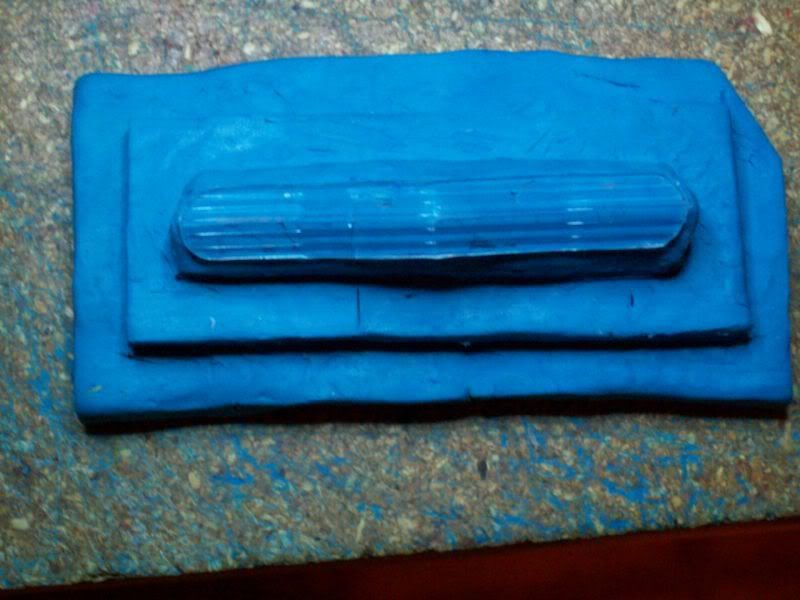 Well....I sure hope this goes well! While polishing it I put a crack in the part. I made a line in the clay at the lower side and a little left of center to mark where the crack occurred. The crack starts at this lower edge and extends to the center of it. I can feel it with my fingernail on the back side but not on the front surface. I did not expect this to happen. Just goes to show how you handle parts is important! Again, I cut a corner off just to make sure putting the mold together is not confusing. 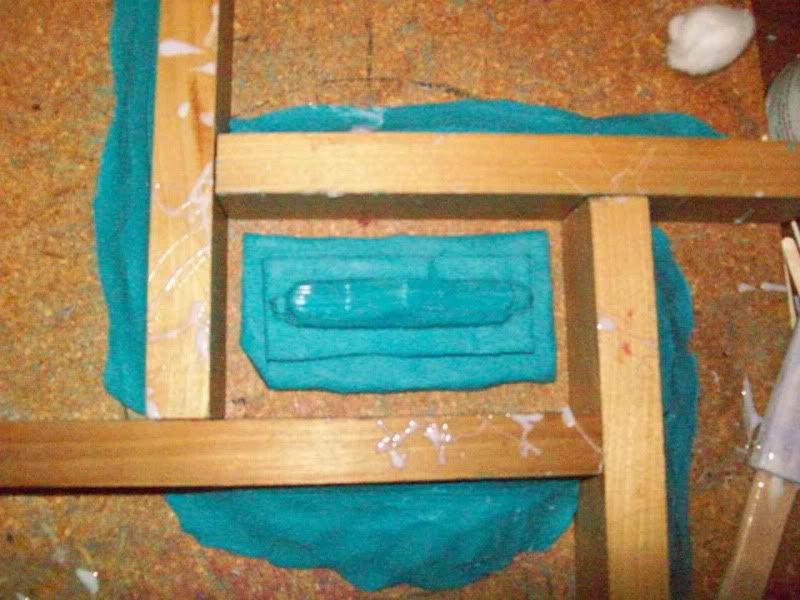 All cleaned up with a final cotton ball with some alcohol and wiped down with a dry one it is boxed in. 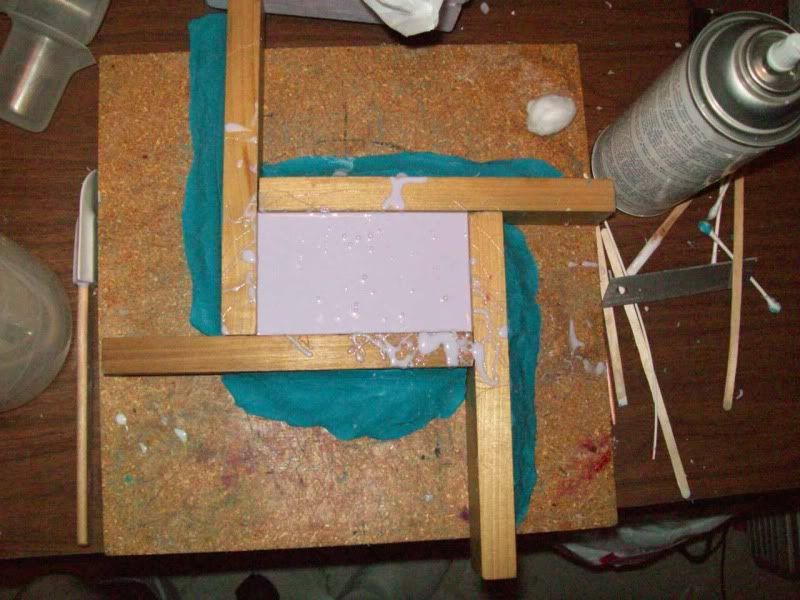 And then I poured 220 grams of silicone over it. The mold will now cure all night and the mold can be finished in the morning. |
|
|
|
Post by Mastercaster on May 2, 2010 8:52:12 GMT -8
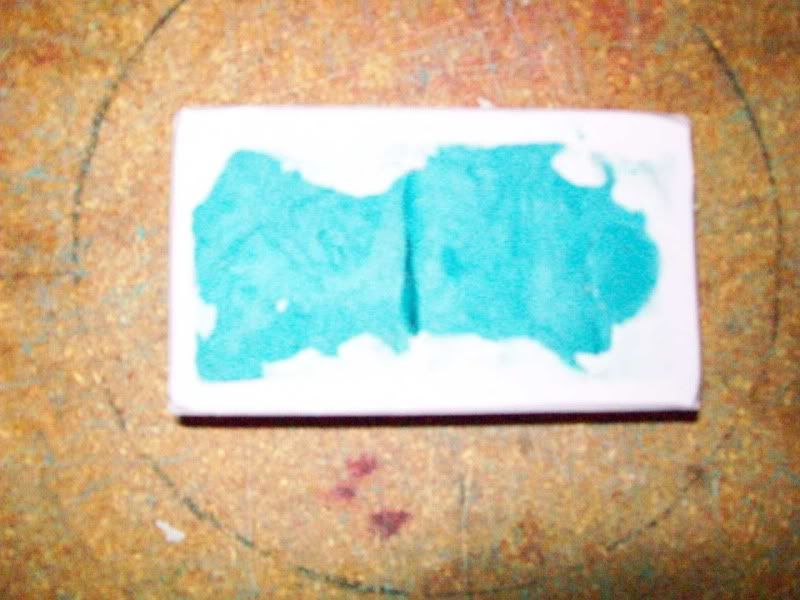 Now that the silicone is cured, I gently unboxed it. A lot of silicone got under the clay. I used the putty knife to get under it to break it loose. Everything you do is more critical when you are doing a clear part, especially a windshield. You cannot take any chances of the part coming loose from the surface of the silicone that has just been poured over it. It will be possible for silicone from the second pour to get behind it and make a line that might ruin every part you make unless you are willing to let the part cure for several days and then sand and polish it to remove the mark. 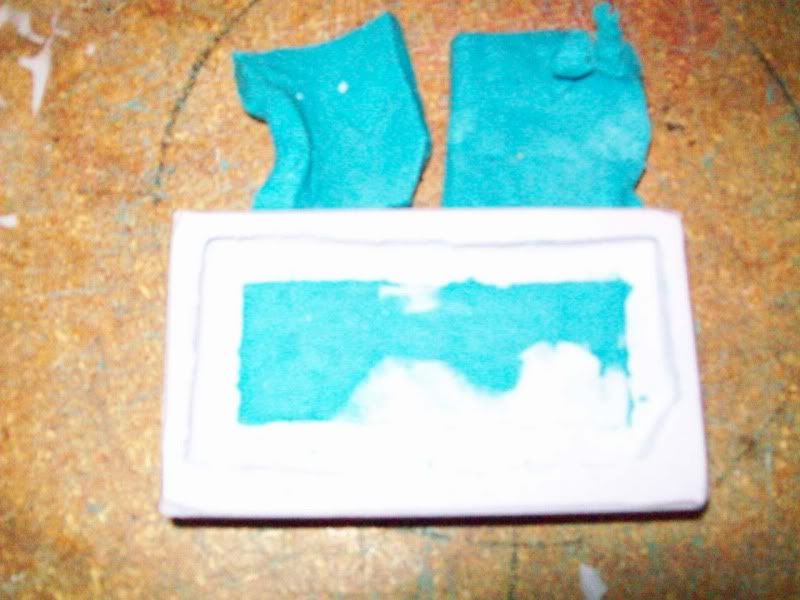 The first layer of clay was gently remove and the silicone flash was cut away. It is amazing where silicone will get despite all efforts to not let it get there. 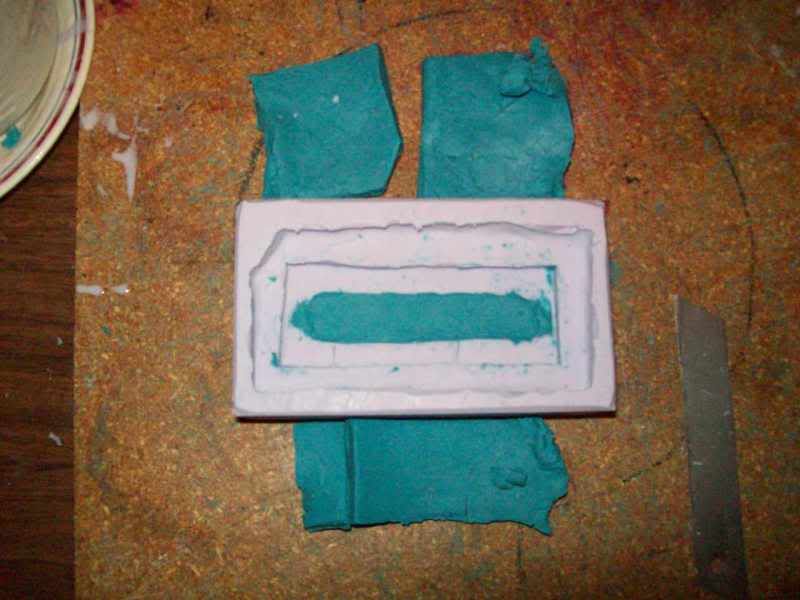 Here is the next layer removed. Now you are getting into the critical zone. I put tension slightly at the center of the part. Do not pick the mold up to remove the clay. You take a big chance at pulling the silicone away from the detail. Clay will be removed more easily if you can pull it up from an end and just peel it out. You could make thinner layers of clay and use more of them, that will be up to you. 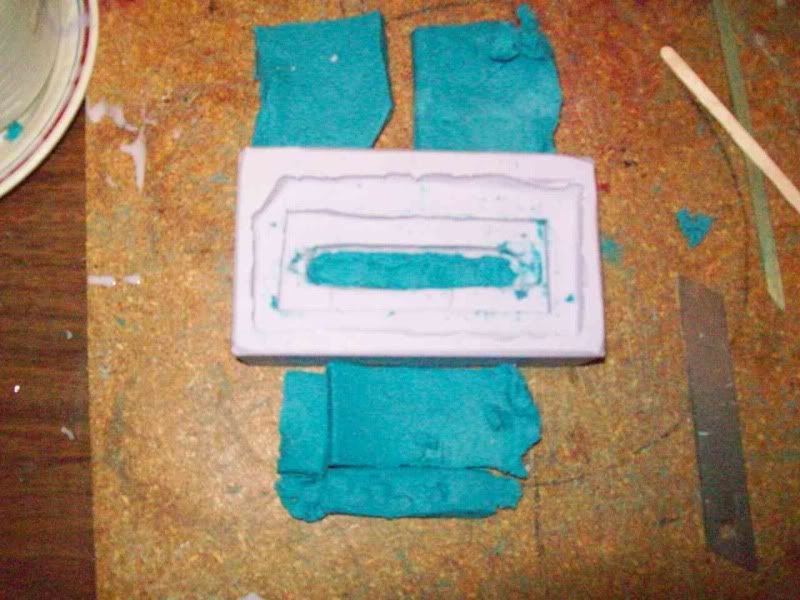 Her is another layer removed. 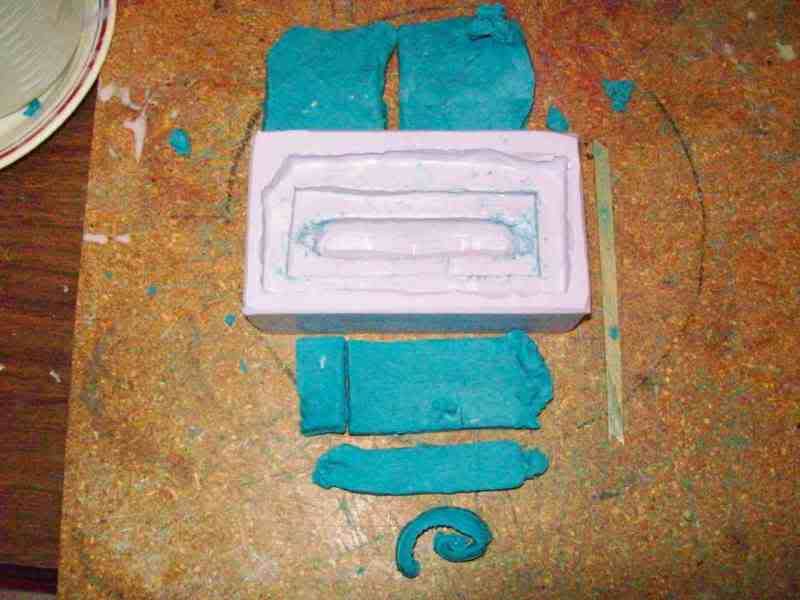 Once the final layer is removed to expose the part, I pick it up and very gently remove all the blue clay I can with a coffee stirring stick that I shape an angled point on. Wood is less likely to scratch the surface of the part, again critical if you are doing a windshield. Definitely not something you want to happen if you have spent a long time polishing one to prep for copy. Now that most all the clay is removed, I sprayed a good layer of mold release over the interior of the mold. I will let it stand for about a half our or while I am posting these pics. I will then take a Q tip with some alcohol on it and rub over the part only to remove the mold release. This is only important for clear parts to retain detail and best optical clarity. Remember the silicone will see everything including a fingerprint! CAUTION: If you are using a resin part in your mold you will not want to use any alcohol on the part! Alcohol will attack the parts surface. Use dish washing detergent like dawn, but do it carefully. 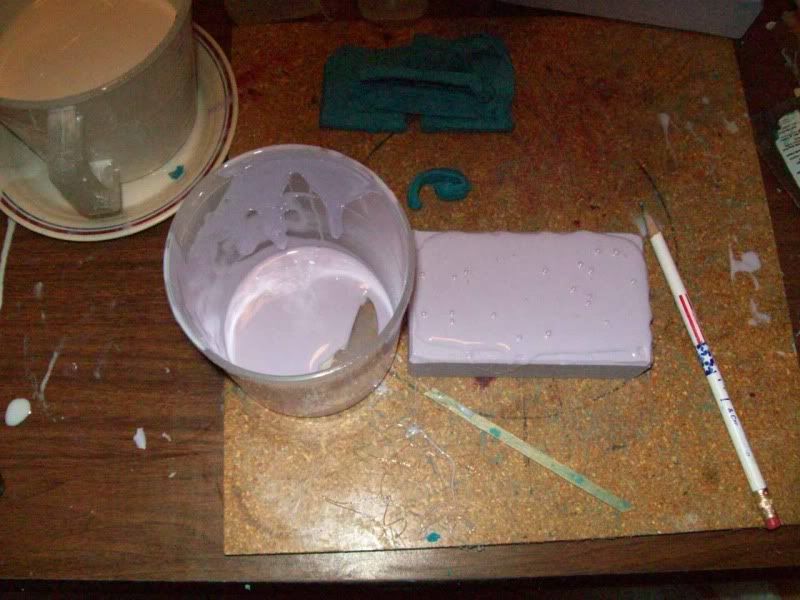 I decided to mix 120 grams of silicone plus the 12+ grams of activator, just a little over 132 grams total. I do like to overfill the mold, but I had a little left over. Yes Maxwell, I missed it by that much! Excess silicone can be saved and ground up to be used as filler in future molds and old molds can be cut up and used as I did in the plunger mold. |
|

