|
|
Post by Mastercaster on Sept 30, 2011 9:31:29 GMT -8
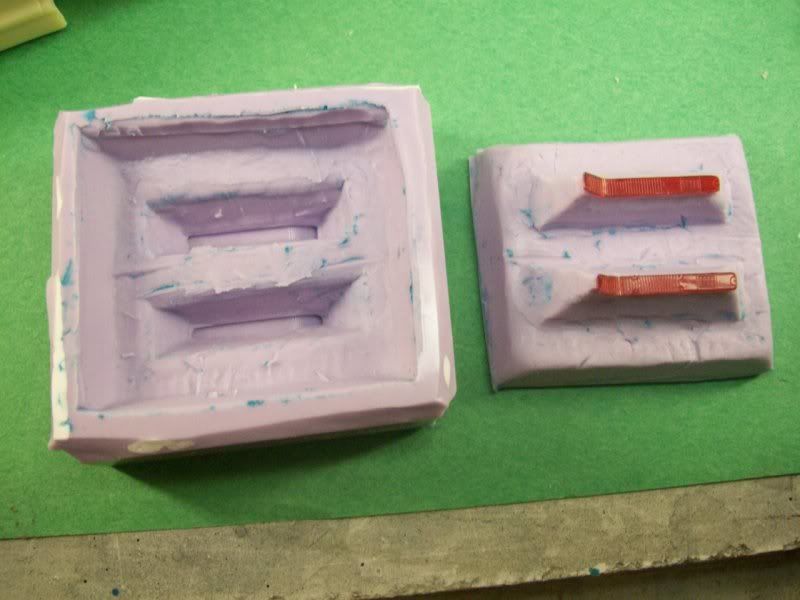 Here is another detail for my GS convertible build. I will attempt to make that little square back up light lens clear. I will make some in white resin to work with. Since I was able to make the marker lights I will try this |
|
|
|
Post by Danno on Sept 30, 2011 12:28:49 GMT -8
Go, Greg, Go!!
|
|
|
|
Post by lannyhaas on Sept 30, 2011 14:01:22 GMT -8
thats pertty Kool
|
|
|
|
Post by Mastercaster on Oct 1, 2011 20:12:16 GMT -8
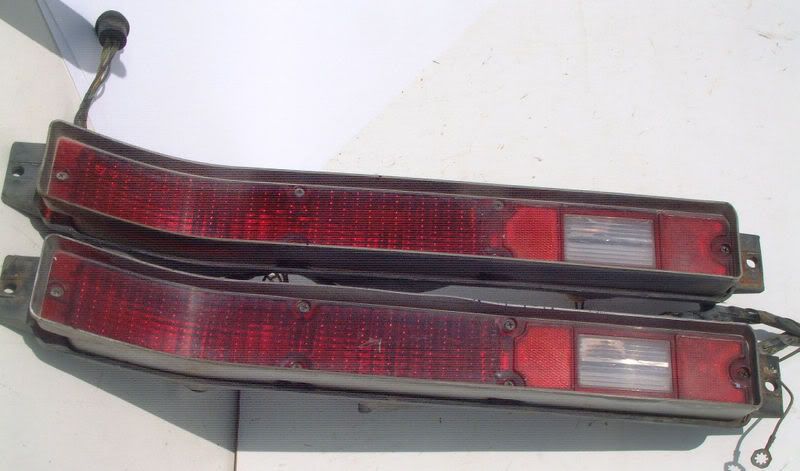 I am working on my first try. They are really tiny! Here is a reference pic. |
|
|
|
Post by FMW on Oct 1, 2011 21:38:22 GMT -8
Yeah, you're going to have a real problem casting the Phillips head screw slot in scale. On a more serious note, you might want to cast the whole lens in clear and then use clear red paint or hobby "glass stain" on the bulk of the lens. One time I found some of the glass stain (for fake plastic stained glass) in a translucent pearl white that, used sparingly, looks pretty good on white/clear lenses backed by foil.
FMW
|
|
|
|
Post by Mastercaster on Oct 3, 2011 9:04:38 GMT -8
I have the back up light lens cut out of one. It looks pretty good I have tried three times to make the hole in the lens. Just about the time the hole is accepting the lens the tail light breaks. And I am trying to do this on a brittle white resin cast part. Next I will try to open the hole up on the actual clear red lens to see if it is any different. I have never tried this before. It is tedious work and it is trying my patients. It is putting me in cussing mode. Those side marker lights were too at first but by practice got easier to make. Casting them in clear and making the rest by paint will be a last resort. Thanks for that suggestion. I do overdo sometimes.
|
|
|
|
Post by FMW on Oct 3, 2011 16:40:31 GMT -8
You might try modding the mold with a teensy piece of clay where the white lens goes. You'd have to redo it every time you made the lens, but it beats drilling. The other option is to create a mold of the white lens part (maybe file down a whole casting), cast the little lens in white or clear, and then place it in the other mold to cast the red.
FMW
P.S. I hope you don't mind the suggestions. I'm a retired engineer and can't resist "helping" when someone has a problem.
|
|
|
|
Post by Mastercaster on Oct 3, 2011 23:51:52 GMT -8
I sure don't mind suggestions. Once I get a opening in a lens that meets my noncussing/happiness whatever you would call it. I would clay up such winning part and the silicone would fill the void and make the part I envision having. It will take time but I will hopefully achieve this mark in personal part making even if it kills me!!
|
|
|
|
Post by FMW on Oct 4, 2011 9:06:54 GMT -8
If you're still trying to make a hole in a cast lens, you might try embedding it in clay to temporarily reinforce the lens while you drill/cut it.
FMW
|
|
|
|
Post by Mastercaster on Oct 4, 2011 10:32:56 GMT -8
I'm not sure how that would work. I have to work it from both sides and do the work under a magnifier light. I don't see tiny things very well. I don't expect to get it done quickly. Yes, those Philips head screws would be really hard to do.
|
|
|
|
Post by Mastercaster on Dec 29, 2011 10:23:59 GMT -8
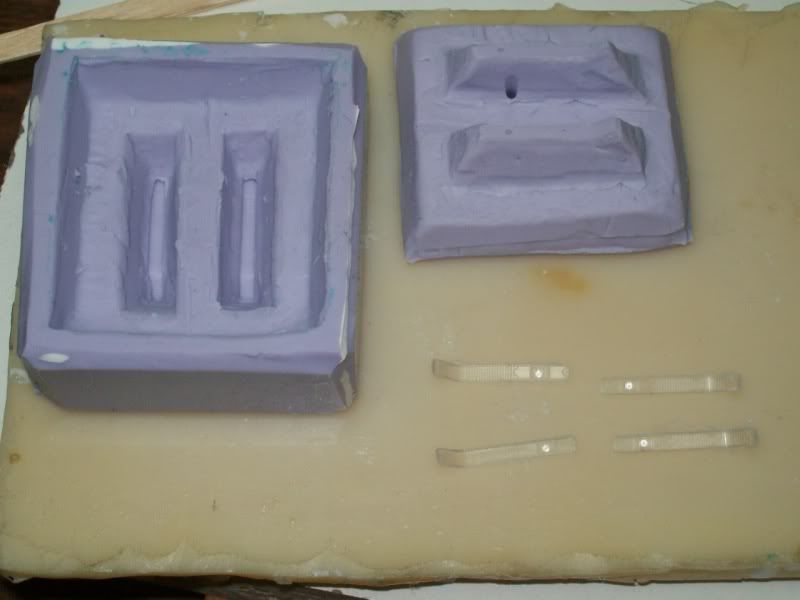 I finally got around to casting some of these in clear. They are hard to make and be bubble free. The tiniest bubble kills it! It just might be easier to gently paint some transparent red around the back up light section. These are going to a parts requester on the MCM board so I will let him be the first to try it! |
|
|
|
Post by Mastercaster on Dec 29, 2011 11:09:52 GMT -8
You might try modding the mold with a teensy piece of clay where the white lens goes. You'd have to redo it every time you made the lens, but it beats drilling. The other option is to create a mold of the white lens part (maybe file down a whole casting), cast the little lens in white or clear, and then place it in the other mold to cast the red. FMW P.S. I hope you don't mind the suggestions. I'm a retired engineer and can't resist "helping" when someone has a problem. I should play around and give this idea a try, thanks for the suggestion. Being a retired engineer must be hard with all kinds of ideas in your mind not getting used. |
|
|
|
Post by Danno on Dec 30, 2011 10:48:22 GMT -8
Looking good there, MC Resinhammer! 
|
|
|
|
Post by Mastercaster on Dec 30, 2011 12:40:54 GMT -8
Thanks. Those darn screws are just too tiny!
|
|
|
|
Post by Mastercaster on Jan 15, 2018 21:31:54 GMT -8
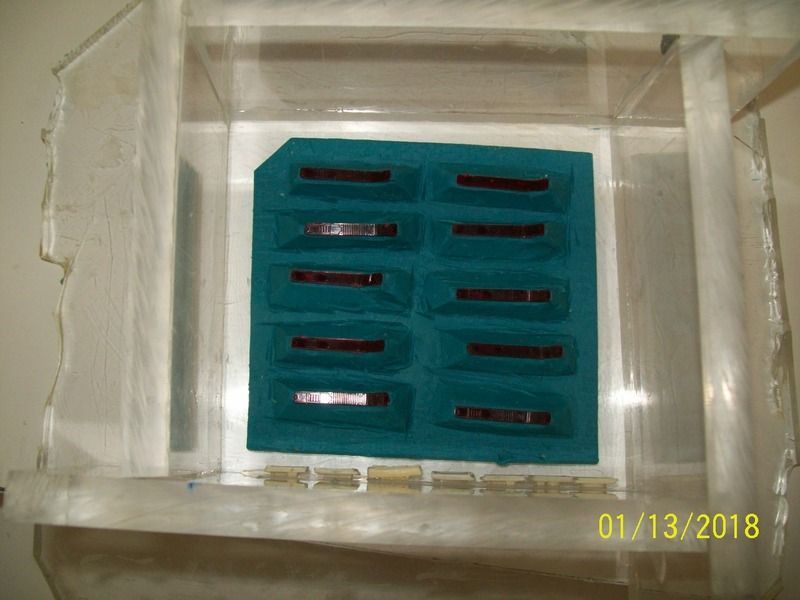 Here are 5 sets of kit tail lights clayed up. 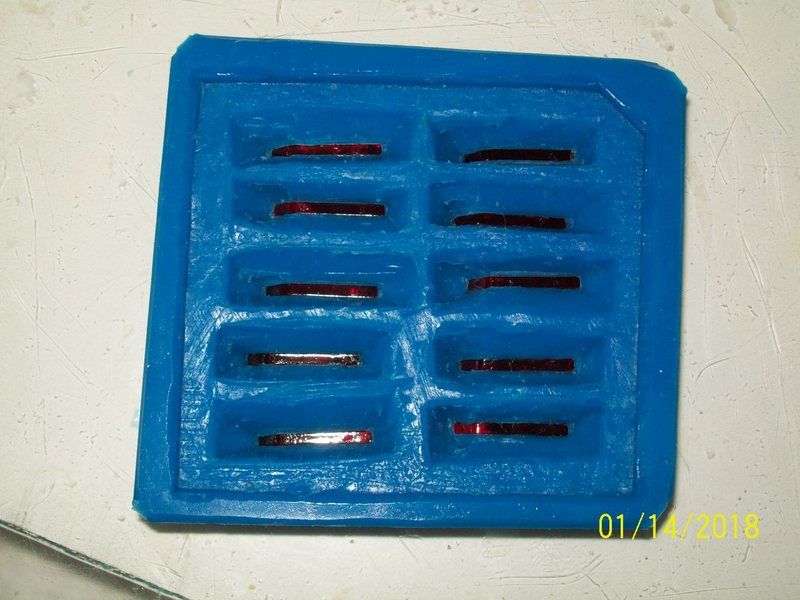 One side of the mold is made. 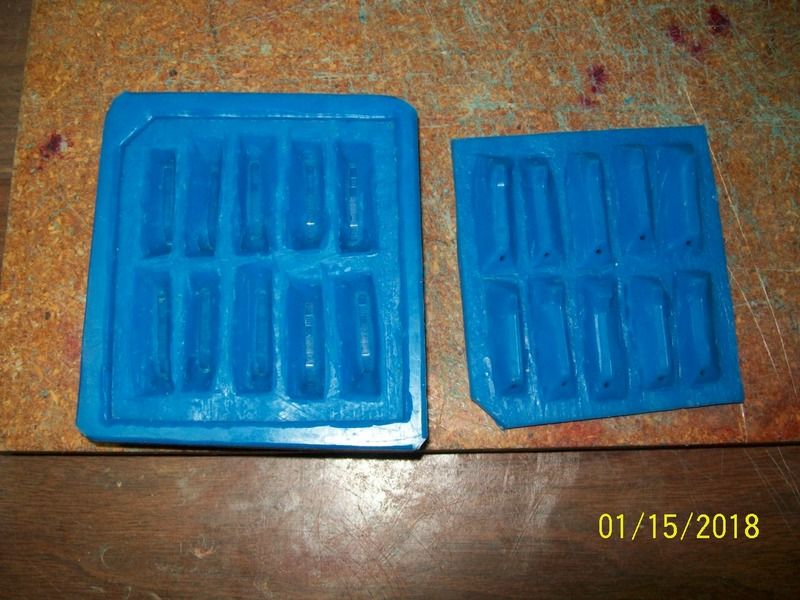 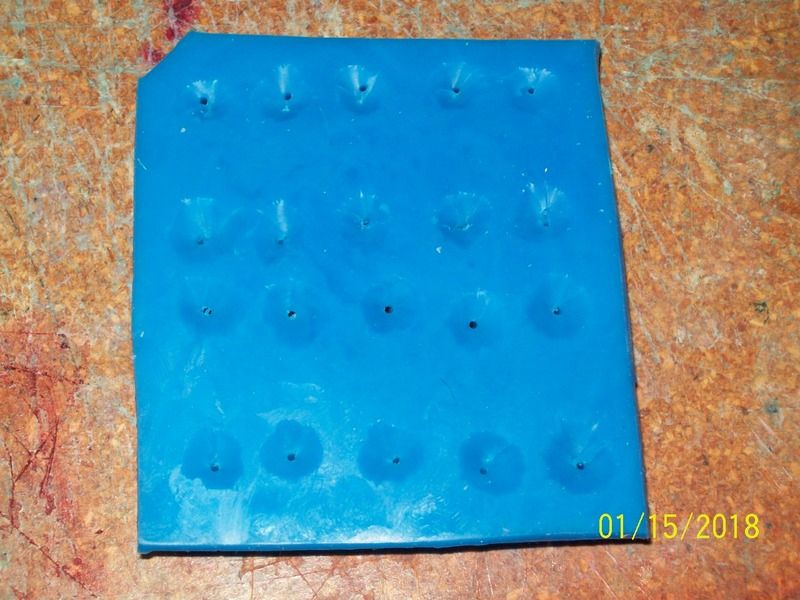 The mold is complete and vents have been cut into it. I like to cut a small well in the lid. I think this is a advantage to insure a part is better made. It gives the mold a area for extra resin to pool in. 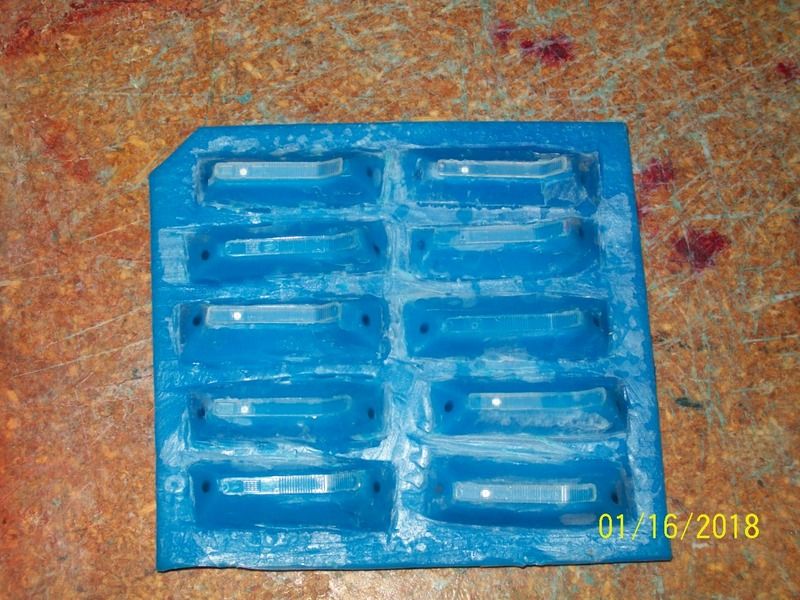 Here is the first completed set. I am doing these in clear so the back up light detail can be better. It is a very tiny area. The rest of the lens can be neatly painted a clear red paint. resinmodelcasting.proboards.com/holygrailresins@gmail.com |
|

