|
|
Post by Mastercaster on Nov 6, 2011 23:28:17 GMT -8
|
|
|
|
Post by unforgiven on Nov 8, 2011 11:06:08 GMT -8
Dang man you took that down, to the carcass, like a piranha at a cattle crossing......
|
|
|
|
Post by Mastercaster on Nov 8, 2011 11:43:55 GMT -8
YUP! About three hours worth. I'm hoping I can print the gauges on my printer. One side of it stuck and the surface tore a bit. MCG might actually have something better though. I'm going to go look at fabric and hopefully scan in the pattern and tape some thin white material to a piece of paper and run it through my printer to make a copy.
|
|
|
|
Post by FMW on Nov 8, 2011 15:52:49 GMT -8
If you can't scan it, I've got a camera that takes pretty good close-ups.
FMW
|
|
|
|
Post by Mastercaster on Nov 8, 2011 18:06:28 GMT -8
Thanks, I certainly appreciate the offer.
|
|
|
|
Post by Mastercaster on Jan 1, 2012 18:36:16 GMT -8
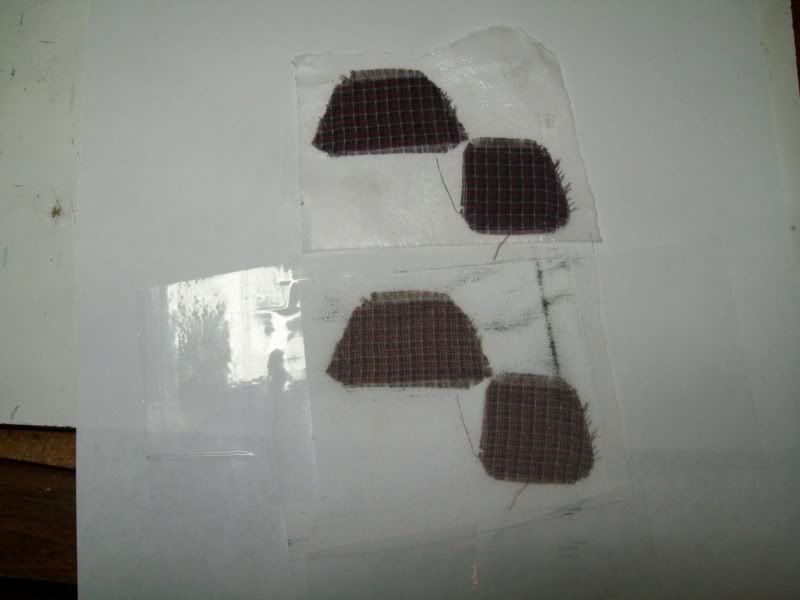 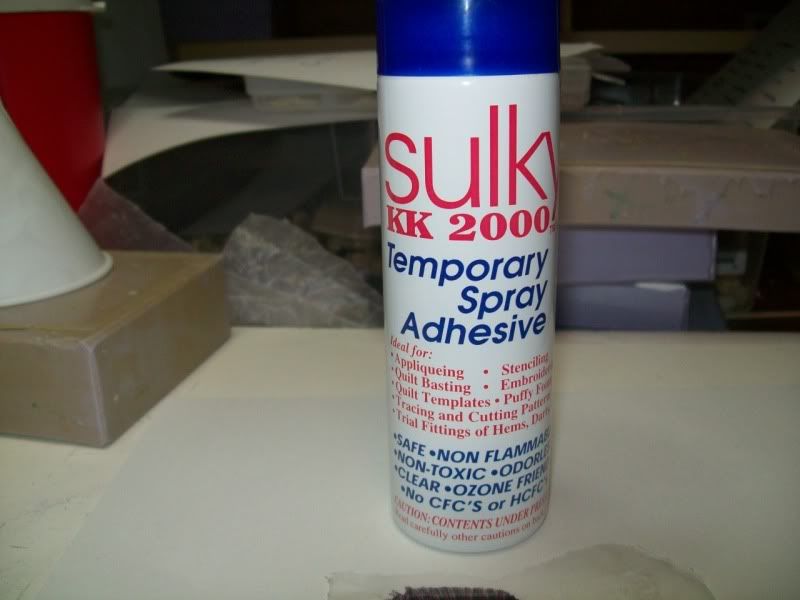 Here is an experiment I did today. I sprayed some of this temporary glue from my Decal Pro FX Dry transfer kit onto a piece of wax paper and pressed the original fabric to it to hold it steady. I scanned it in to save the image but when printed from my pictures file was huge! I then printed the image to a piece of paper for a target mark and then taped some thin white fabric to the same sheet of paper and printed it again. It basically worked OK but is lighter than it is supposed to be and might be a problem if anybody did not know. It is certainly better than nothing. It looks like my printer needs a good cleaning too. This spray glue can be found at a good fabric store but unfortunately Micheals does not carry it. It might work for temporarily holding model parts together too. www.sulky.com/adhesives/index_adhesives.php |
|
|
|
Post by FMW on Jan 1, 2012 21:09:33 GMT -8
Whenever I'm scanning dimension-critical stuff (and when I remember) I also scan a ruler or scale. Then I copy and scale several different sizes of the image on a single print file. The image of the scale lets me judge which one is (more) correct. Most photo touch-up progarms allow you to adjust light/dark, contrast, etc. Since you said the print is lighter, I'm assuming the bottom part of your picture is your copy. If so, I like it better because it brings out the pattern more.
FMW
|
|
|
|
Post by Mastercaster on Jan 2, 2012 13:04:24 GMT -8
The ruler is a good idea. I got Brad working on it for me. He's an artwork guy.
|
|
|
|
Post by Danno on Jan 2, 2012 15:31:32 GMT -8
First time I've ever seen a step-by-step UNbuild it tutorial! 
|
|
|
|
Post by Mastercaster on Jan 2, 2012 15:48:12 GMT -8
I told you they were DESTRUCTION PICS. Like Beethoven has been dead for along time Decomposing. The guy that wrote the Hokey Pokey died, they had one heck of a time getting his body in the casket. LOL
Yes, Jan the bottom one is the lighter one, a copy.
|
|
|
|
Post by Mastercaster on Jan 29, 2012 20:47:15 GMT -8
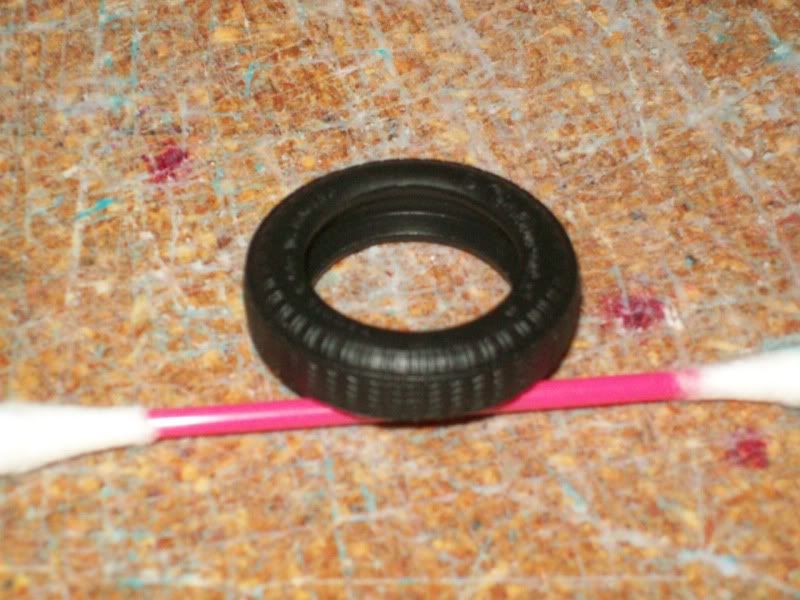 Here is a front tire from the car. 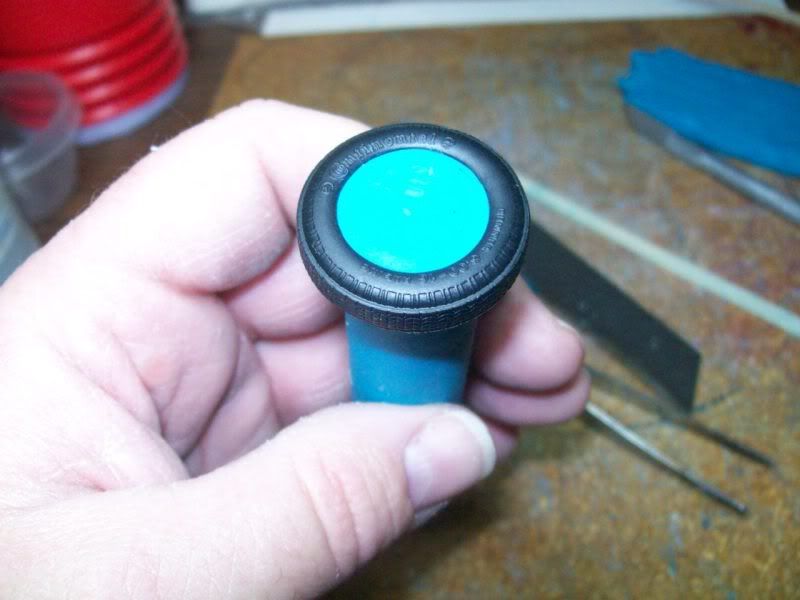 I have a nice round piece of clay that is just barely sticking through the tire. 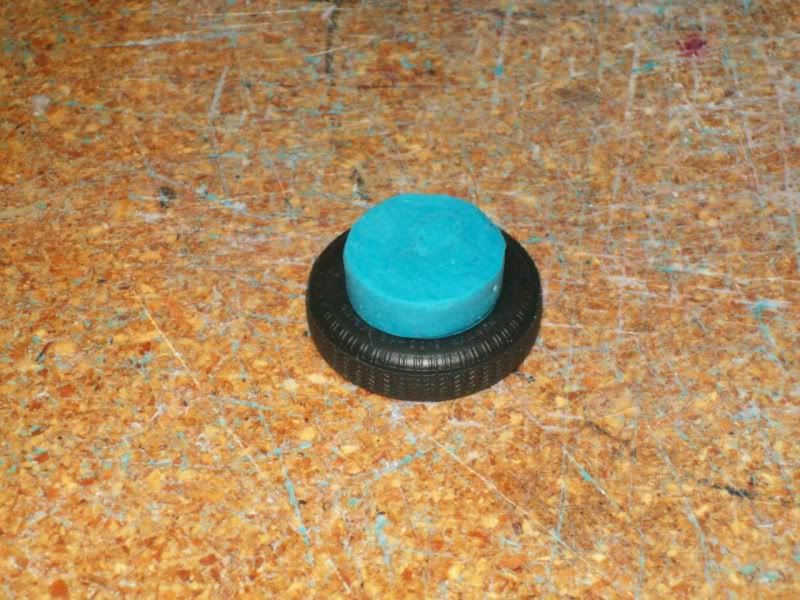 I cut the clay off to make the stand so silicone will wrap around it. 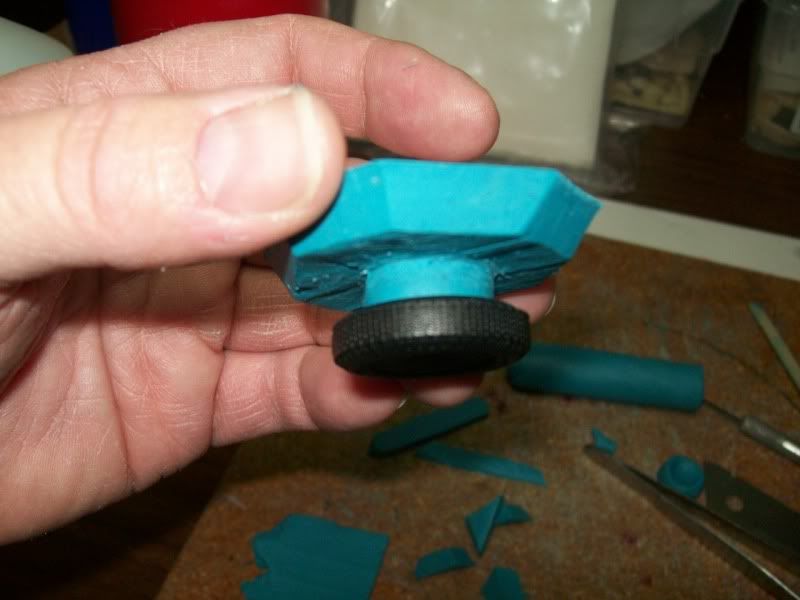 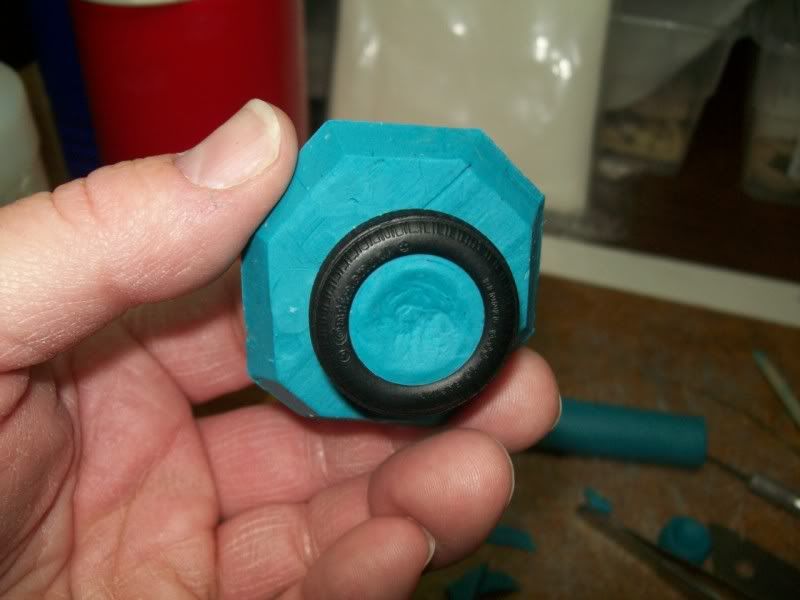 Here are a couple of pics of the stand. What you see here will become the plug in the top where the resin will be poured in. 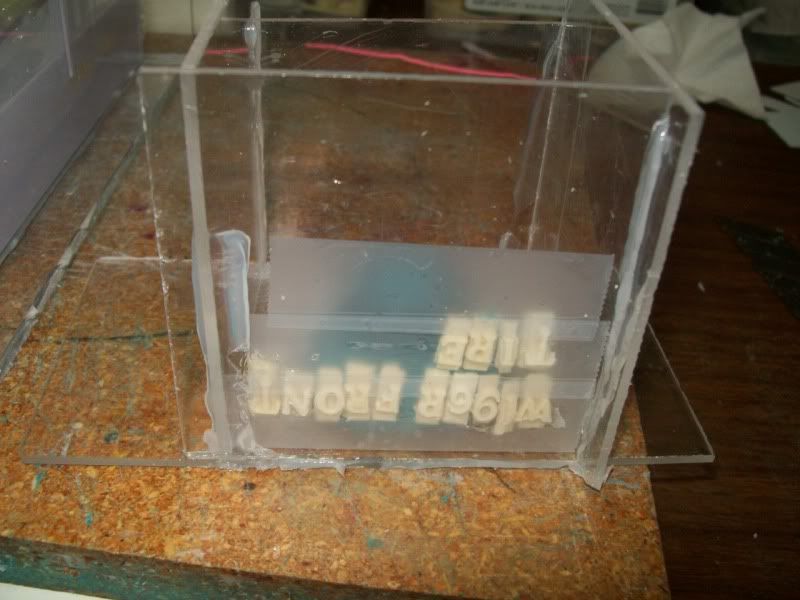 Here is the mold in progress. I poured a little silicone in and filled it to about half way up to the middle of the tread and gave it another good turn in the vacuum chamber to try to be certain that a good encapsulation was happening on the underside of the tire. I have my resin stirrers made out of the tire resin. I feel confident enough to try this. I have made tire molds before that turn out a good tire. smcbofphx.proboards.com/index.cgi?board=rs&action=display&thread=661Here is an entry on page 2 of some tires and wheels I made but never showed any mold making here. You really need this clay to do this. |
|
|
|
Post by Mastercaster on Feb 1, 2012 9:23:32 GMT -8
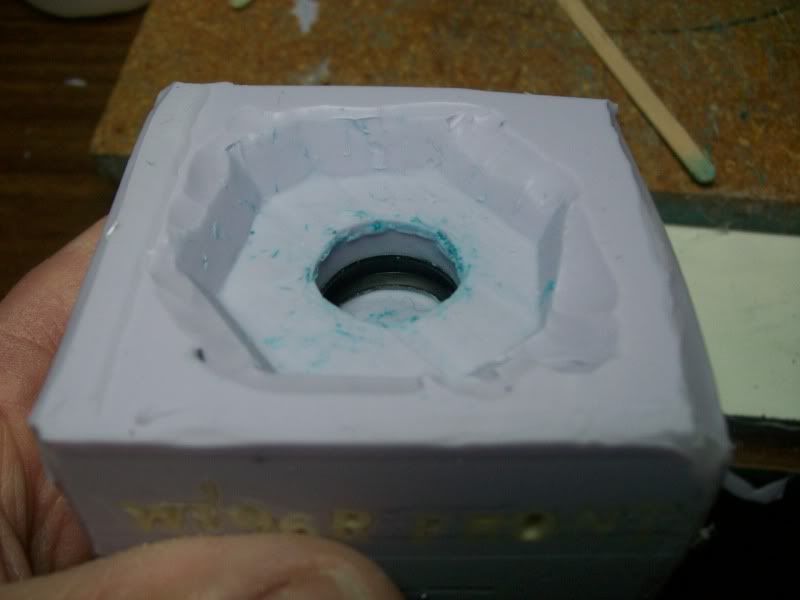 Here is the mold with the clay removed ready for silicone to replace it. I will pour some silicone in and run it through the vacuum chamber again just to make certain the silicone is well seated in the groove that will hold the two piece wheel. |
|
|
|
Post by Mastercaster on Feb 2, 2012 8:37:18 GMT -8
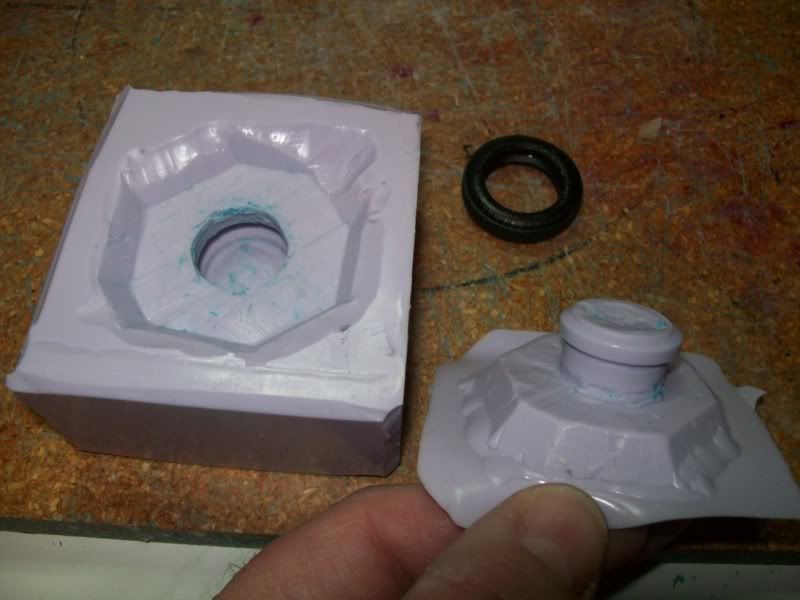 Here is the finished mold. The plug came out easily as did the tire. It looks like getting a tire out of the mold might be difficult but it is not that bad..............so far anyway! The mold needs to be heated and then I will give it a try. |
|
|
|
Post by Mastercaster on Feb 3, 2012 9:15:59 GMT -8
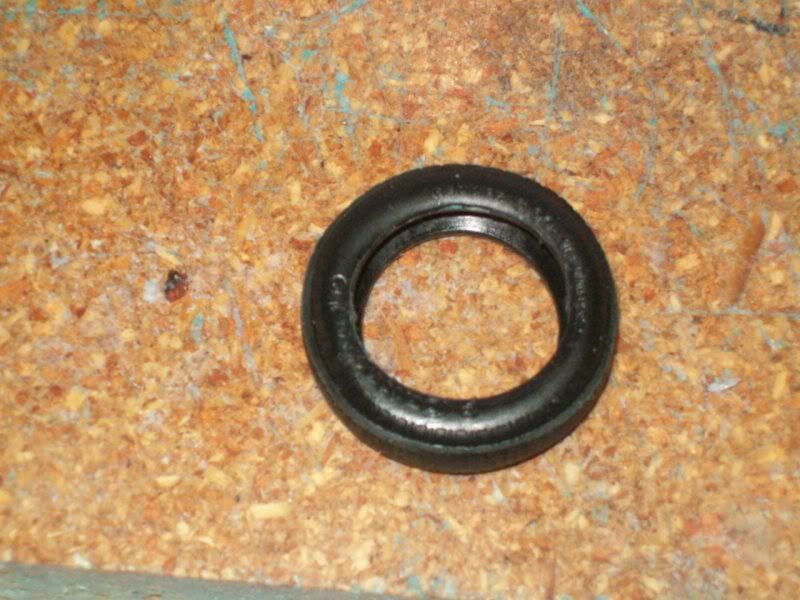 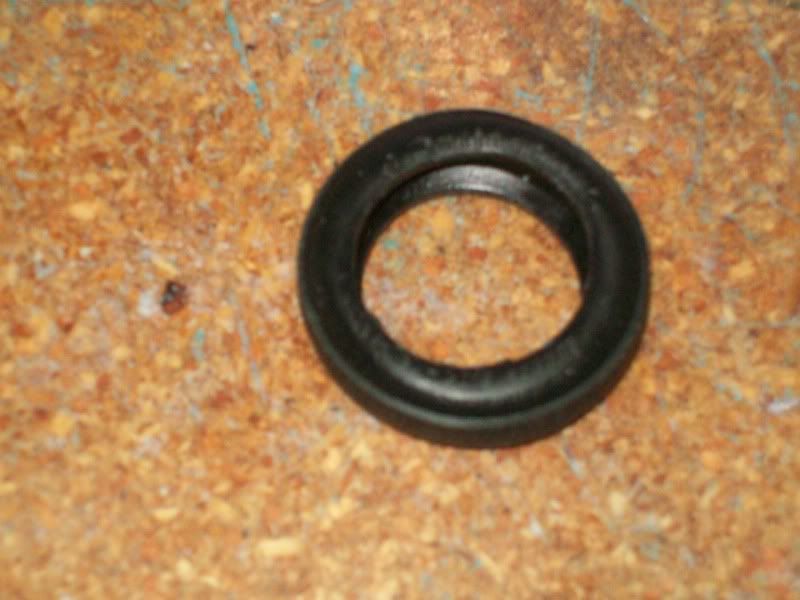 Here is the tire removed from the mold. I don't think it is fully cured but should be. At first pulling it out was a bit difficult and got bend marks in it that I thought were going to be permanent. I had to somewhat turn it inside out to remove the sprue vent pieces. I put a couple of holes to vent air under pressure. This is a couple of pics of the tire. 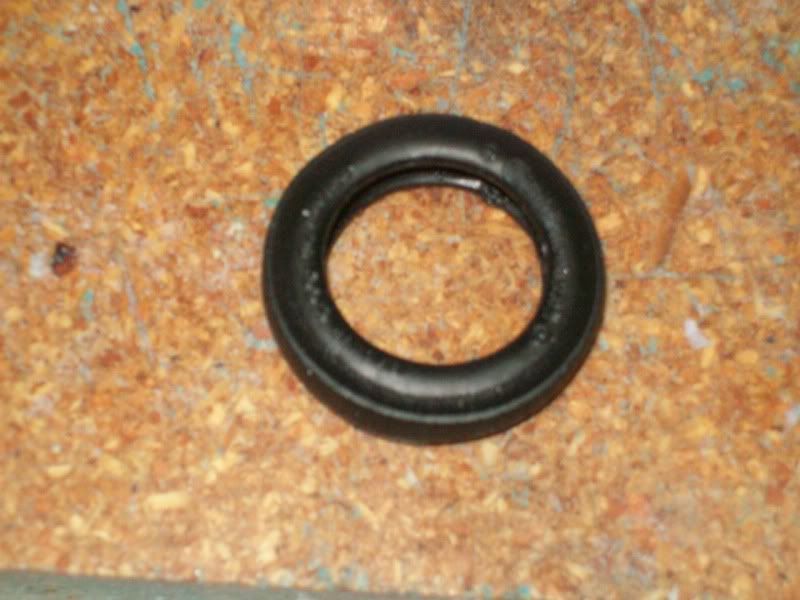 In this pic you can see where I had to remove some sprue/vent bulk to make the wheel fit nicely in the tire. It is a spot at about 1 O clock 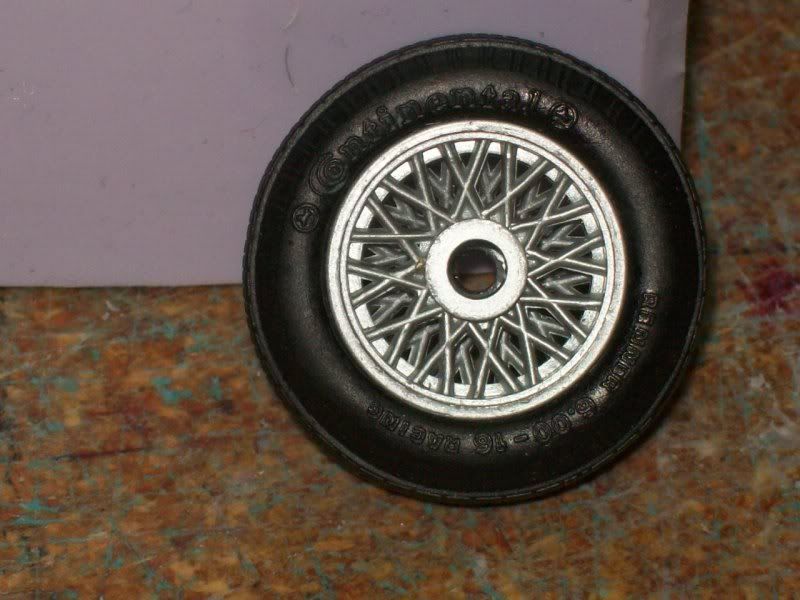 Here is a pic with the wheel placed in the tire. It took a little working to get it to look good. The tire might cure more. 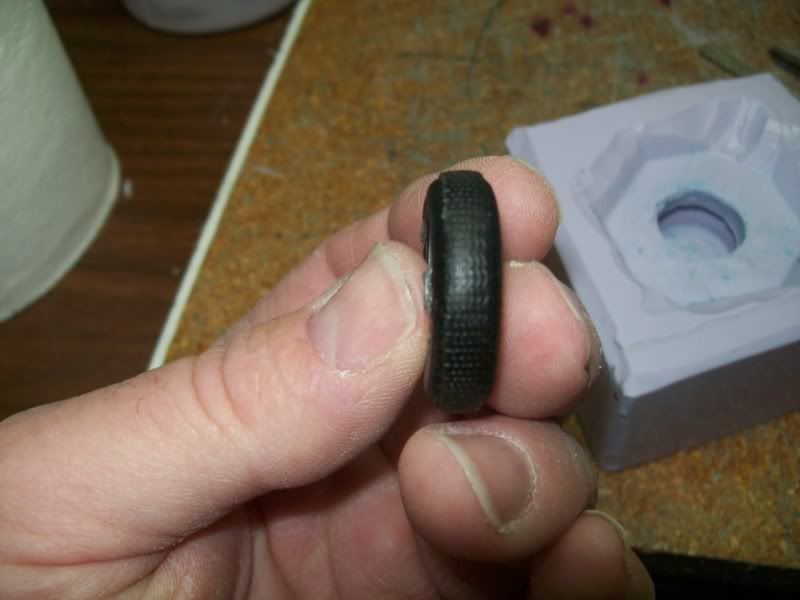 All in all the tire turned out pretty well but might remain too soft. It looks good and bad at the same time. I could plug the vent holes and try it again. If it turned out good without having to sort of turn it inside out to remove the vent part it would be helpful to not distort the tire. |
|
|
|
Post by davewilly on Feb 3, 2012 9:54:50 GMT -8
Pretty cool...Looks good to me...but you would know better holding it!
|
|
