|
|
Post by Mastercaster on Dec 4, 2012 9:08:11 GMT -8
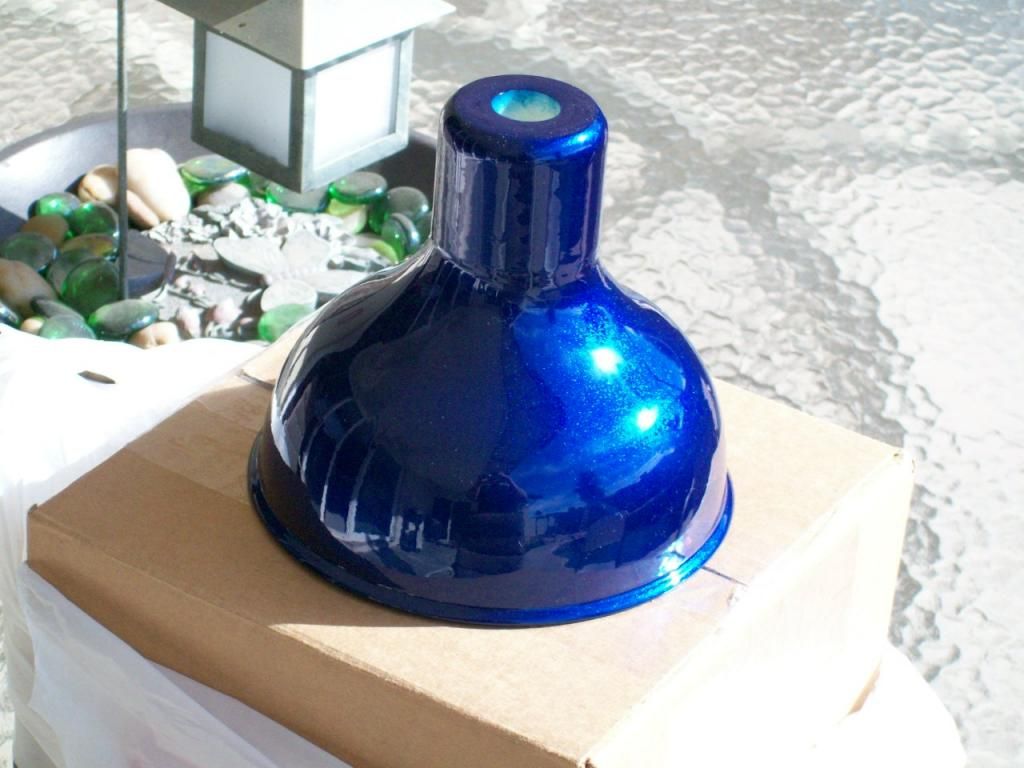 I decided to start with a fresh thread. Here is the painted master again. 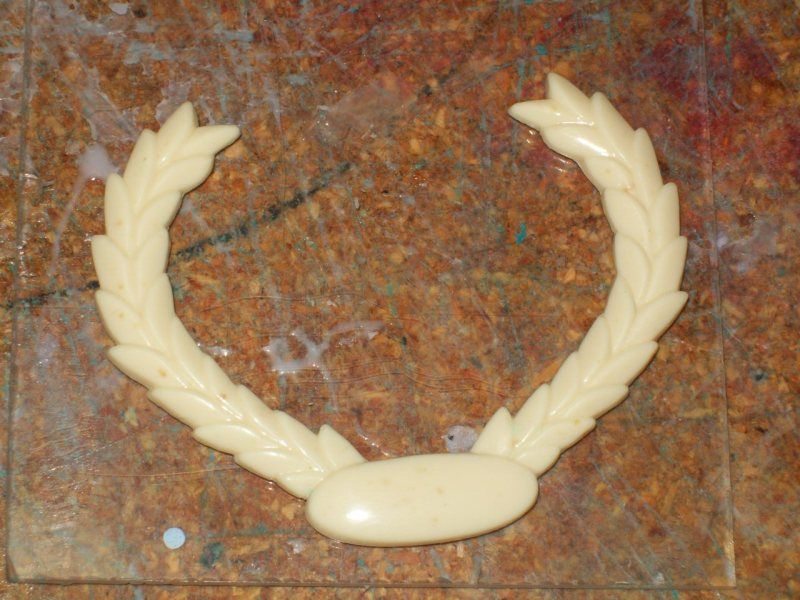 This is a resin copy of a badge that was on the trunklid of a Cadillac. I need to create a wreath around the neck of the plunger to hide the crappy area where the cap was attached and to just give it a little class. 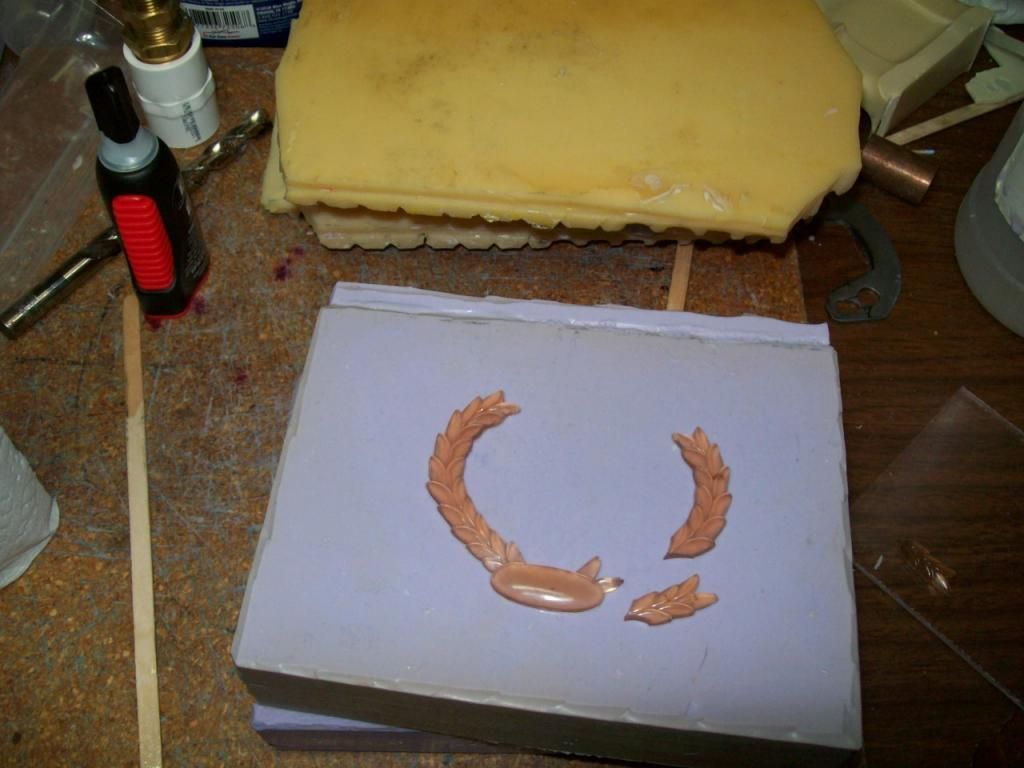 I made 12 of these out of the Flex 50 resin. I am only able to use that very short section to create the wreath that I need to adorn my master. 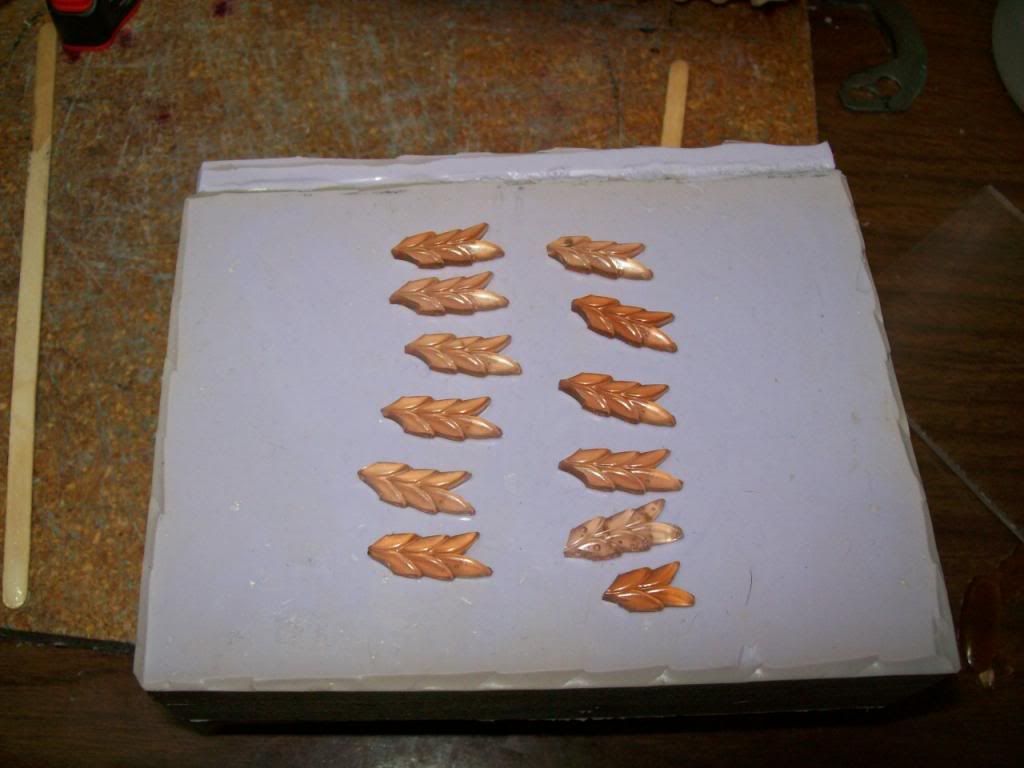 Here are the separate segments. 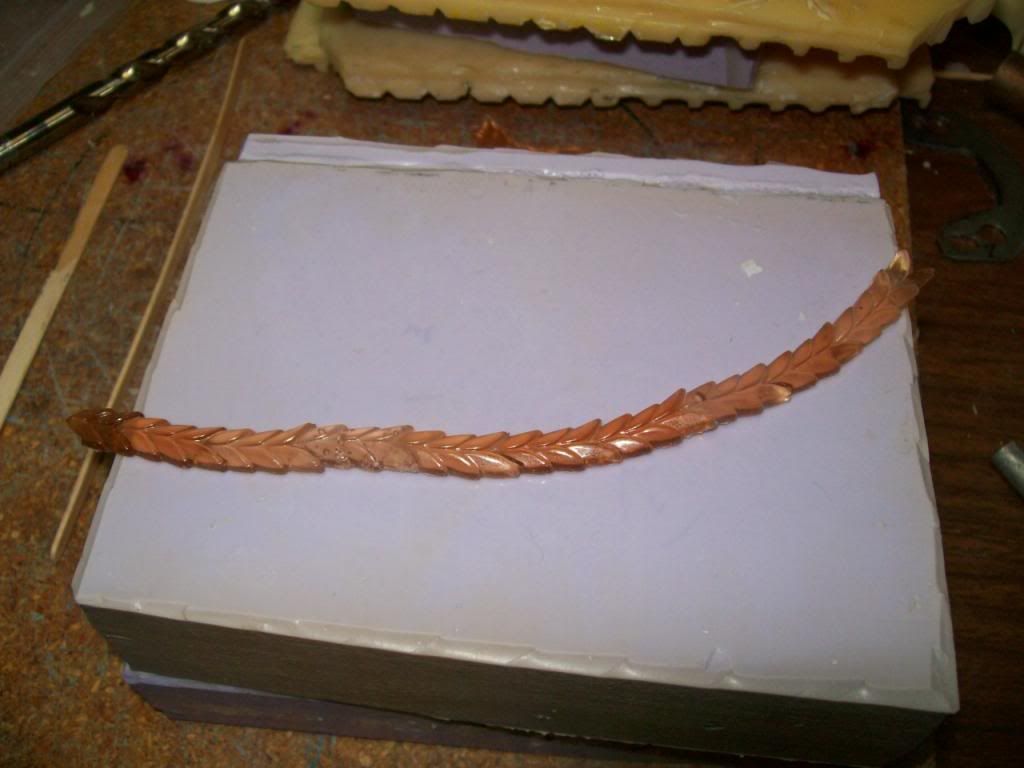 Here are the segments glued together. 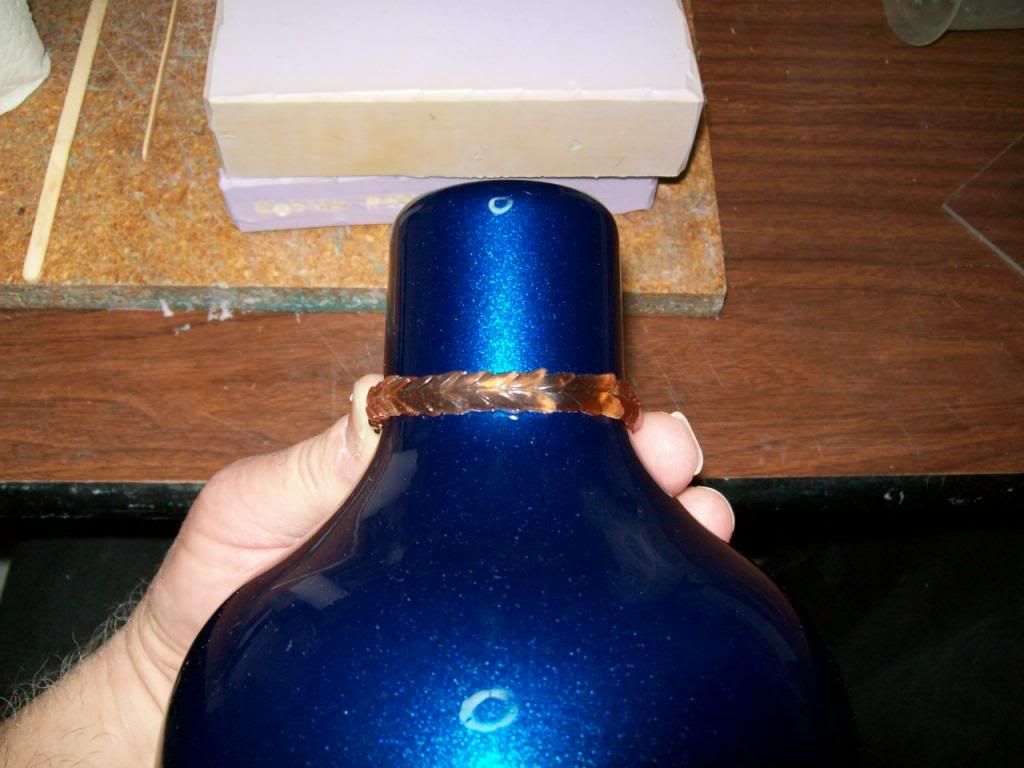 This is the look I am shooting for. 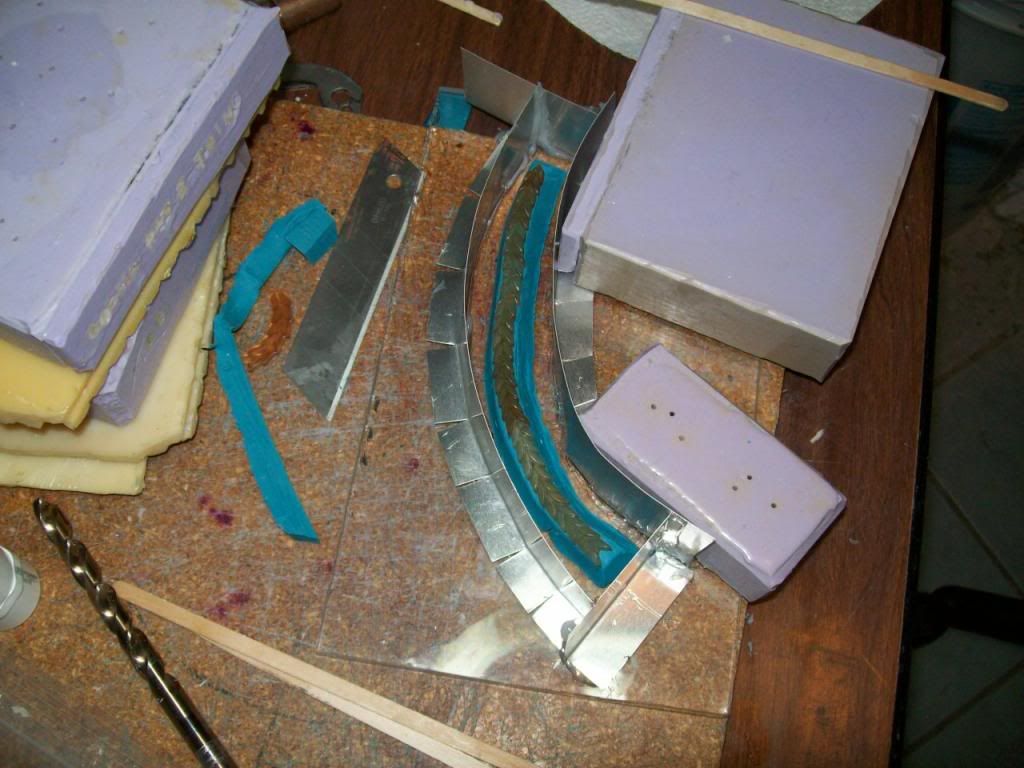 Here is a mold of the wreath being attempted. I really don't know quite what I am doing and am pulling it out of my butt as usual! This is too thick the way it is. I intend to create a mold of this part. I am hoping that I can make a good copy of it using the 300 resin that I have used in the past. I should be able to sand it flatter from it's bottom side to make it thinner and less pronounced on the master. It is too thick and will make a copy hard to pull out of the mold. I can then hopefully put it under some really hot water and force it into a straight line. As this rubbery piece is now it of course is not straight and does not lay flat either. Tomorrow after the silicone holding these bent aluminum walls has cured I will have to figure out how I will hold this piece down as flat as I can to make a good mold. So far, this whole plunger master thing has been a lot of work! |
|
|
|
Post by Mastercaster on Dec 5, 2012 8:10:11 GMT -8
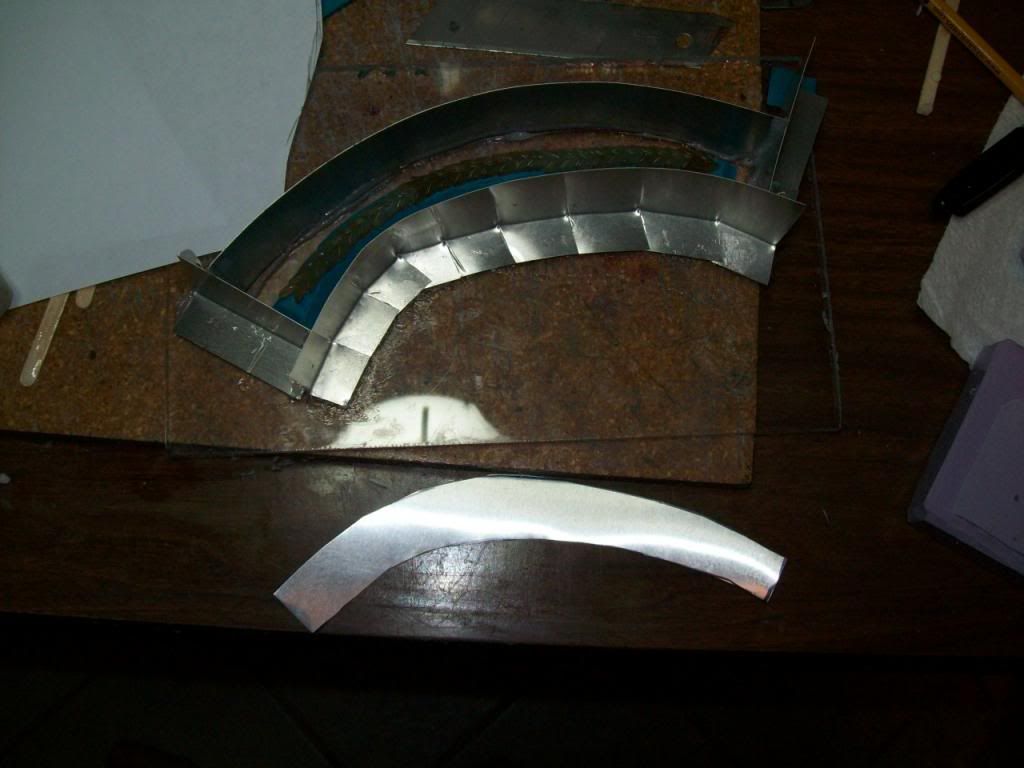 Now that the silicone has cured I cut this piece of aluminum to lay over the top of the wreath. I sprayed some mold release on it to be safe too. 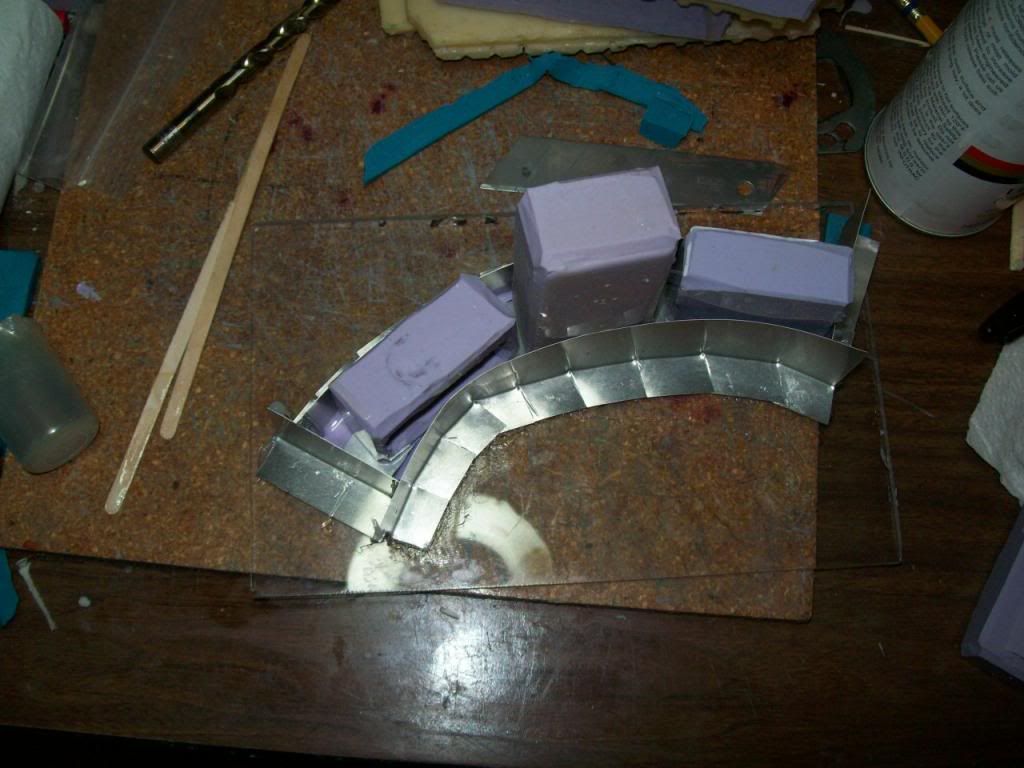 I mixed up some silicone and poured it in very slowly and carefully because I did not want it to be over the top. I want just enough silicone to be just high enough or deep enough to cover a small portion of the edge to help hold the piece down. I laid the aluminum sheet over the piece and found some small molds to set on it to weight it down until it cures. 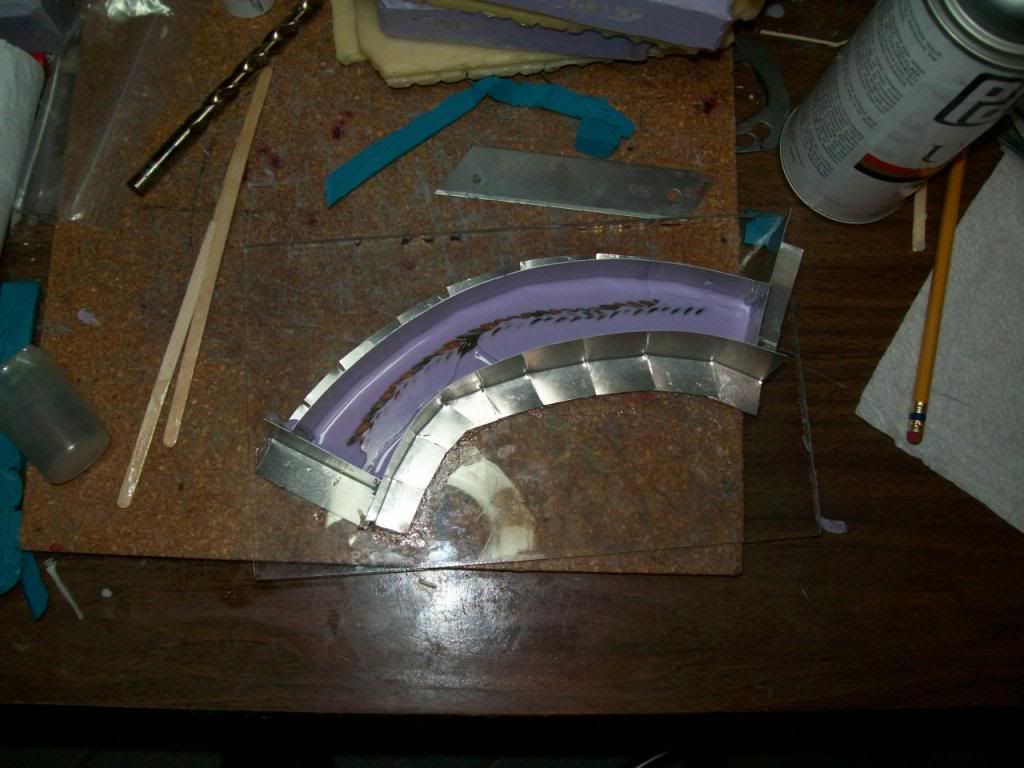 That worked pretty well. Now that it has cured mostly I can top it off with more silicone. |
|
|
|
Post by Mastercaster on Dec 6, 2012 11:22:43 GMT -8
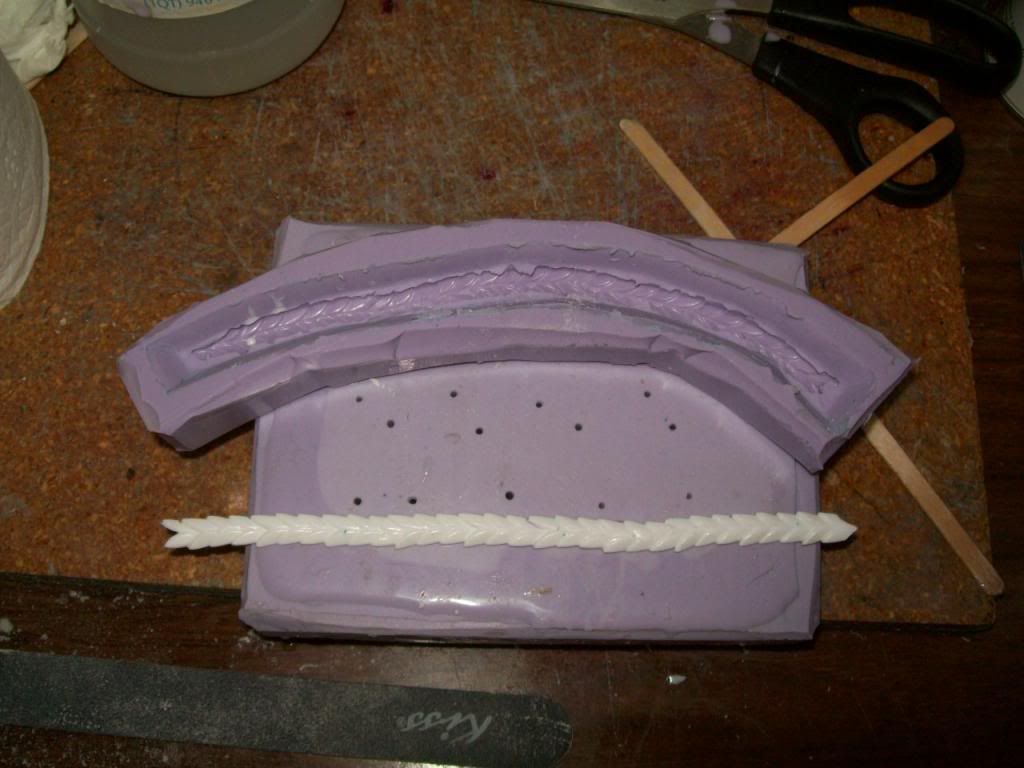 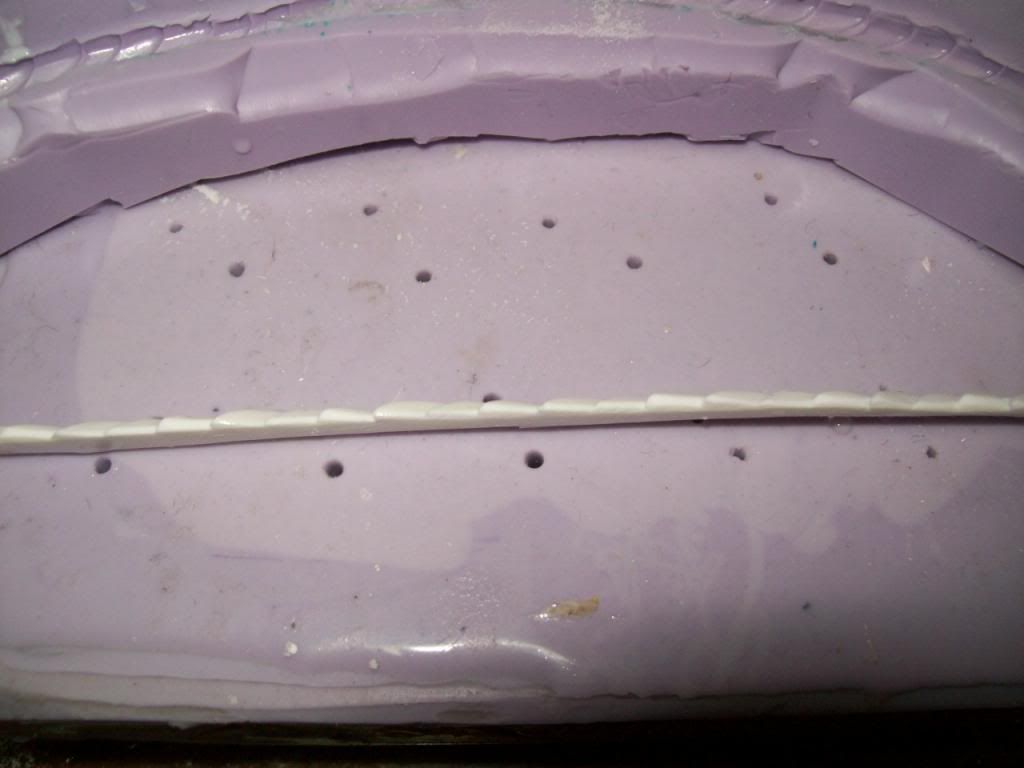 OK. So now I have made this part out of the 300 resin and sanded it down to be thinner from the original piece. I let the hot water from my faucet warm it up good and got it mostly straightened out. Now another mold will be made to create one out of the rubbery resin. Once that part is created it should be a little longer since it is flatter. Then it will be glued to the master using the GE Silicone II. So far the plan is coming together. Lots more pics and info to come. |
|
|
|
Post by Mastercaster on Dec 9, 2012 5:01:27 GMT -8
www.genuinehotrod.com/itemgroup/Machined-6-Speed-Gear-Toilet-PlungerDANG! I was looking through a car magazine at the Christmas party last night and found out one of my ideas already got ripped off! I just can't believe it! Dan said my bathroom must be bugged. I will still follow through with my version though. I bought a 4 speed Hurst shifter ball off of Ebay. WOW! Those things aren't cheap. I was sitting on the toilet one day brainstorming my plunger ideas and thought this one up and went directly to Ebay and found one reasonable enough to bid on and won it. Once the plunger cup is done I have some handle variations to think through and figure out how to actually create molds for them. That will be double secret stuff and won't be posted here.
|
|
|
|
Post by Mastercaster on Dec 12, 2012 7:51:32 GMT -8
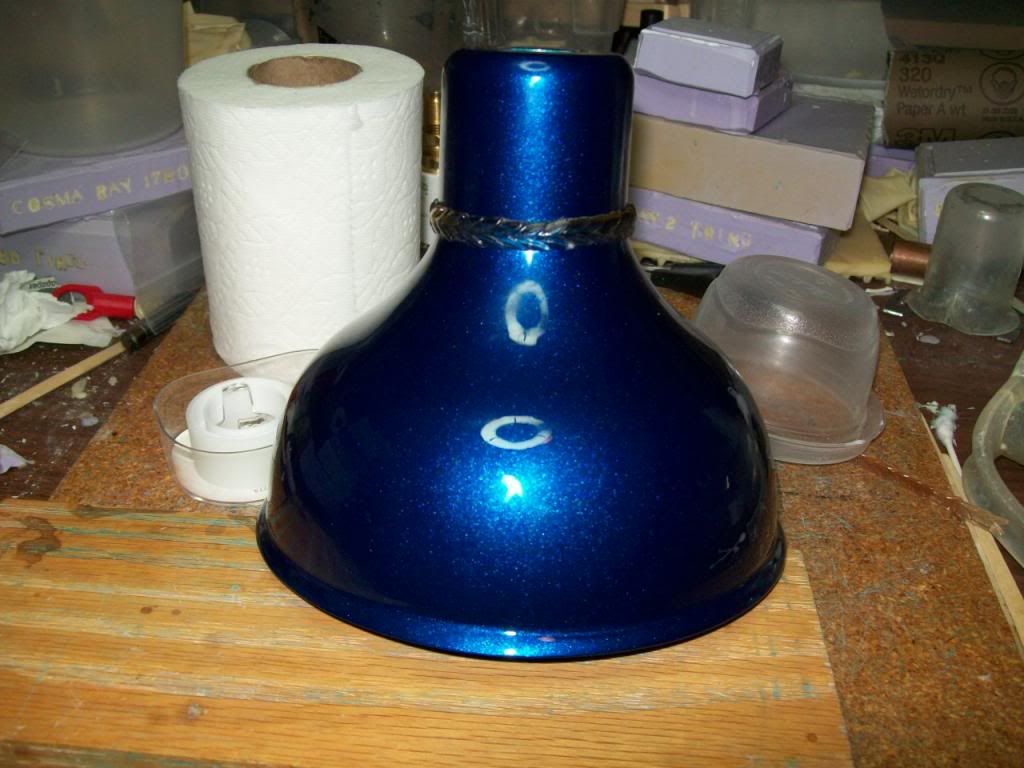 Now that the "Golden Wreath Of Success" Has been applied I will give it a good inspection. It is still a little thick but I will call it good! I spread a thin layer of the GE silicone II on the surface and slid the wreath down over it. It made quite a big mess at the bottom edge and a lot of clean up was needed. I will need to make certain the top edge is sealed good so that silicone will not sneak under the edge in the mold making process. There is still a lot of work to do. Once it is ready I will apply a thickness of the clay that I use. It will get boxed in and then some plaster of Paris will get poured over that. You might find the process on the Polytek site. |
|
|
|
Post by danschevelle on Dec 12, 2012 17:46:09 GMT -8
Looks like a royal flush!
|
|
|
|
Post by Danno on Dec 12, 2012 21:50:25 GMT -8
I think it needs "SS454" emblems and white SS stripes. 
|
|
|
|
Post by FMW on Dec 13, 2012 10:32:09 GMT -8
I think you should get danschevelle's permission and trademark that "Royal Flush" name.
FMW
|
|
|
|
Post by Mastercaster on Dec 13, 2012 10:59:47 GMT -8
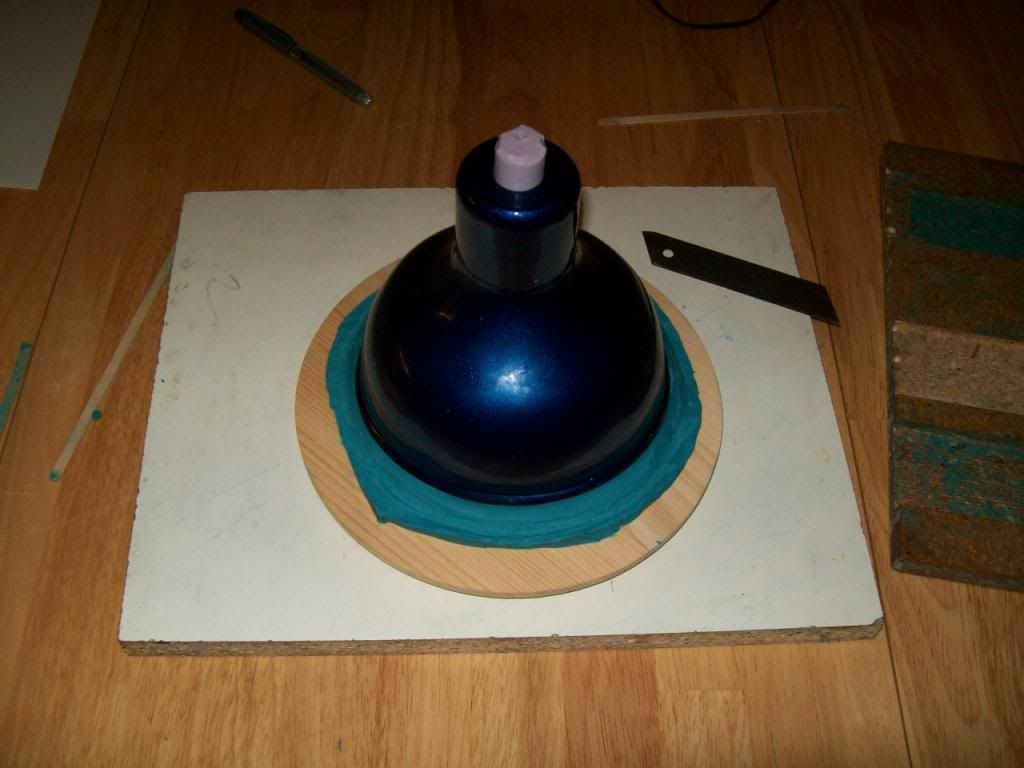 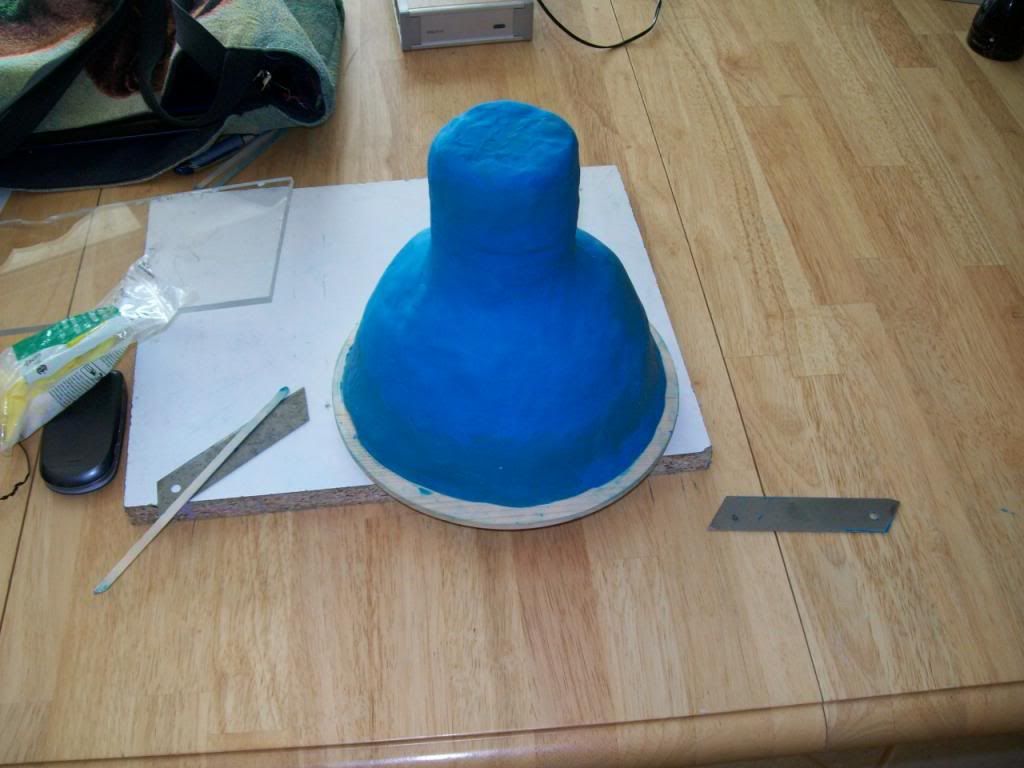 Dans post certainly does inspire an idea. It will be cool if I can pull it off. I will certainly post a pic of one when finished. The above pic shows the plunger on a round piece of wood and the beginning of the claying up process. The other pic shows it covered in a 5/8 inch layer of clay. Honestly at this point I am getting pretty nervous about this venture but am trying to keep a good positive attitude. |
|
|
|
Post by Danno on Dec 13, 2012 13:10:44 GMT -8
Well, you've certainly plunged right into this movement ... you haven't waste-d any time. Hope you don't encounter any stoppages in your line of endeavor!
The MasterCaster's Royal Flush Metalflake BlingThing Plunger will be a classy plumber's friend! 
|
|
|
|
Post by Mastercaster on Dec 18, 2012 12:04:29 GMT -8
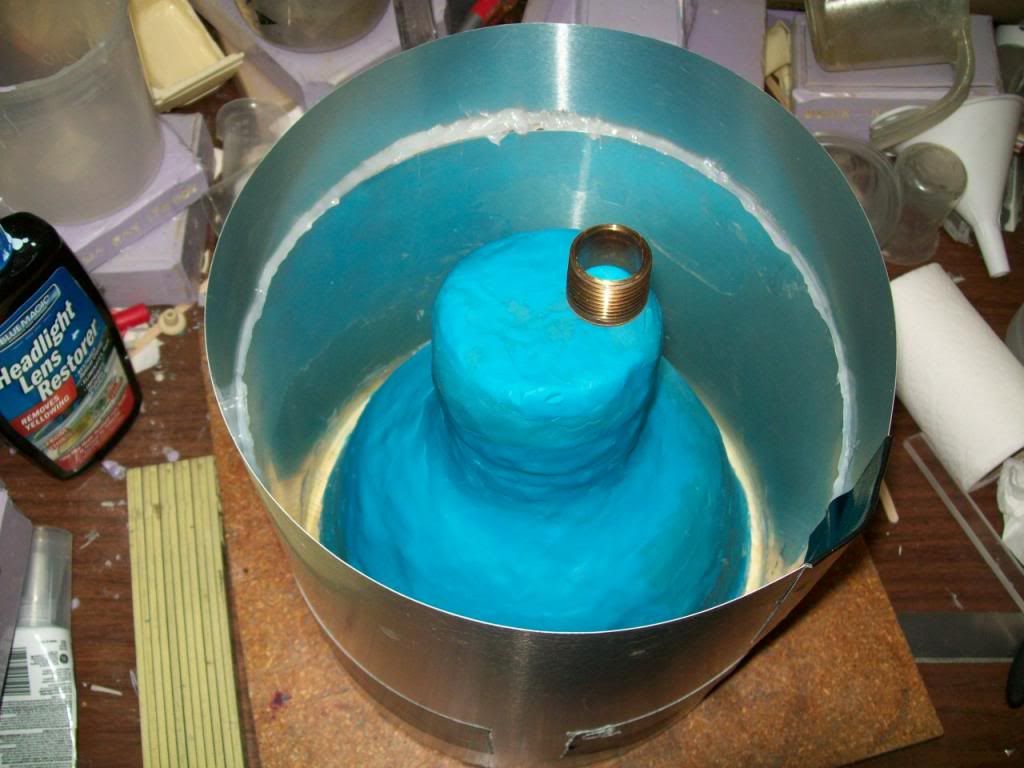 I now have some aluminum sheet wrapped around it. Once the silicone cures that are covering seams I will fill it with Plaster of Paris. The pipe with the threads will stay there. That will be where the silicone is poured in. |
|
|
|
Post by Mastercaster on Dec 20, 2012 9:15:08 GMT -8
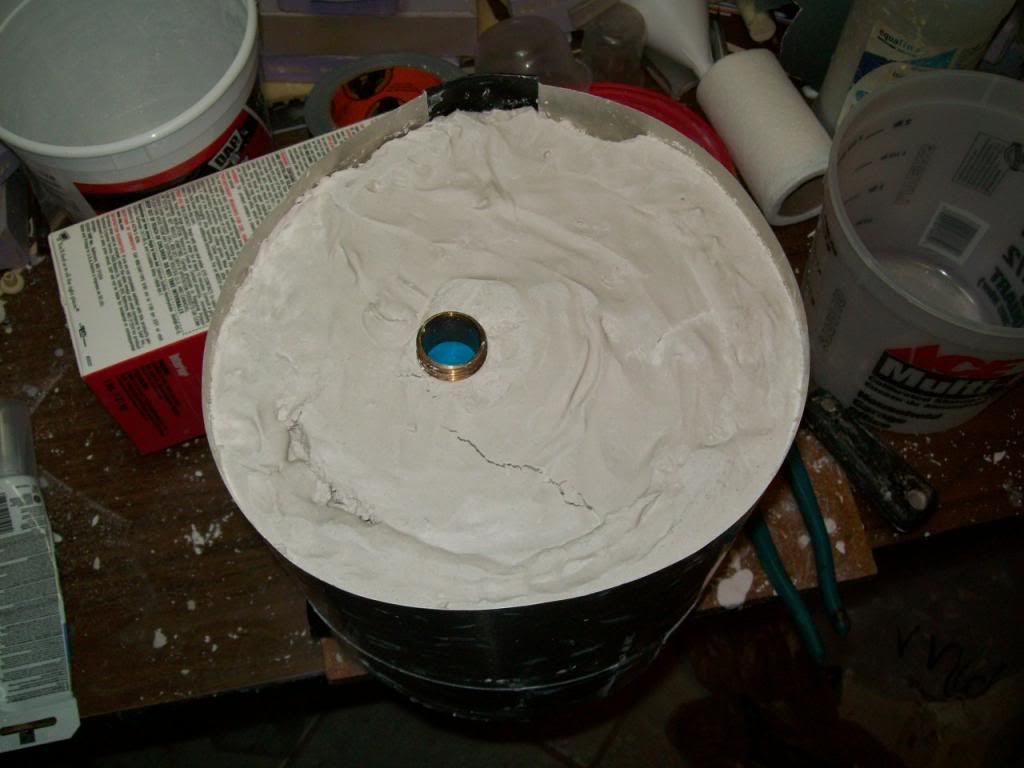 Well........at this point it's pretty ugly. I ran out of Plaster of Paris. I did not judge this very well at all. I had to go to Ace Hardware and buy a couple more boxes of the plaster to get it this full. It still seems a little damp so I will see what it looks like in the morning. I will mix up some silicone to top it off. I'm thinking that I might make the metal form larger diameter and pour silicone to cover the side in silicone as well. The mold is still very heavy. Perhaps I could encapsulate the bottom and side in resin. If only I could create the lid and closing system like the pressure pots I use and it would be a all in one unit. The pressure pot would be part of the mold. |
|
|
|
Post by Mastercaster on Feb 15, 2013 9:51:44 GMT -8
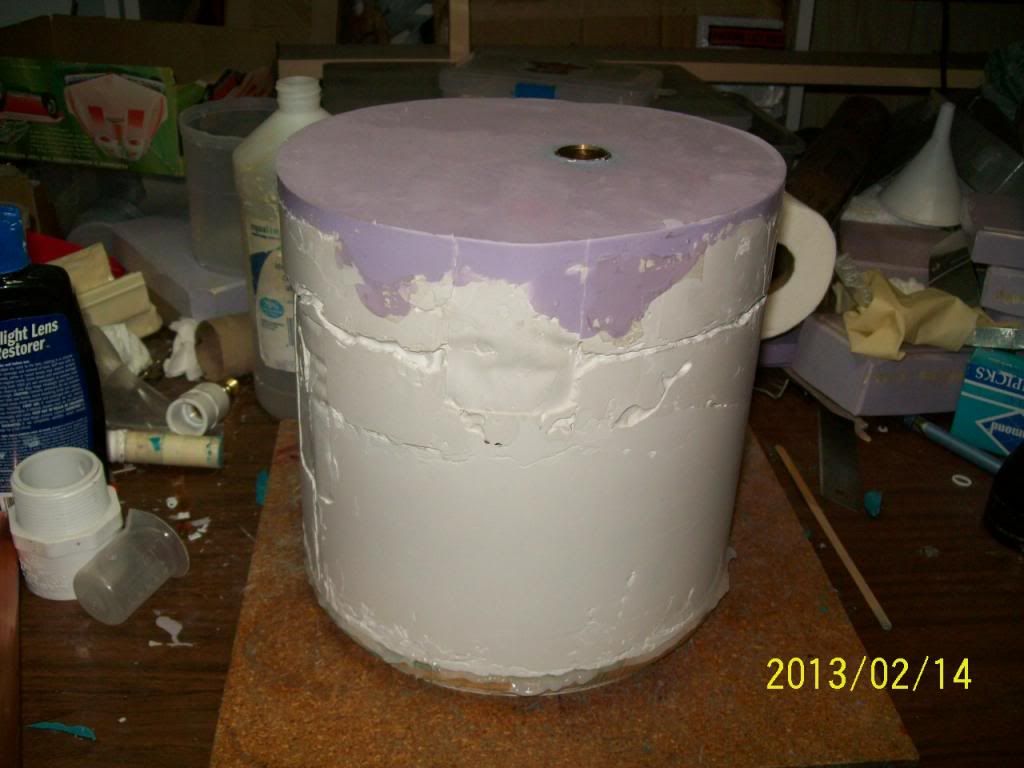 Well....This picture isn't worth a thousand words. It only says that I have resumed the mold.......and I'm still working on the house. My wife and I were sitting on the couch looking at the freshly painted walls and decided to remove the dingy old popcorn ceiling and do something else with it. So I scraped it off by first wetting it good with a pump up sprayer. We bought some flat white ceiling paint and drywall mud. We will thin the drywall mud with the paint and have a bright white textured ceiling. The father and two sons that built my dads house did this same thing. The only difference is.........they knew what they were doing. We hope we can fake it good. We did this room ass backwards. |
|
|
|
Post by Danno on Feb 19, 2013 8:42:10 GMT -8
Professor Gadget strikes again! 
|
|
|
|
Post by Mastercaster on Mar 11, 2013 7:49:34 GMT -8
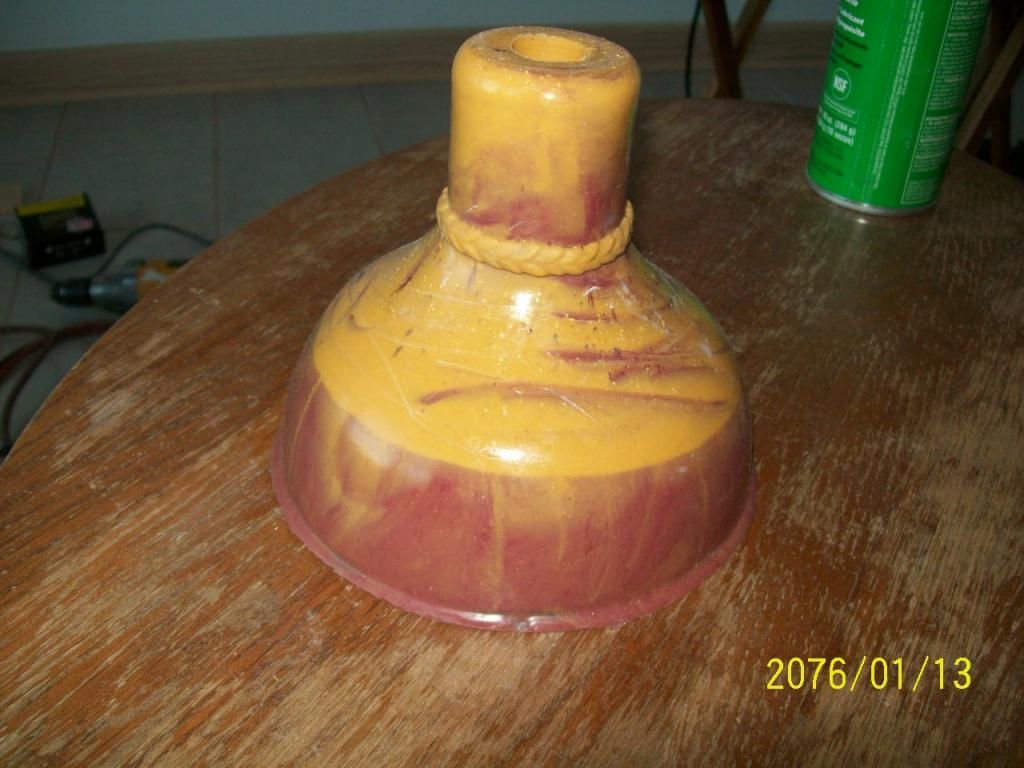 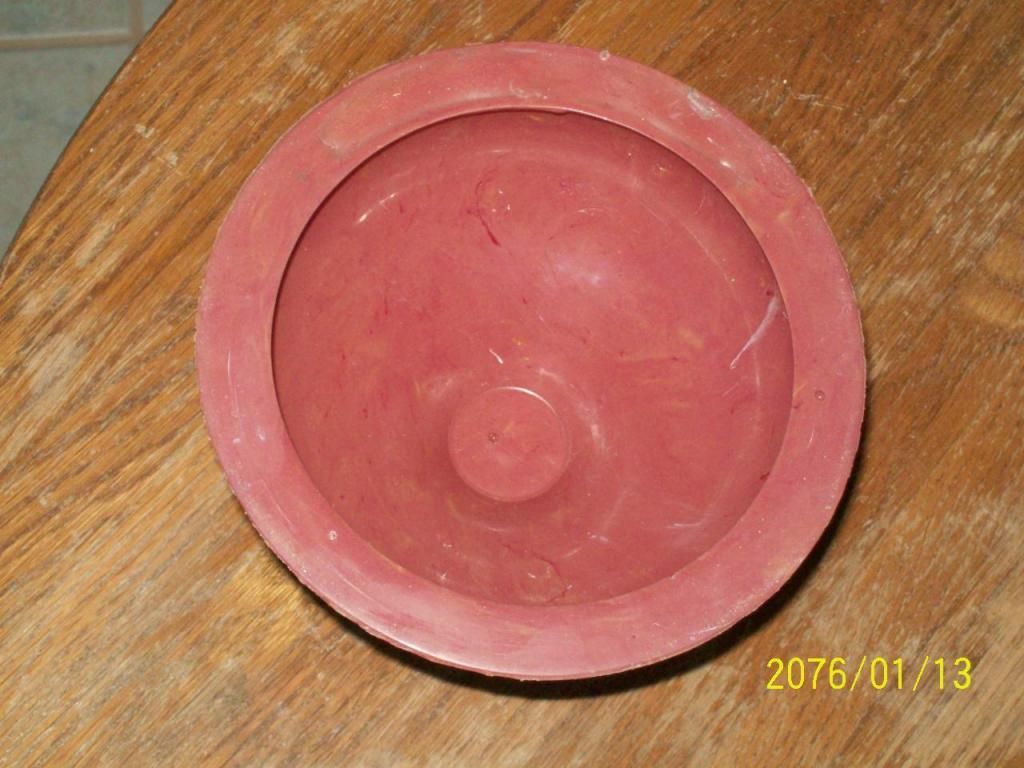 It is time for an update! Well, this mold is crap too. I had to beat it up to get the master out. I went to see Aaron at Ball consulting and he has me set up with some different material. The is the second one I made out of this mold. I decided to try the dry pigment powders. I don't like them at all. They did not mix well with the material. I also realize that I did not put enough white in for the correct colors to emerge. This is supposed to be the Arizona State University colors. It looks like mustard over Ketchup. I poured yellow in and then the red. I stirred it a little but was afraid the two colors would mix to make a color I did not want. Next Time I will swirl then in at the same time in a small stream. So, the first plunger was made from the Polytek PT FLEX 50. With this wall thickness it is still a little weak but on a field test with a toilet full of dooky it did not invert either. That is a good sign. The one pictured here was made from a sample of Polytek PT FLEX 70. This is the stiffest mix that Polytek sells. It is too stiff. It is very difficult to push down. Much like whats her name and the three bears 70 is too stiff and 50 is a bit weak but I do intend to make the wall thicker. The first plunger that is still at work had an area that did not get filled in but it is still a decent plunger. As you can see the bottom side at the top this one came out with a hollow area. I filled the hollow spot with my favorite clear GE SILICONE II. |
|

