|
|
Post by Mastercaster on Jul 16, 2013 10:34:49 GMT -8
|
|
|
|
Post by Mastercaster on Jul 17, 2013 9:34:11 GMT -8
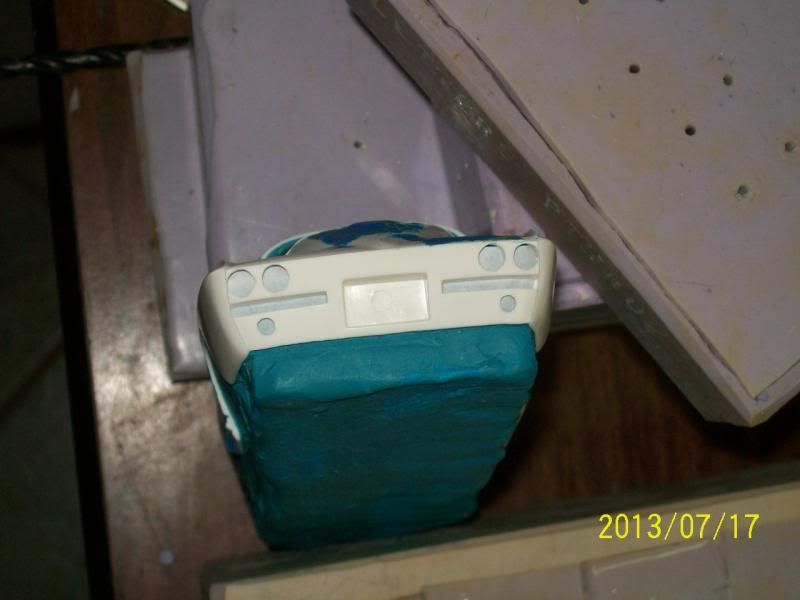 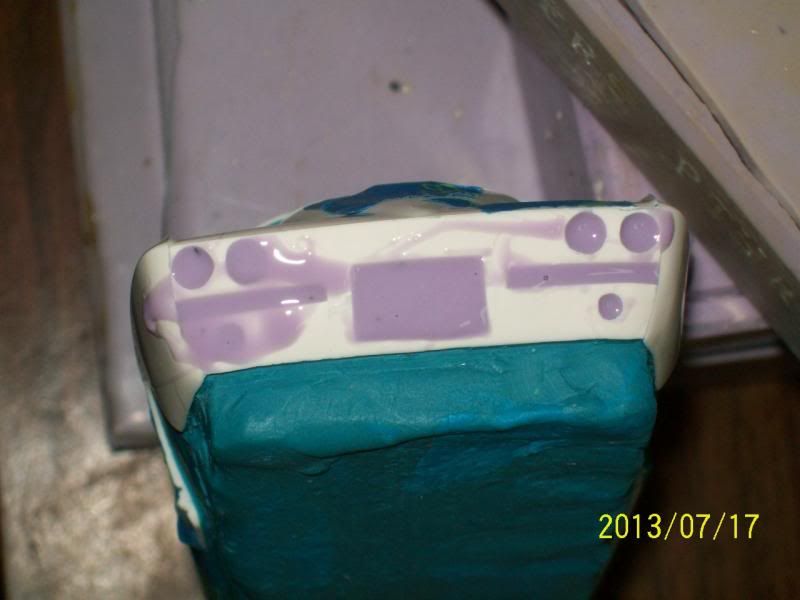 Before I started to clay up the inside of the body I cut a piece of printer paper and inserted it inside the body. Removing clay residue from handling can be a time waster. I mixed up and vacuumed a small amount of silicone and put it in the openings of the rear end of the body. These areas can have air bubbles form in them when pouring a large amount of silicone over the body in the mold making process. I am not really very happy with the mold I made of the SMP 61 Corvette convertible body. It caused much prep work for the builder. 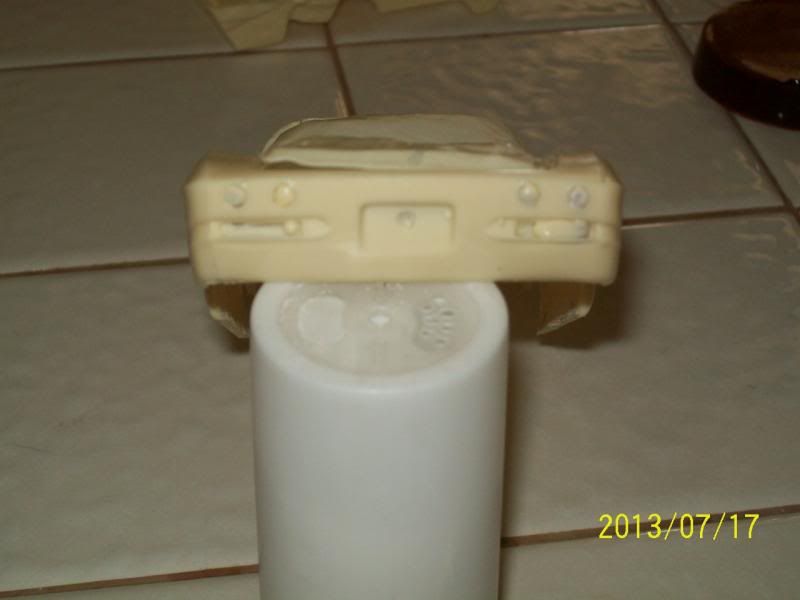 See?? UGLY! UGLY! UGLY! Now that I think about it I might be able to repair this mold like the repair I did on the Mercedes transporter. |
|
|
|
Post by darkrapid on Jul 18, 2013 21:06:21 GMT -8
This is really cool!!
|
|
|
|
Post by Mastercaster on Jul 19, 2013 9:12:06 GMT -8
Thanks, Raoul, this is cool! 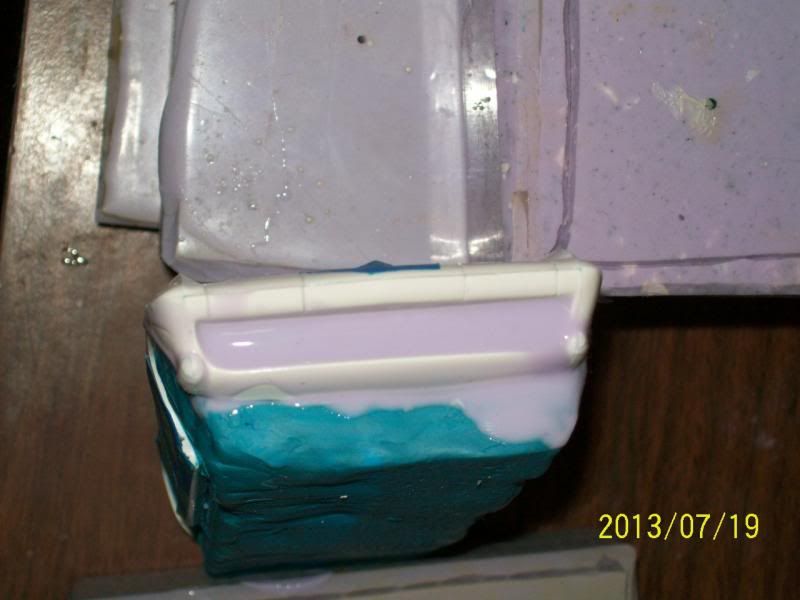 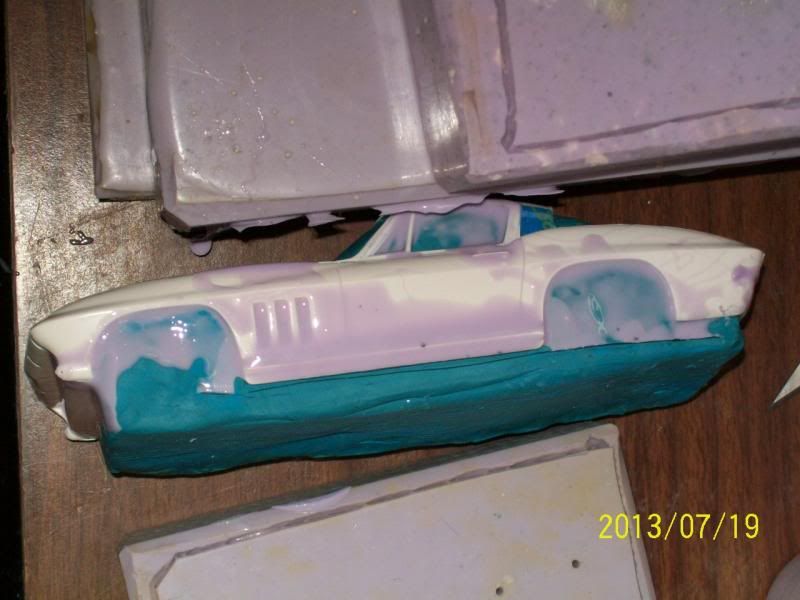 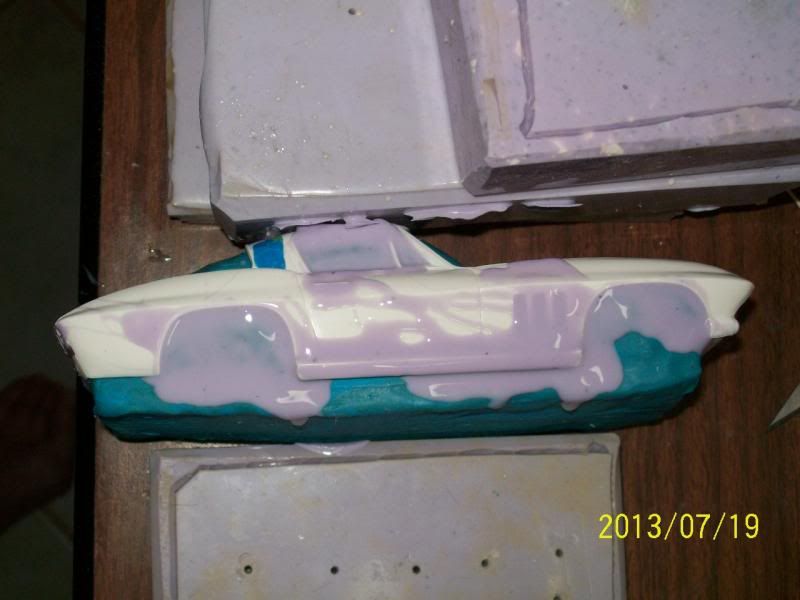 I have filled in the rear, front and both sides to hopefully help make this a good mold. You won't be able to do this with some silicones and other materials like the Polytek Flex products. because the first layer will not bond to the next layer. The dark spots you see are not air bubbles. The activator tends to crystallize and small pieces come out of the bottle. |
|
|
|
Post by Mastercaster on Jul 20, 2013 21:35:16 GMT -8
|
|
|
|
Post by darkrapid on Jul 21, 2013 8:42:15 GMT -8
Don't forget the cowl vents. That is another problem area!!
|
|
|
|
Post by Mastercaster on Jul 21, 2013 10:17:27 GMT -8
OOPS!! I don't know how I missed the obvious, thanks. That will set me back about an hour. DANG!!
|
|
|
|
Post by Mastercaster on Jul 21, 2013 10:56:05 GMT -8
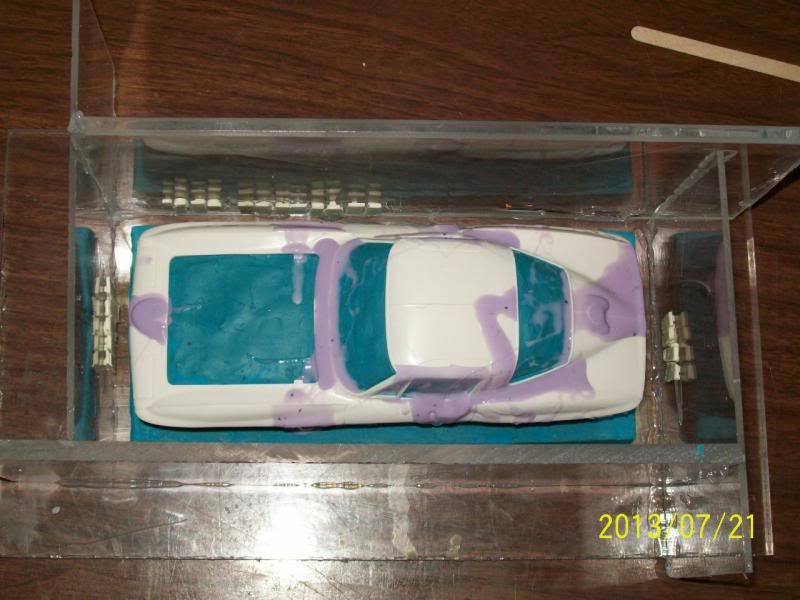 GOT IT! Thanks. While I was at it I added a dab to the door handles and badges on top of the body. 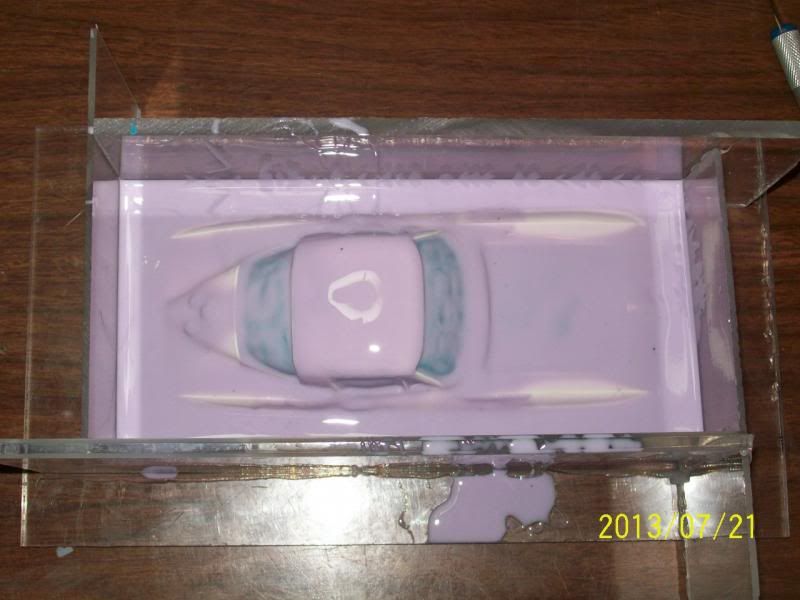 |
|
|
|
Post by Mastercaster on Jul 22, 2013 10:23:12 GMT -8
|
|
|
|
Post by Mastercaster on Jul 23, 2013 11:07:34 GMT -8
The mold is pretty much done. WOW!! This post has been read over 230 times. Tomorrow I will be taking it apart and removing the master and then attempting to make a good copy.
|
|
|
|
Post by Mastercaster on Jul 24, 2013 10:44:25 GMT -8
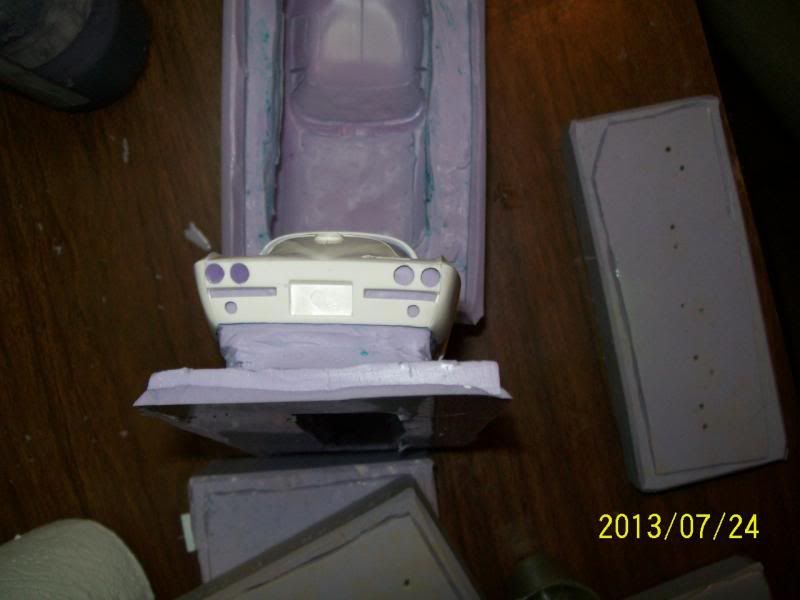 OK...So a problem did arise. Upon removing the body from the mold a plug that formed a tail light opening pulled out. There is a rough opening defect on the inside of the body. I attempted to trim the plugs that stayed on the mold that forms the outside of the body. Now one side has innies and the other side has outies. Kind of like belly buttons. LOL |
|
|
|
Post by davewilly on Jul 25, 2013 6:22:01 GMT -8
Looks pretty good Mr. Shartin!
|
|
|
|
Post by Mastercaster on Jul 25, 2013 10:40:37 GMT -8
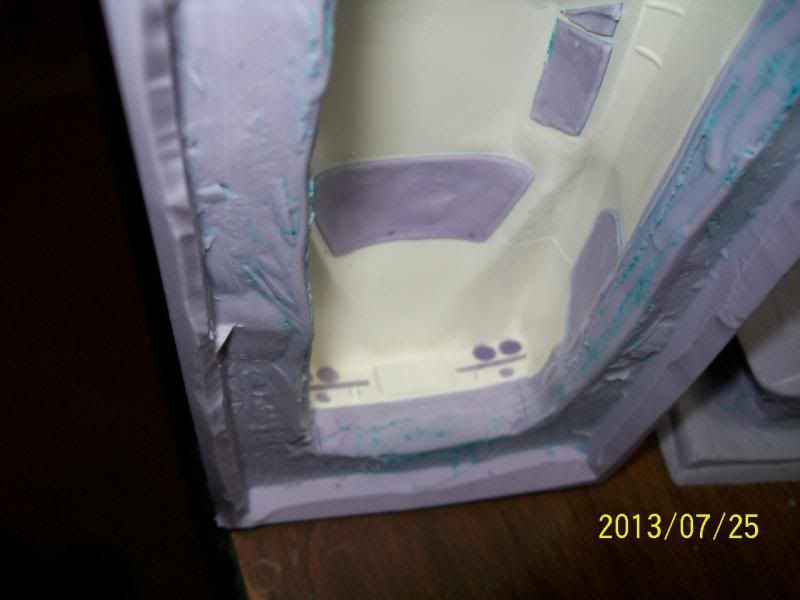 I don't know what I was thinking! I put the body in the other part and filled in the hole from the inside. I want the parting line or flash to be on the inside of the body. 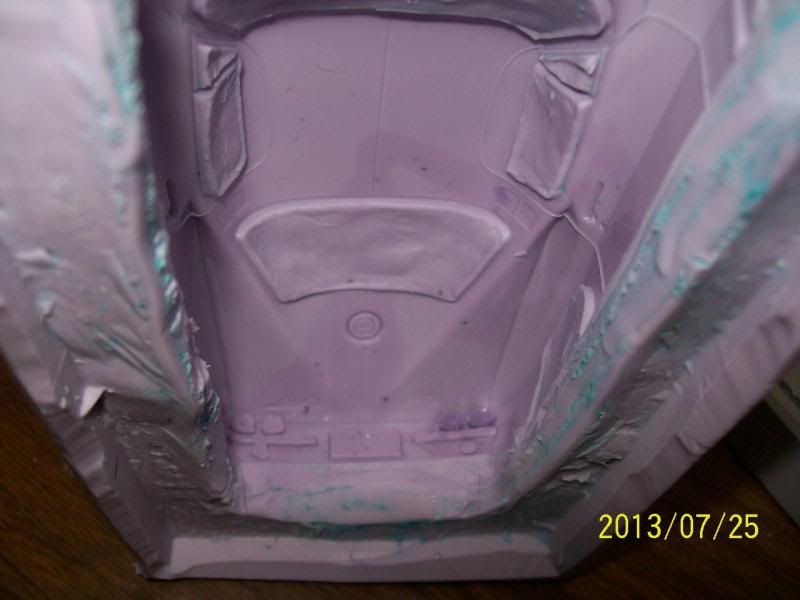 Here is a pic of the repair with the body removed. 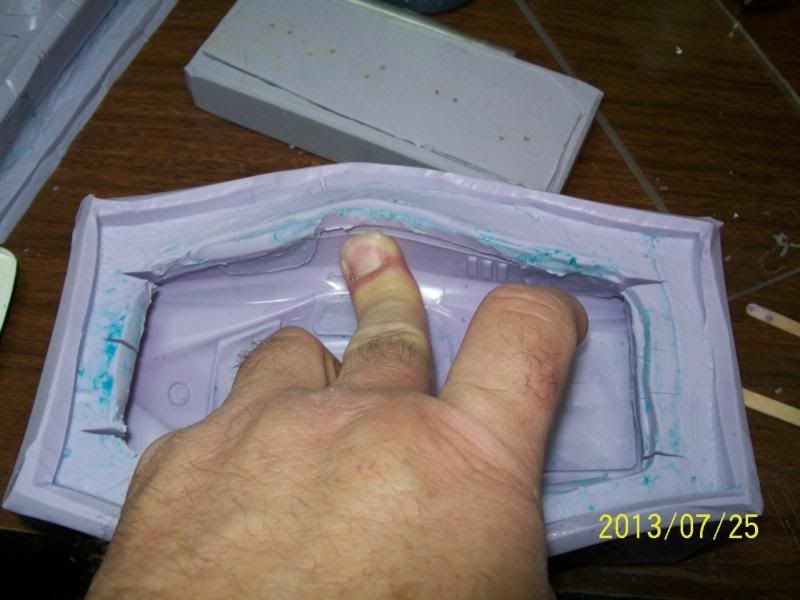 I made these relief cuts in the mold to help remove the resin body and then I gave it a quick spray of mold release. The mold release is not something I normally do right away with a mold except I repaired it. 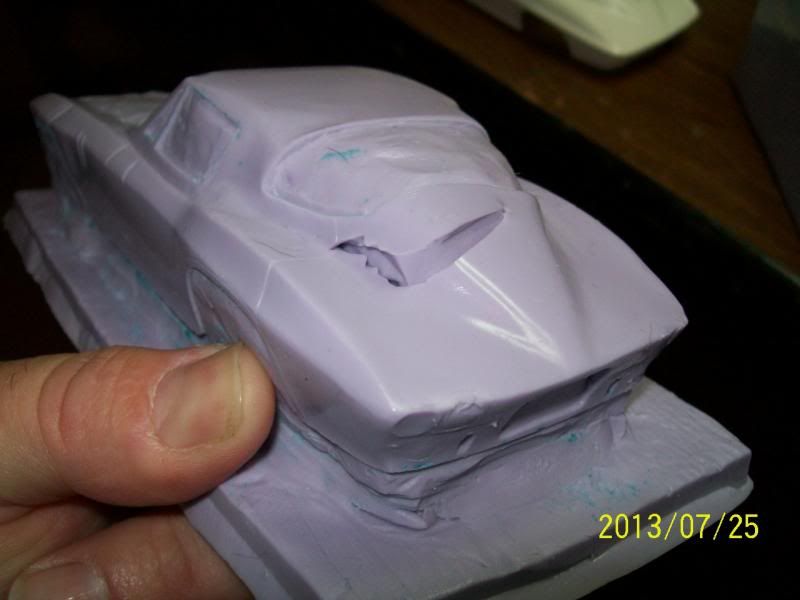 Here is area I forgot to repair before I sprayed the mold release on. I don't think it will cause too much of a problem. 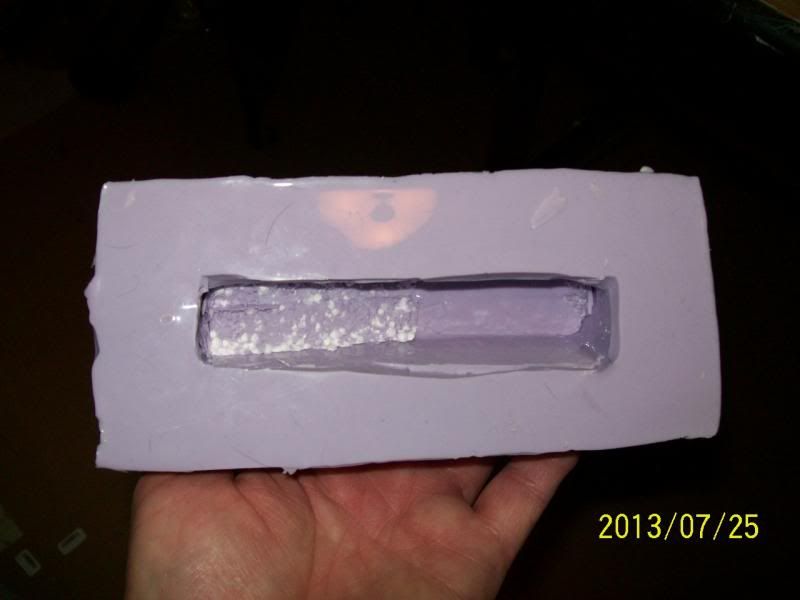 The tear was caused by removing the foam block I put in the mold to create this open cavity to help demold the new resin body. I cut a small block and wrap packing tape around it so that it can be easily removed. This attempt just turned to s!(^. 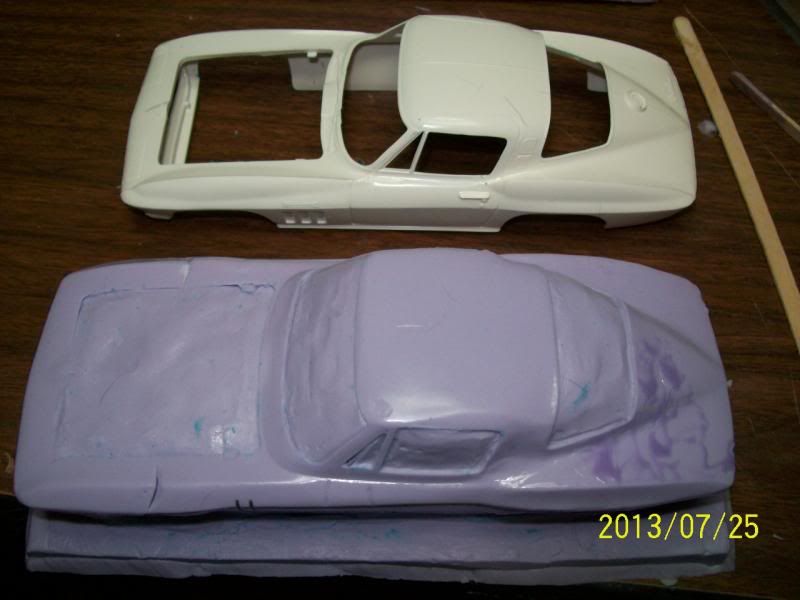 Here is a pic after the repair. Hopefully the repair will hold up but the silicone won't stick to where I spayed the mold release on. |
|
|
|
Post by Mastercaster on Jul 29, 2013 14:49:37 GMT -8
|
|

