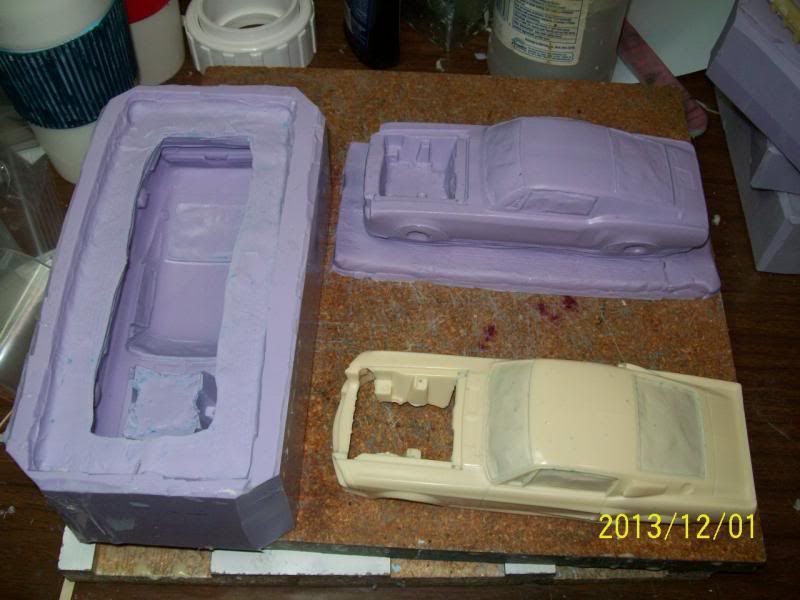
Post by Mastercaster on Nov 24, 2013 10:36:50 GMT -8
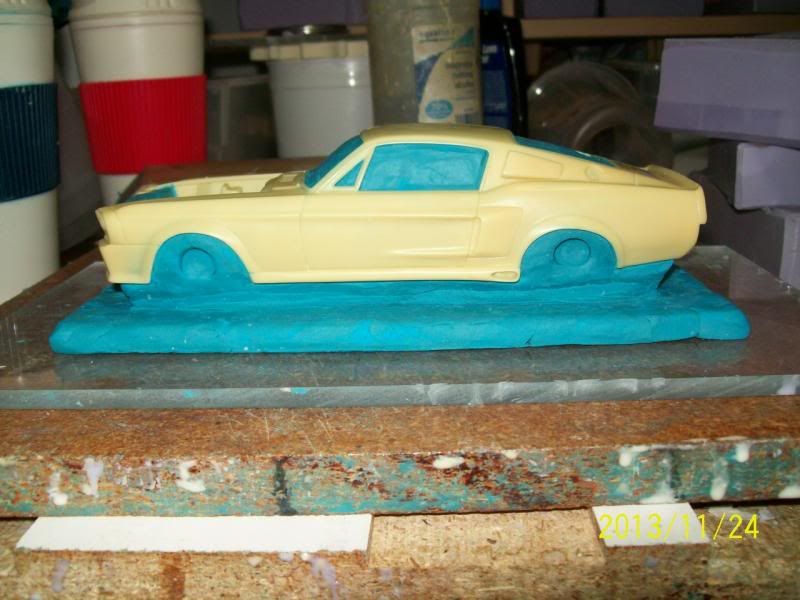
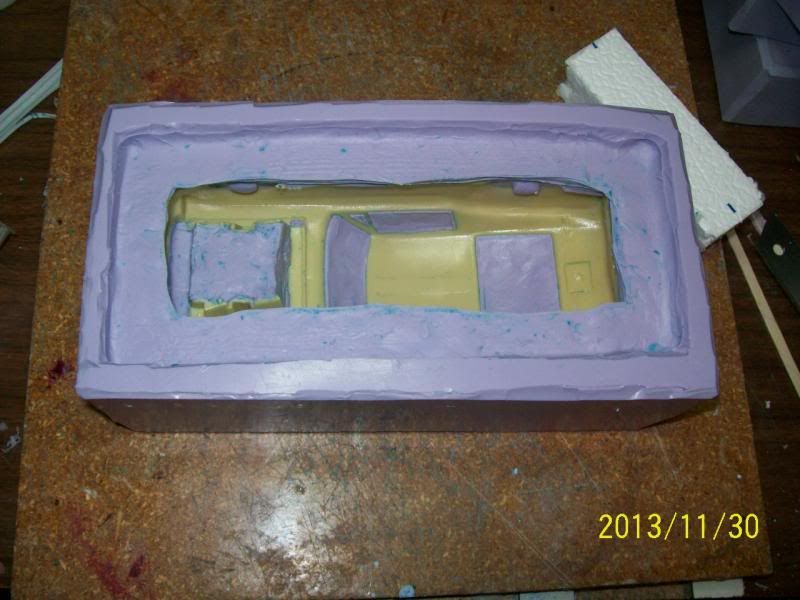
Time for a new body mold for Eleanor. Detail that creates the inside part of the body side scoops and exhaust have pulled from the mold. I don't know how to repair so I just will have to replace it.I think this is the fourth mold I have made of this body. The second one one so bad I did not even try to use it.
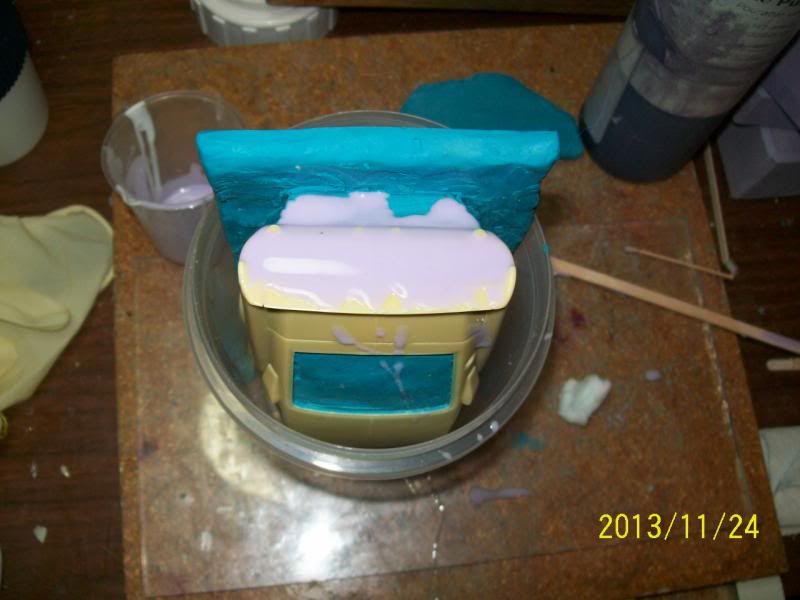
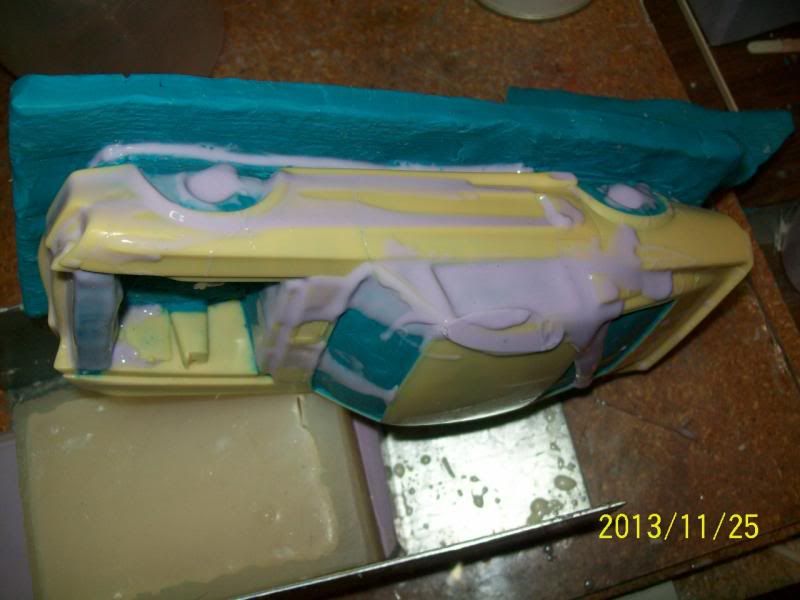
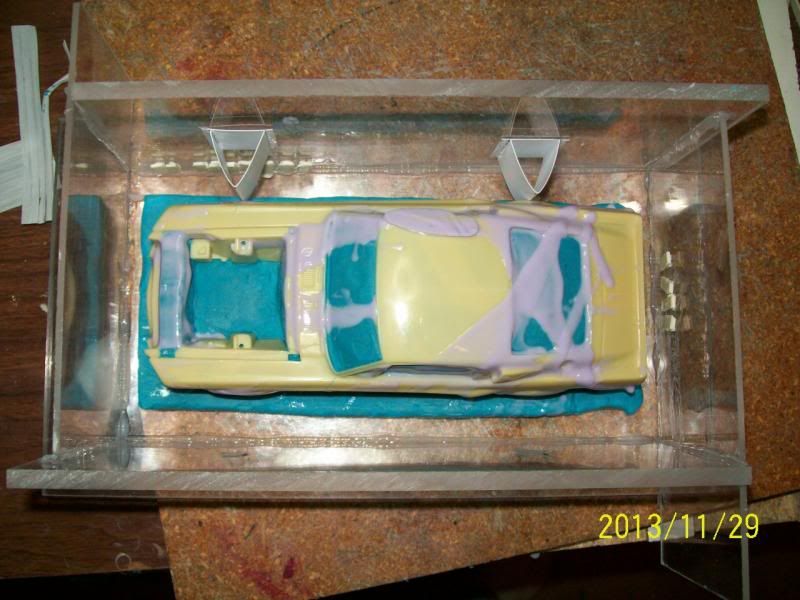
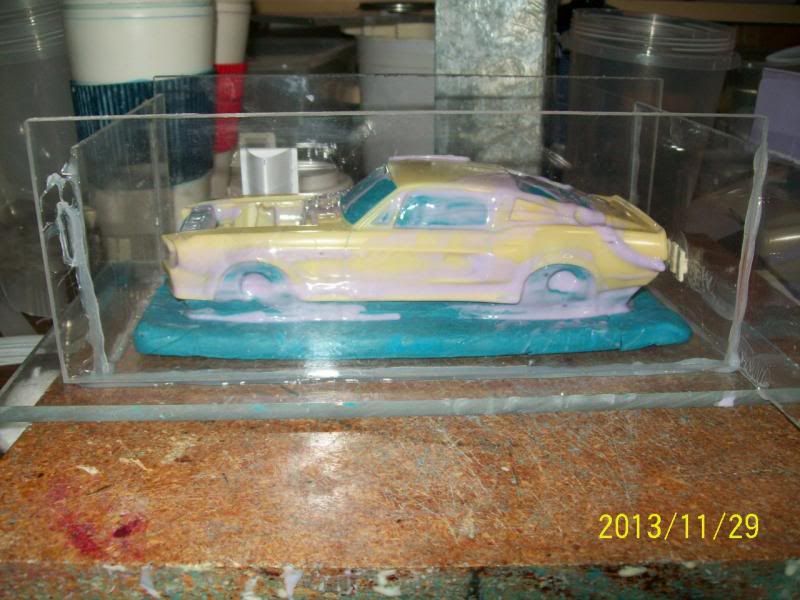
I am going to go around the perimeter of the body and make small pours of silicone. I am starting with the rear of the car. I mixed and vacuumed a small batch and poured over the back end of the body. Despite vacuuming the silicone small bubbles will still work out of the mix.
A note about silicones. The silicone I use is a 10 to 1 mix. Honestly I can't remember if it is a tin or a platinum silicone. It has the ability to bond with a layer that is poured over it after it has cured. HMMM...well mostly. There is this phenomenon where a sort of ghost layer can sneak around the back side of a part. After a few pours of the resin becoming very hot while curing this ghost layer will start to free itself from the mold. Some silicones that are a 1 to 1 mix may not be able to do this as layers may eventually delaminate causing the mold to come apart. Another thing about silicones is air bubbles. Many companies state that de airing is not necessary. I would say this might be true and you will make a good mold that will be successful if it is not over an inch deep and you don't have any undercuts on your master part. Despite my vacuuming silicone I have still encountered air bubbles in places like wheel wells, grilles, dash parts inside the area on a bumper where a license plate is located and where fine detail exists. One thing you can do is get a cheap chemical brush from a hardware store. Dip the brush in the silicone and just dab or stipple it into the detail of the part before pouring the silicone over it. This should help stop bubbles from forming next to your part otherwise your part may pull out with tiny warts on it. On a dash part it might look like a knob out of place. If you are pouring a amount that is deep like this body mold you can mix and pour several small batches. You should be successful if you do not allow a small pour to fully cure before adding another small batch to your mold box. Be certain to weigh or measure the parts as precisely as possible. If you are using a 10 to 1 mix and you are guessing you may not have enough activator to finish the silicone that is left. This will not be good if you are in some kind of crunch mode for your project. Adding more activator than needed will cause the silicone to cure much faster increasing the chances for unwanted air bubbles. It will start curing before the bubbles can escape from the mix.
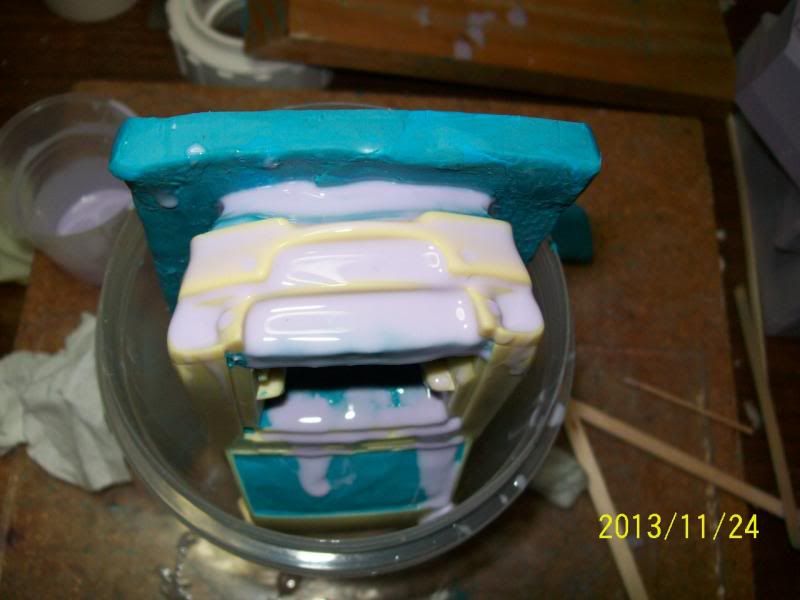
Now that the silicone poured on the back end of the body is mostly cured I have done the same with the front end of the body.
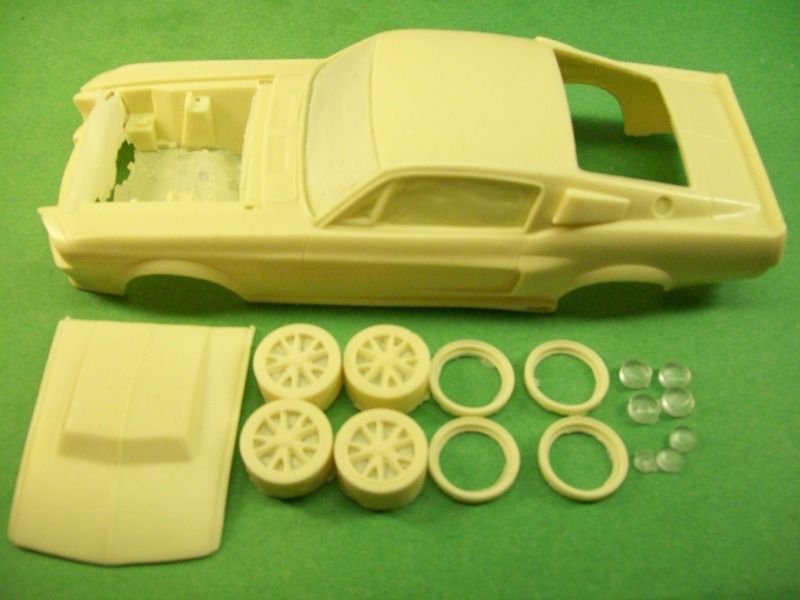
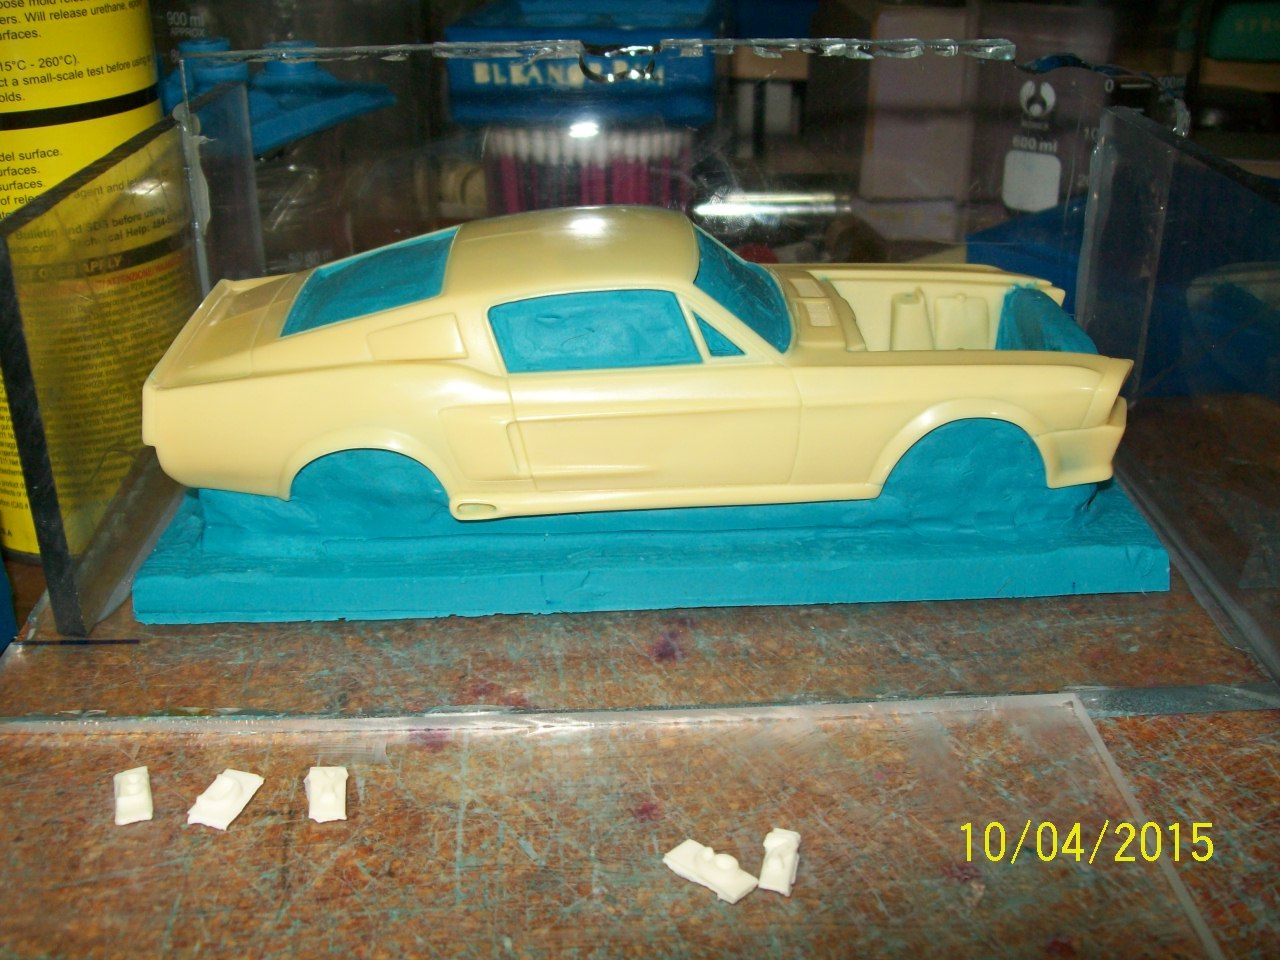
Picture of parts in transkit.


