|
|
Post by Mastercaster on May 25, 2009 11:29:48 GMT -8
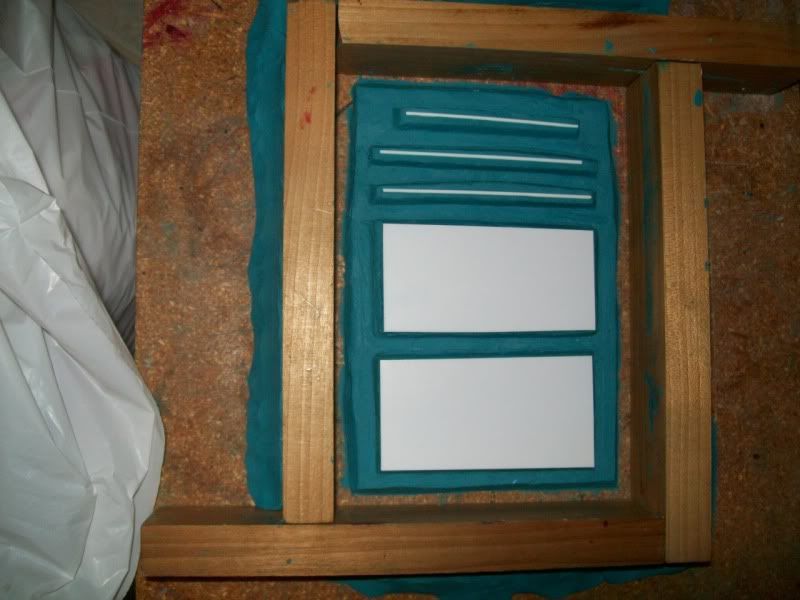
This is the beginning of another resin casting project. I chose to base it on the AMT Pro Shop kit. This kit has a ton of parts and photo etch parts as well. We all know I like parts!. I am starting with the windshield on this project. If I can make bubbletops, I'm hoping I can make this too. I took the sunvisors from the 55 Chevy skill 3 convertible kit and glued them on here for casting.
|
|
|
|
Post by darkrapid on May 29, 2009 15:44:41 GMT -8
This would be a cool addition to your resin catalog!!
|
|
|
|
Post by Mastercaster on May 29, 2009 17:41:58 GMT -8
It's getting off to a depressing start!. I made the windshield mold. I'm going to already need a new one!. I got a new batch of clay and it is softer and very sticky. It pulled the master out of side one of the silicone mold. When I put it back in, it made a couple of wierd lines for some reason. The first clay was hard, had to be heated to work with it and would peel out easy once you got it started without problems. I cleaned up my grinder and attempted to try to blend the two together. It's a bit of a mess. The first windshield I pulled out the next morning and the resin had not fully cured. I threw it away. I had polished the master with Bare Metal Foil plastic polish and I did not wash it off, they may have reacted.
My next idea to clay up a window is to put saran wrap next to the part and put clay next to it. If I do this in layers it should be easy to remove. I need the silicone to keep a good grip on the window.
Also, I'm trying to reshape a convertible boot and that's not going well either. I had to make it wider and I can't get rid of the lines from that mess, I keep painting it with primer and sanding it. I did start a mold today of the 58 bumper with the CONT. kit and the X braces from the 55 kit. I've been bummed out so I have not been in a picture taking mood.
Anybody know how to make a uptop from scratch? Or maybe have something I could try and resin cast if it works? I'm thinking about casting a small piece of flat metal and some wire and maybe even a piece of silk for the top texture. That way, I could build it in layers and add the piping where needed. Here again, I'm a bit determined. Layers of resin will form easily in hot water. The 55 uptop fits nice on the windshield edge but is a bit long and not quite wide enough. I might try to copy the 55, heat it up and reshape it, but it is a lot of work either way.
Greg
|
|
|
|
Post by Mastercaster on May 31, 2009 12:31:50 GMT -8
I found a uptop in my 59 skill 3 Impala kit. It's a really close fit. A little long at the winshield frame and pretty close fit where it fits in the opening at the back. I will recast this and work with a resin copy.
The 58 Cont. kit bumper and X braces turned out nice. I will cast the 57 bumper and then get the 57 Cont. kit Bumper mastered, hopefully.
|
|
|
|
Post by Mastercaster on May 31, 2009 15:58:22 GMT -8
I needed a nice contoured part of the surface of the 57 bumper for the continental kit. I did not take any pics, but here is what I did. I cut the 57 bumper in two. I pushed the bumper into the clay and then moved the bumper around to create a hole that was bigger than the bumper and yet formed the contour of it too. I put a light coat of silicone grease on the surface of the bumper. I sprayed some mold release on the clay and let it set a bit so the carrier would dissipate. I set up a small stand out of clay that the bumper would stick to to hold it up. I mixed up some resin and poured it in the hole. After the resin cured I pulled out the nicely formed part from the clay and removed my newly formed sleeve from the bumper.
|
|
|
|
Post by darkrapid on May 31, 2009 21:49:02 GMT -8
That sounds really cool and coming along well!! I'm not sure what you are trying to explain in that last post. I guess I need a picture.
|
|
|
|
Post by Mastercaster on May 31, 2009 22:28:26 GMT -8
Yes, I should get out of my photographic slump and take some pics. I made another windshield mold. Upon taking it apart and pulling the master out I discovered that the silicone that was poured over the first side barely covers the part. This is a real big bummer. I guess I got sidetracked and did not put more in. Now, I'm hoping to cut some small pieces of metal, glue them to the mold using them as sideboards and add more silicone.. If this does not work, I will either give up completely, make another one or do it later once I have recovered from failure on this part.
I should really be focusing on my kit exchange.
|
|
|
|
Post by Mastercaster on Sept 12, 2009 11:28:06 GMT -8
 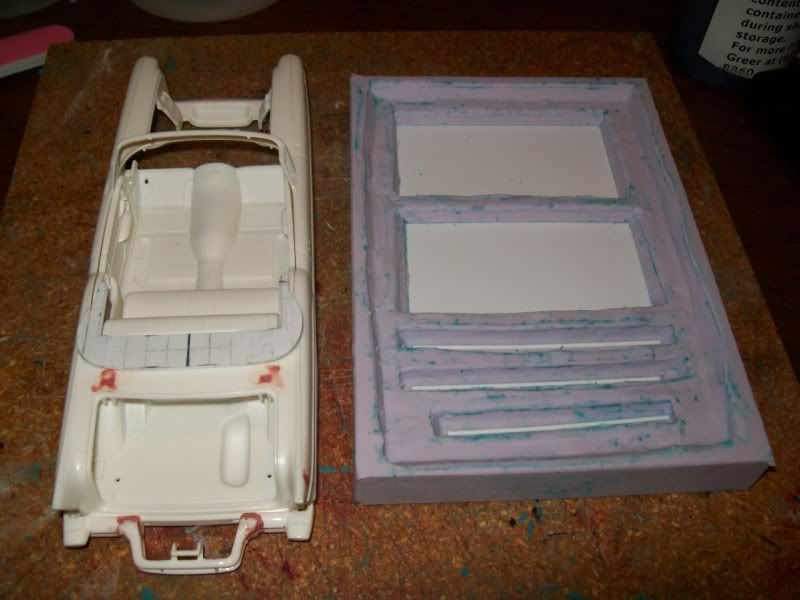 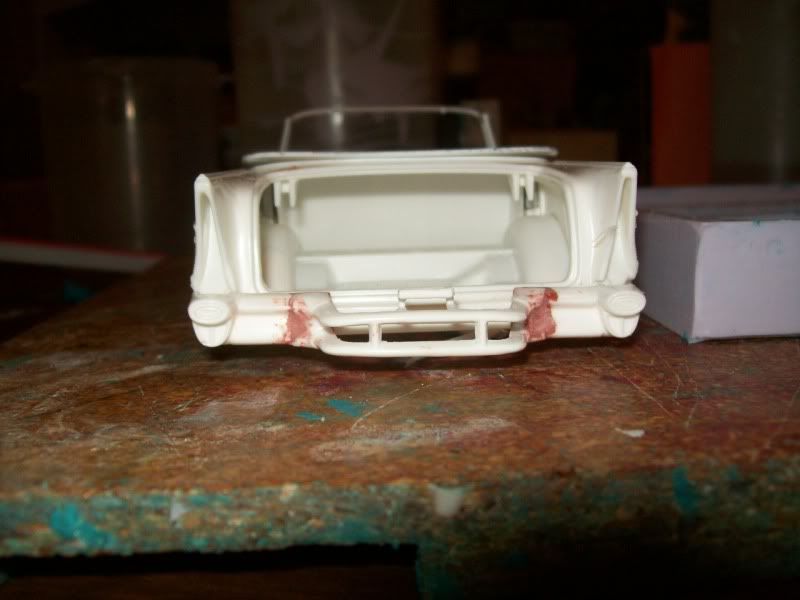 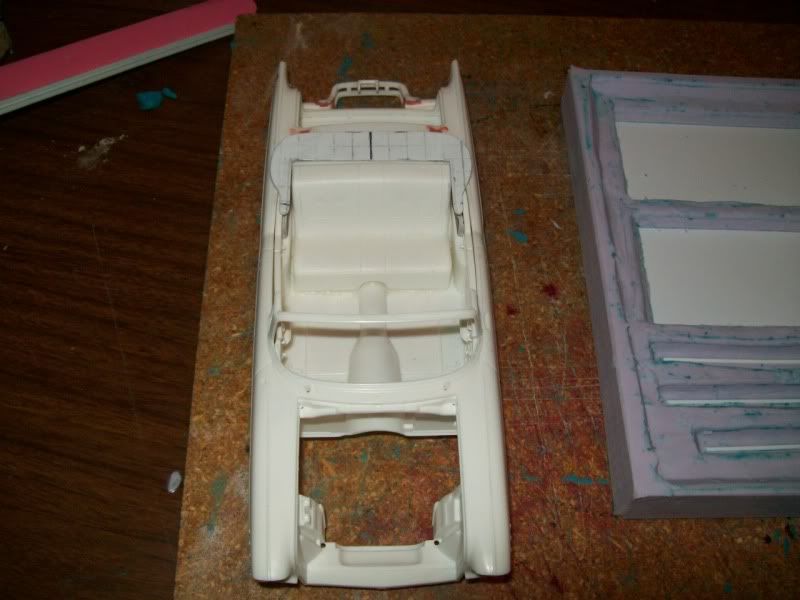 Here are some pics of my attempt to create a convertible Bel Air. The continental kit is going OK so far. I resin cast the kit parts from the 58 Chevy kit and the bumper from the 57 kit. At first when I glued the continental part on the 57 bumper it was slanted down some. I was not sure how I was going to fix it. I put the bumper in some really hot water and tweeked it up so it all looks pretty good now. If it turns to crap, I can just make new parts from my mold and try again. The top drivers side rail on the continental part looks like it needs to have some heat put on it and pulled up slightly. That is one nice thing about resin and hot water, you can move a resin part around, you can also melt it into a lump!! I made a template out of .40 styrene sheet. I will cast these two small sheets and rod. Once I have a sheet of resin, I hope to transfer the pattern, cut it out, heat it up and then set it on the body and hopefully it will drape over the edge like my reference pic. My first attempt at making a boot did not go well. The body filler on the bumper needs more work. This is the part of this project I really could use some professional help with. I really need this to be a good master part and I don't know how it should look where the bumper meets the continental part. I see what the original 58 looks like. The surface shape of the 57 and 58 were the closest, but not quite the same. |
|
|
|
Post by Mastercaster on Sept 20, 2009 10:07:08 GMT -8
I went to the build session yesterday. Mike and I looked through a couple of boxes of seats. We looked through a box of bucket seats and a box of bench seats. My quest was for a pair of bucket seats for the front. Mike having owned a 57 Chevy convertible and other older cars chose some nice sets but the seat pattern does not match. We tried buckets in the front pan and even buckets setting on the rear bench seat for ideas and he tried to explain custom looks of different periods of time when the car customizing craze started in the 50's or whenever it really started. His suggestions and information made my head spin since I really don't know anything about cars. I wasn't really planning to do this but I am going to cast the front and rear bench seat and attempt to create bucket seats for the front and rear. It came to mind that Buick built the Park Avenue, it was an upper class car of the Electra 225. It started in 1975, it was a four seat luxury car that had a console going full length through the middle of the interior. Just out of curiosity, were there other four door big cars that tried this mode of style? Pictures at11 or 12 or whenever I get around tuit. 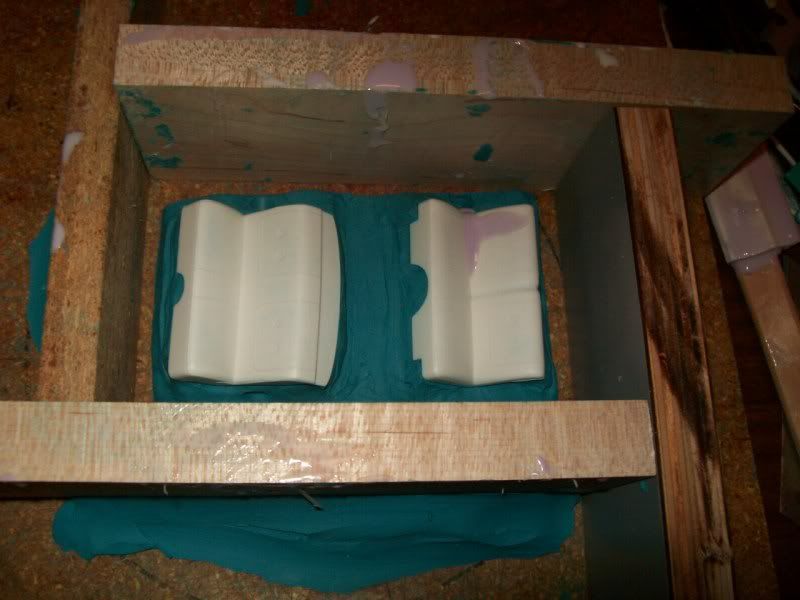 Here is a pic of the started seat mold. |
|
|
|
Post by Mastercaster on Sept 27, 2009 13:51:25 GMT -8
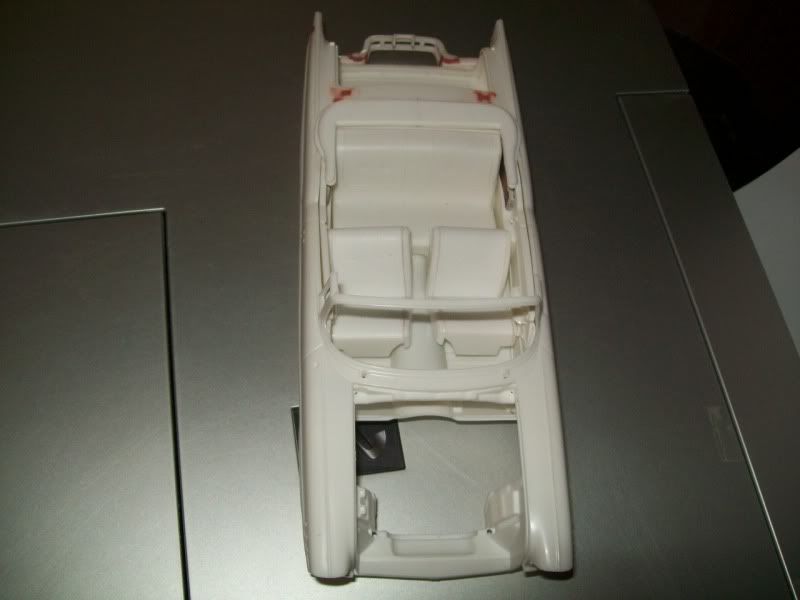 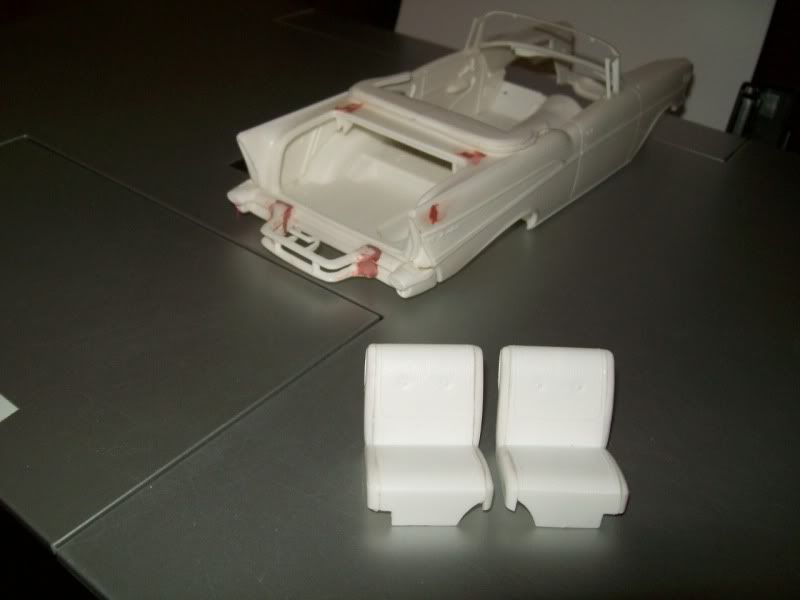 Here is a pair of bucket seats that are half mastered. I need to know what I can do to the base of the seat where the transmission hump keeps the seat from setting in. There is also another piece that gets glue on for a back and bottom. Any help would be appreciated. Greg |
|
|
|
Post by darkrapid on Sept 27, 2009 21:29:43 GMT -8
I have filled in area's like that with epoxy putty. Let it harden then sand smooth. Great stuff for that.
|
|
|
|
Post by Mastercaster on Nov 22, 2009 20:17:10 GMT -8
progress update: Fellow modeler and club member Doug Johnson took a big interest in this project. I handed the mastering over to him. He has taken on the crafting of the boot and a up top for this project. I spoke with him today and he said it was going very well. The boot is done and the up top is almost complete. He is completely confident that the up top will be very nice. He is very excited about this project and I am too. Thanks for your help on this one, Doug.
|
|
