|
|
Post by Mastercaster on Jan 10, 2010 21:21:05 GMT -8
I would like to extend a big THANK YOU to Danschevelle for helping me with this project. He and I looked at parts for several hours yesterday. He loaned me some parts from his kits to replace ones I had that were in better shape than mine and a body to get more cowl detail. Someone on the HH board posted a link to his photo album of a Beaumont build he did. I take it that's the Canadian Malibu?? 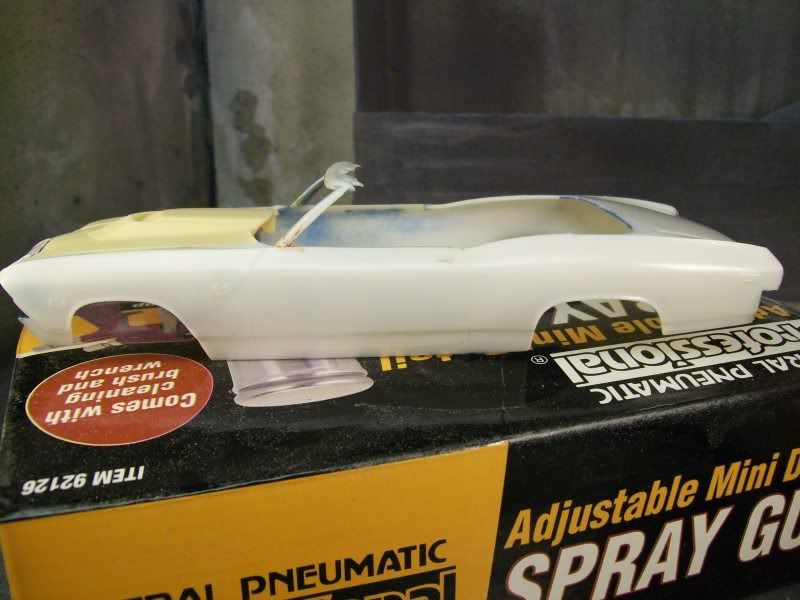 Here is the beginning of another project. I had to repair the frame a couple of times. I got that area all cleaned up and then polished it out with the BMF plastic polish and then washed it good. I got the hood from Drag City Casting. 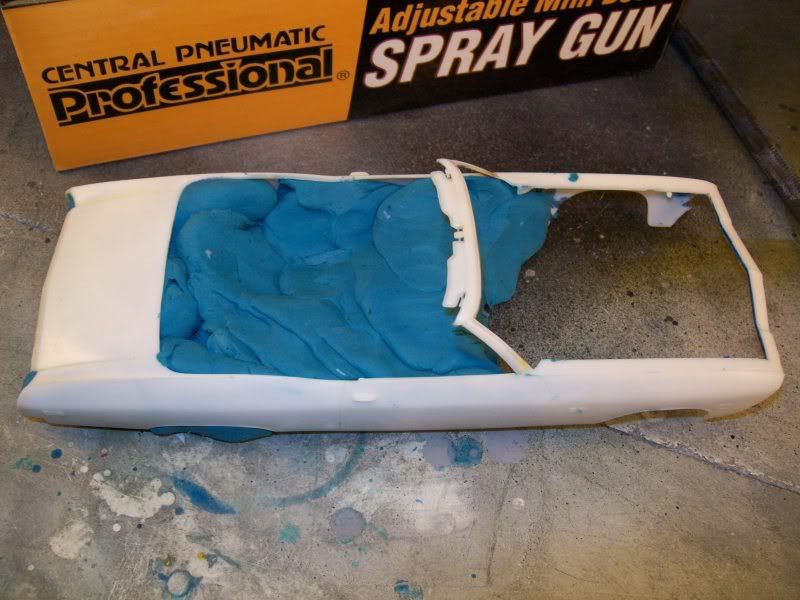 Here is the body partly clayed up. I like to start at the rear of the car. When a convertible is being filled with clay you want to be very cautious of where your fingertips are when you get around the frame area, especially after you have already repaired it a couple of times! When I get up under the frame. I use my index finger of one hand and a pencil eraser end of a pencil or the end of the handle of an exacto knife to carefully press the clay in up to the under edge of the frame. Usually I have the index finger of my left hand in front of the windshield frame as the car is facing left in front of me. I use my finger as a stop and push the clay with the eraser. I add small pieces of clay and then push them into place to force the clay up into the underside of the frame and then build out away from the frame. |
|
|
|
Post by Mastercaster on Jan 11, 2010 10:11:20 GMT -8
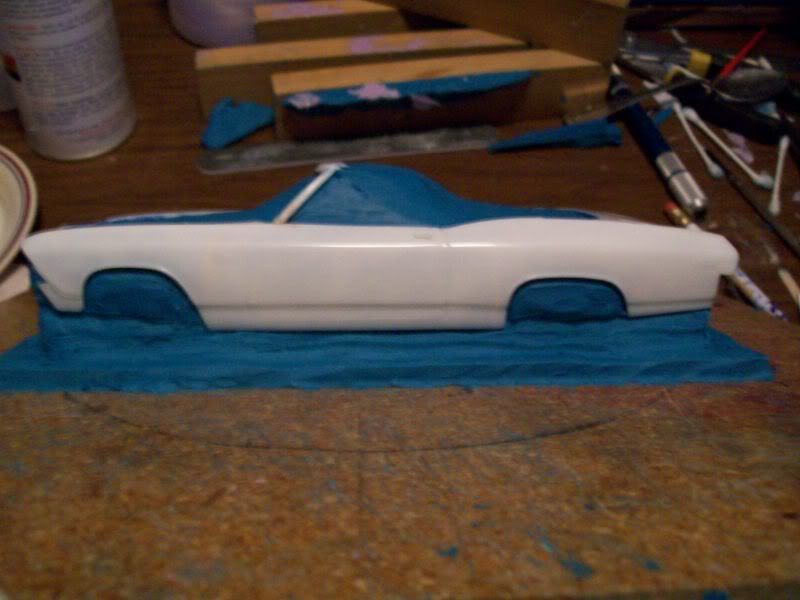 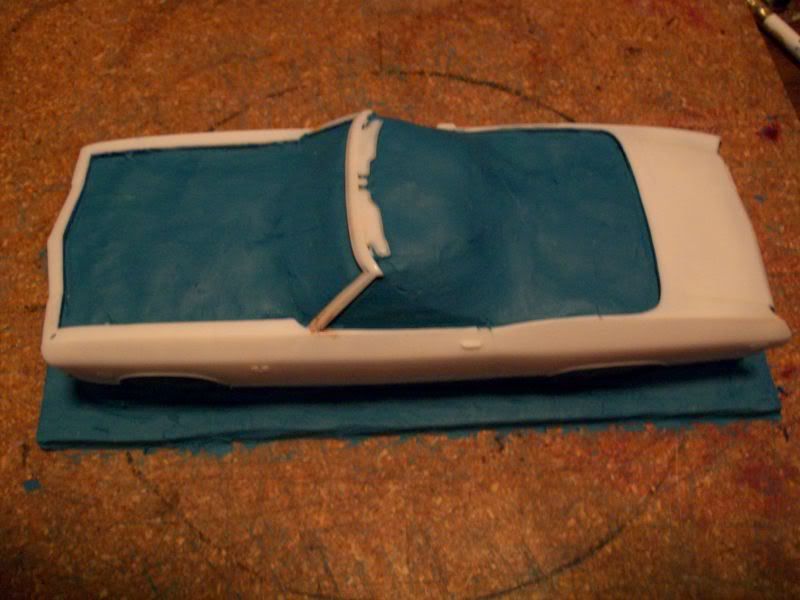 Here are a couple of pics of the body completely clayed up. Once the inside of the body is clayed up another quarter inch thick layer is added to the area that only extends from the center point to the area just inside the edge of the body. I forgot to take a pic of this. Then, this is set on another quarter inch of clay that is extended beyond the exterior of the car by about three eights of an inch. You want to make sure all the edges in the wheel wells, hood area, interior area, windshield area and front and back of the car are exposed to make the parting line behind them. 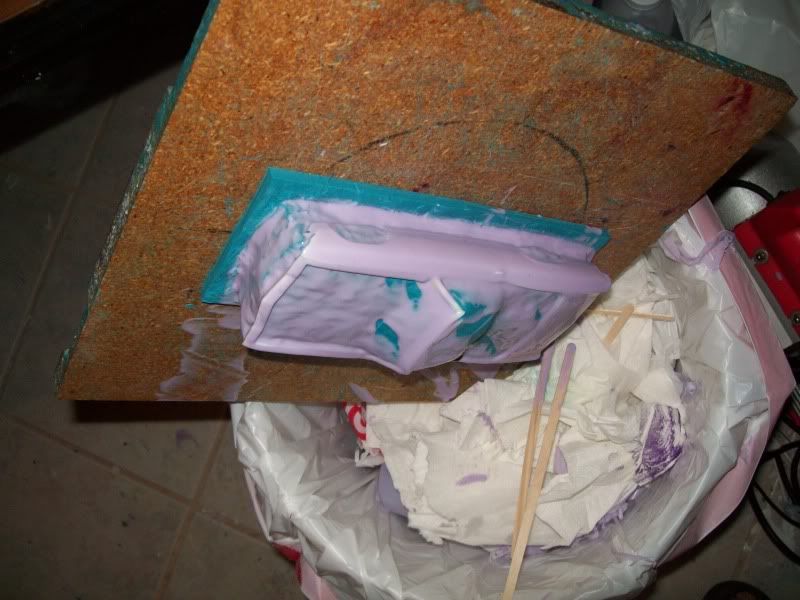 I give it a final going over with a cotton ball to polish out finger prints and inspecting to make sure no clay is left in any detail. Then I mix up a small amount of silicone to give it a light layer. I have had trouble in the past with bubbles getting caught under detail especially corvettes with serious undercuts. Once cured, I can inspect for possible bubbles that did not pop to relieve air. |
|
|
|
Post by tuffone20 on Jan 11, 2010 10:37:05 GMT -8
Greg, that is looking pretty good so far. But hey I'm still waiting to see of photo of those wheels you said you were going to be posting?    ? LOL |
|
|
|
Post by darkrapid on Jan 11, 2010 12:53:27 GMT -8
Greg, that looks great. I can't believe that you threw it out!!!
|
|
|
|
Post by Mastercaster on Jan 11, 2010 23:56:46 GMT -8
That is funny! It is an odd view isn't it?? How's the 67 Firebird convertible promo body shaping up? Will I see it at the meeting, or do you need more time because of other Projects?
|
|
|
|
Post by Mastercaster on Jan 12, 2010 9:08:11 GMT -8
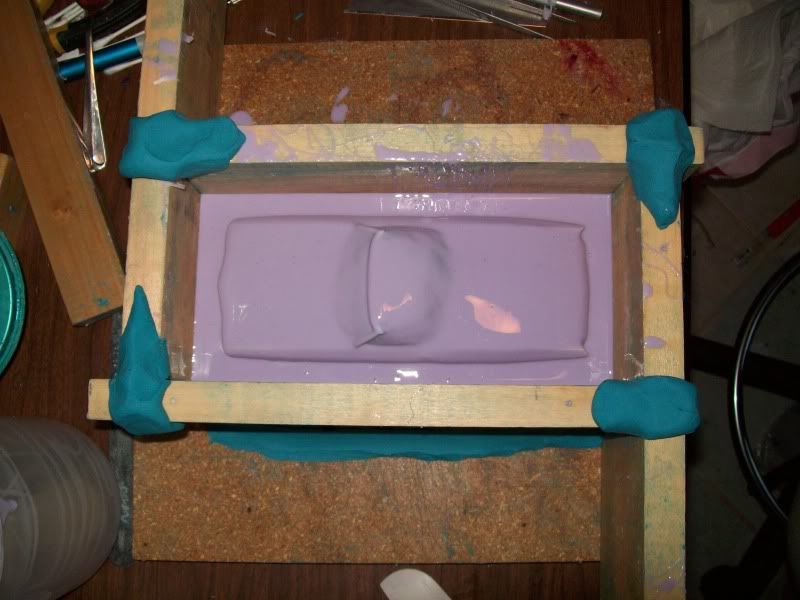 The silicone cured over night. I inspected it and it looked good and bubble free. If you have a bubble form next to a part, every part you make will have a small blob of resin attached to it. I boxed it in and and shored it a bit with some clay. I poured 300 grams of silicone over the body. I will let this set for awhile and make certain it bubbles out really good. Despite vacuuming the silicone three times, bubbles will still form. If you don't have a vacuum chamber, you can make several small batches and they should bubble out on their own over time. |
|
|
|
Post by danschevelle on Jan 12, 2010 22:46:37 GMT -8
Greg, that's looking good! I'm glad that the A pillar was repairable. You mentioned a Beaumont earlier. It's more of a Canadian Pontiac. They typically used a Chevy body and drivetrain, Pontiac interior, and unique grilles, taillights, and trim. Very unusual to see one here in the US, but unique and cool cars. Anyway, glad to help on the parts(it was fun), and keep us posted on the Chevelle's progress- and don't throw it away!!
|
|
|
|
Post by Mastercaster on Jan 13, 2010 9:36:49 GMT -8
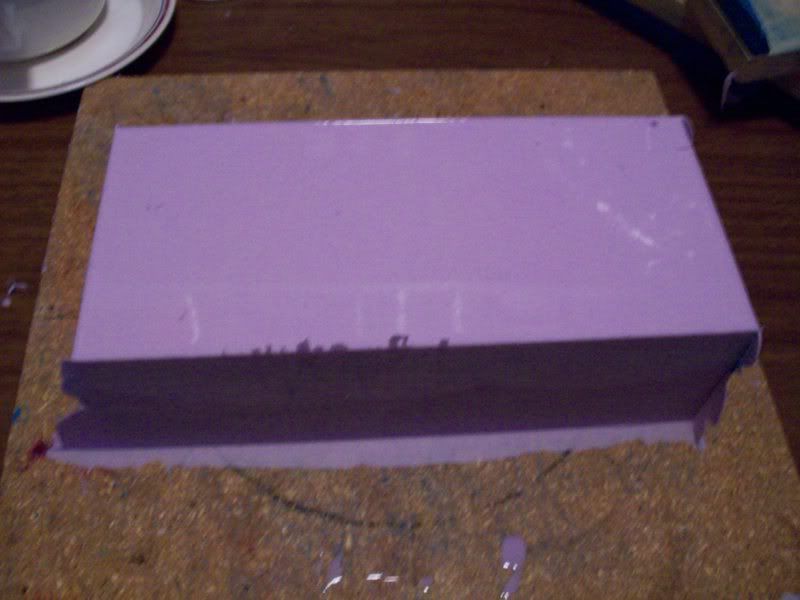 I poured 1100 grams of silicone over this body. Once it is unboxed, I take a knife and trim all the corners off. 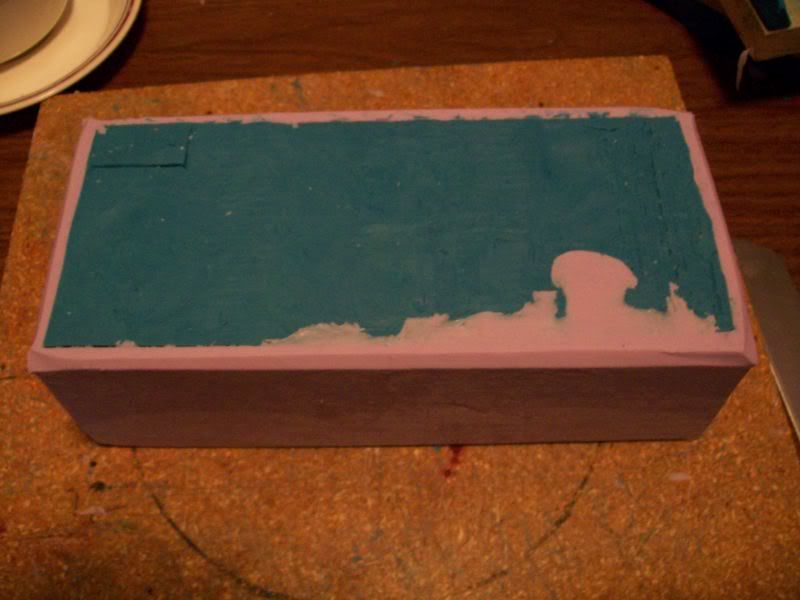 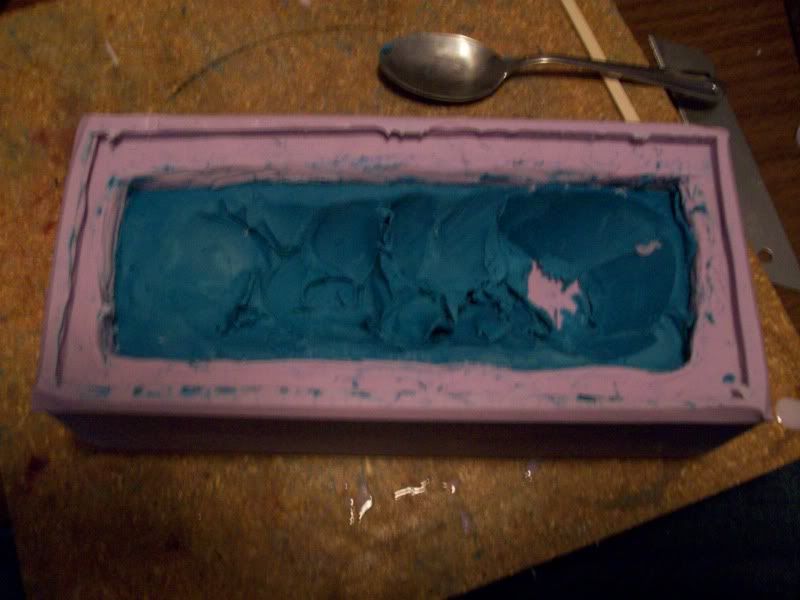 I flip it over and start taking the clay out. Once again, great care must be taken in the clay removal process. Try to not pull the silicone on the side of the body to be pulled from the body. This will allow silicone on the next part to flow behind it. It could still do it anyway. 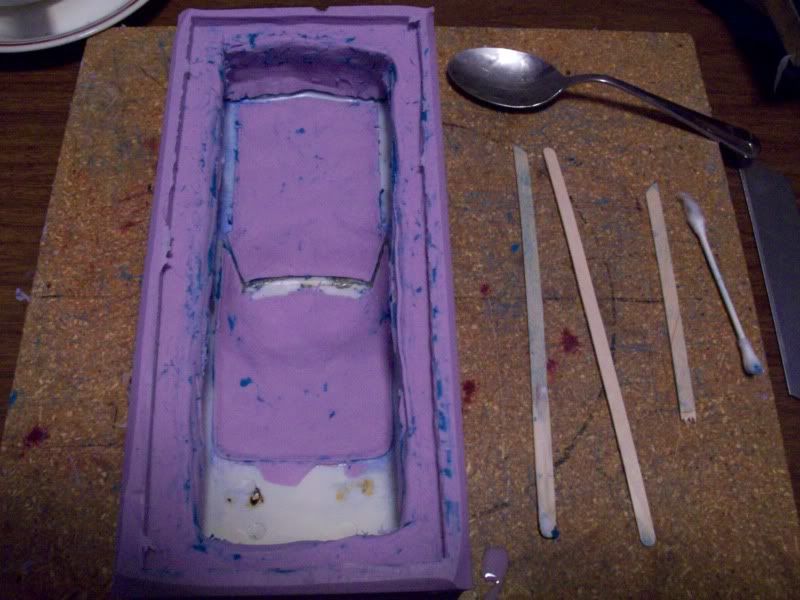 Once all clay is removed. A final clean up is needed. I will remove clay from all areas where I can see it. It's pretty hard to tell here in the pic. I'm starting with a body from a built kit that was taken apart and stripped. There is still glue residue in places that I did not dare touch. 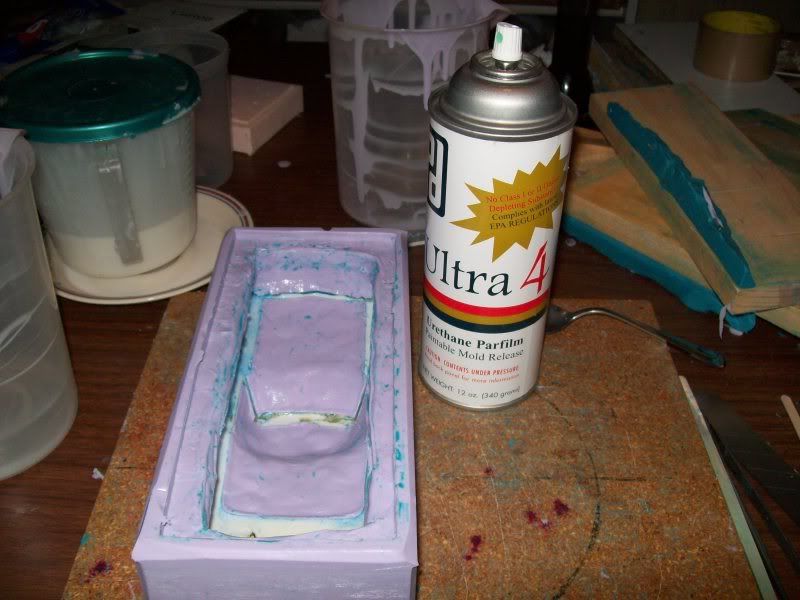 Once all final cleaning is done, a liberal coat of mold release is sprayed on the inside surface and the outside of the mold. 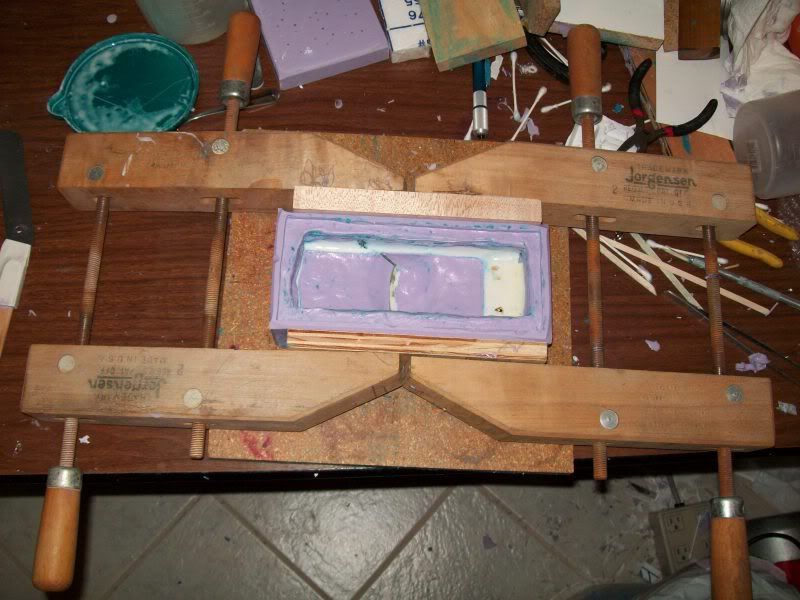 Trying to do the best to be sure that no silicone gets behind the lower part of the body, I put these boards and clamps next to the mold with slight pressure. 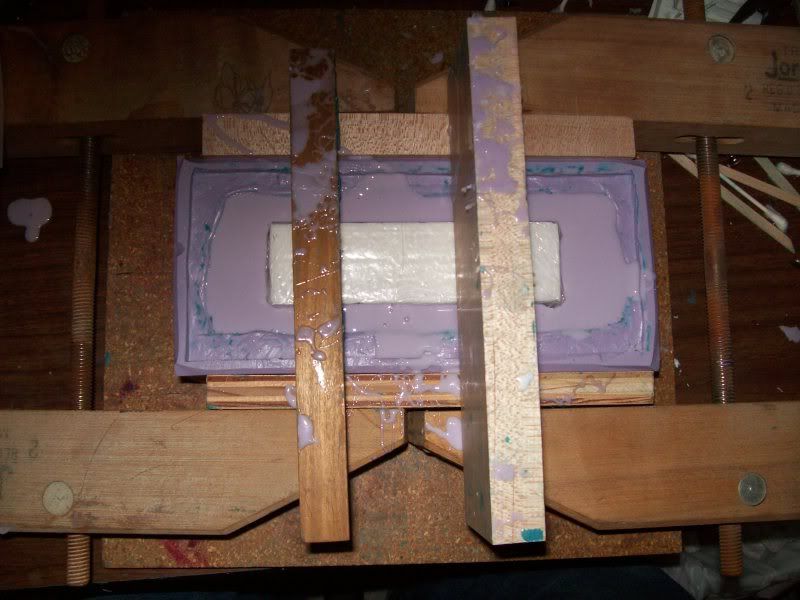 I have poured in 440 grams of silicone and set this piece of styrofoam in. I wrapped it in packing tape to make smooth walls in the void.. This will also be removed easier with it covered in tape, but might still be destroyed. It will be replaced with resin. It is 7/8" thick X 1 1/2" wide X 5 1/4 " long. Again, I do this to be able to collapse the inner part of the mold to help remove a fresh resin body. Also, removing the master body from the new mold is sometimes not easy. In my experience, repairs that have been done or parts that were glued on may break off when being removing. |
|
|
|
Post by Mastercaster on Jan 14, 2010 9:17:33 GMT -8
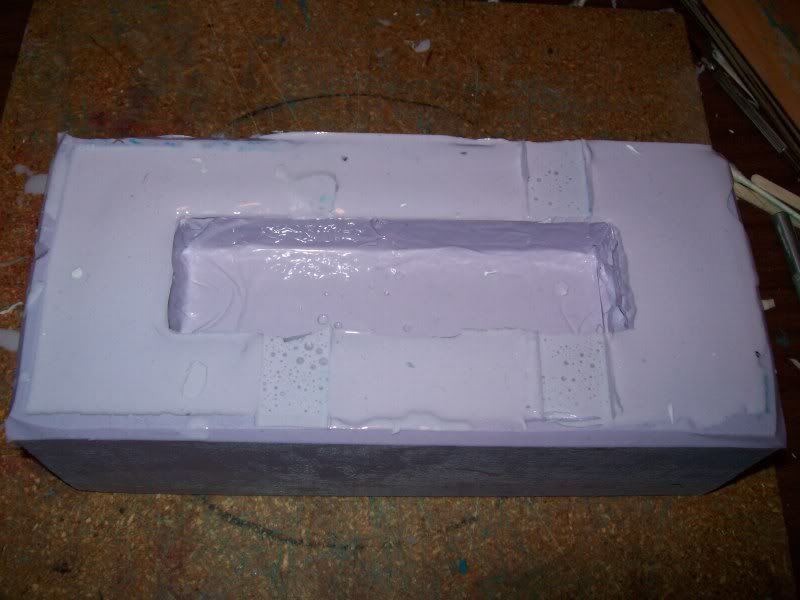 Now the silicone has cured and the boards and styrofoam is removed. 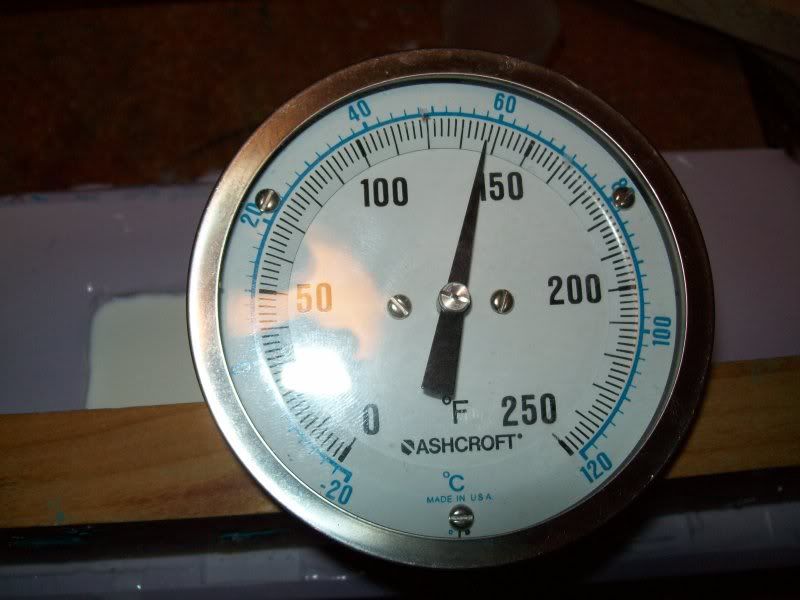 Now I fill up the open spot with resin. I'm not sure how important this step is but I do it anyway. How hot does curing resin get in a big lump. For the heck of it I stuck this thermometer in to see. Looks like 138 degrees, that's pretty warm! 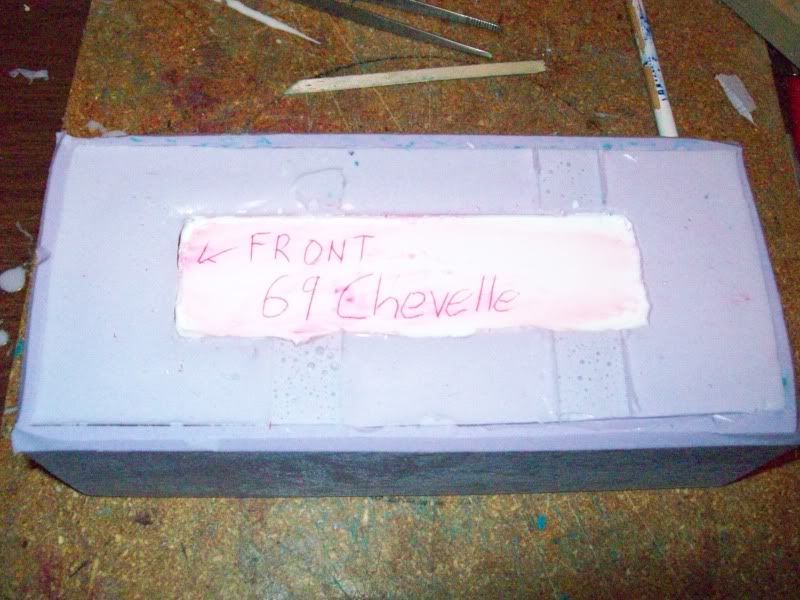 Once the bar cures and cools I crudely scratch what the mold makes and spray it with mold release. 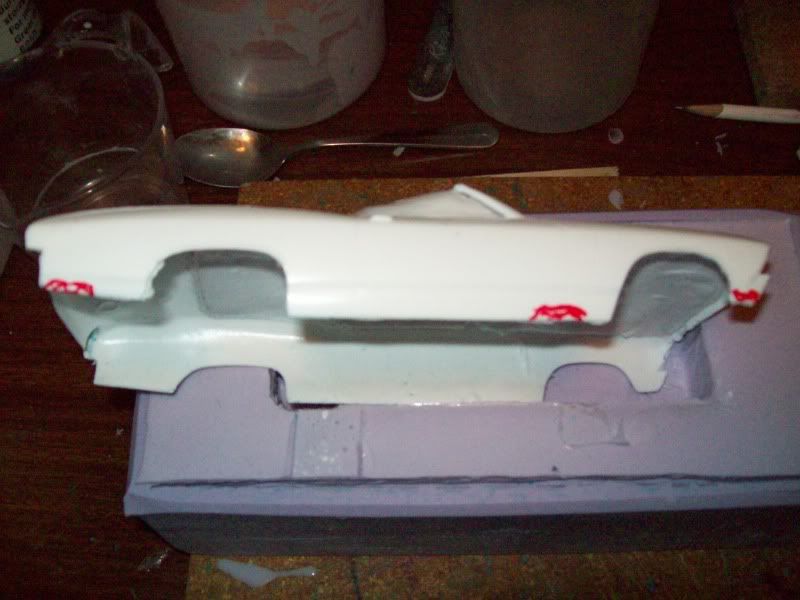 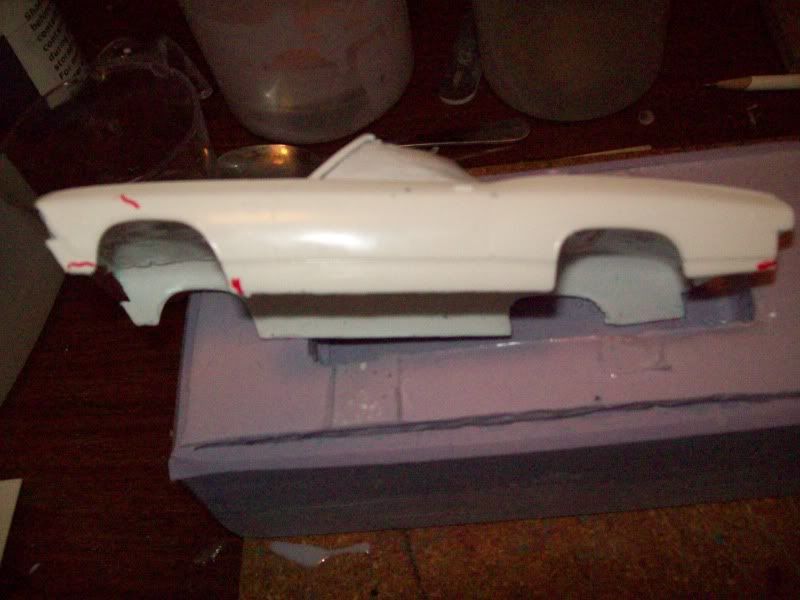 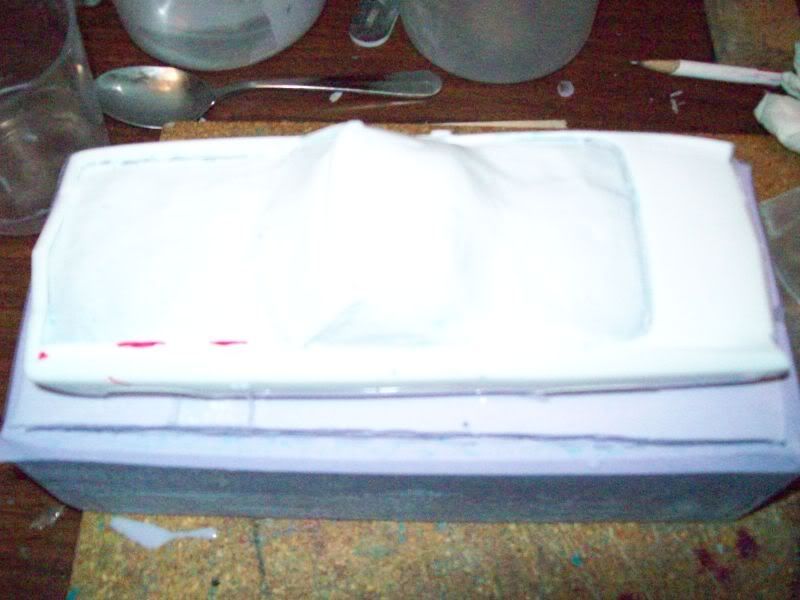 After cutting vent holes in the mold I made one. Even with my best efforts there are problems. Most can be easily cured. The lower passenger side is easy, This is where silicone still got behind the body. You might be able to break it loose with a pencil eraser , your fingernail, a sharpened coffee stirrer. Try to grab it with tweezers that are not pointed on the end. Try not to scratch the mold. The areas on top of the fender on the drivers side: The one in the front is a small bump and the other two are raised areas, these might disappear when the mold relaxes. The one above the Drivers fender well looks like a washboarded mark that too may disappear after relaxing. The three at the lower drivers side are silicone that can be peeled out. Mark the inside of the body number one, remove the problem areas and make another one and compare. You might want to wait 24 hours before trying the mold again. Jeff, the Time Machine resin guy told me that a mold should not be used more than once a day. That's a direction I don't always follow. I already fixed the flaws and am making another. |
|
|
|
Post by Mastercaster on Jan 17, 2010 10:46:01 GMT -8
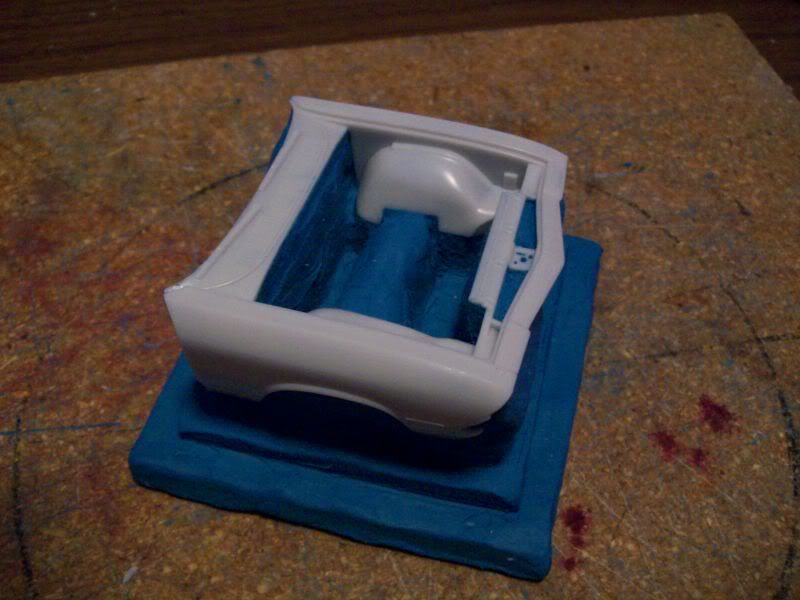 With an attempt to add detail to this Chevelle body, I have the front end of the 68 El Camino body. I am going to resin cast it. If I make a mistake while sanding the parts off to get what I want I can just make a new one and keep the original part intact. 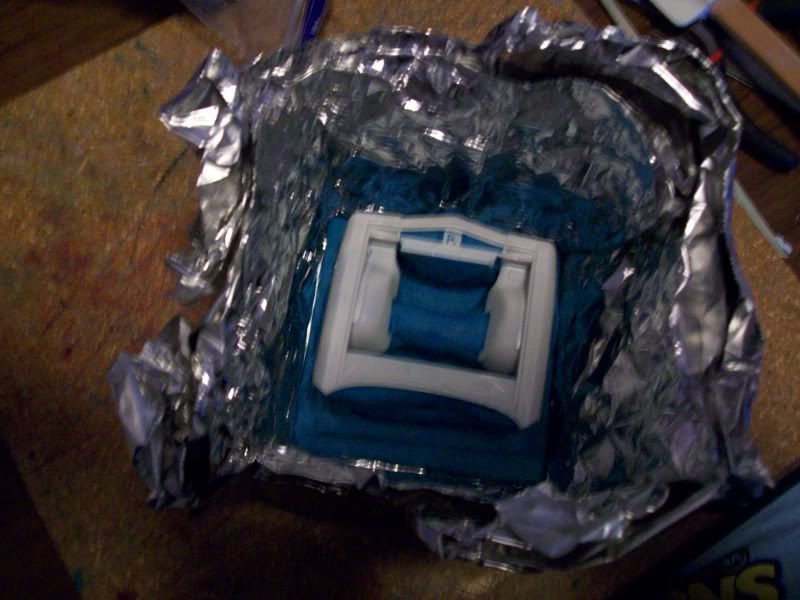 On the way home from the meeting last night I got the idea to make a temporary box out of aluminum foil. I will attempt to pour enough silicone over this part and put it in the vacuum chamber and vacuum it down. Once cured, I would pull the foil off and box it up like I normally would do to make the mold heavier. You could do this in a pressure pot too. I'm pretty sure somebody has already done this. 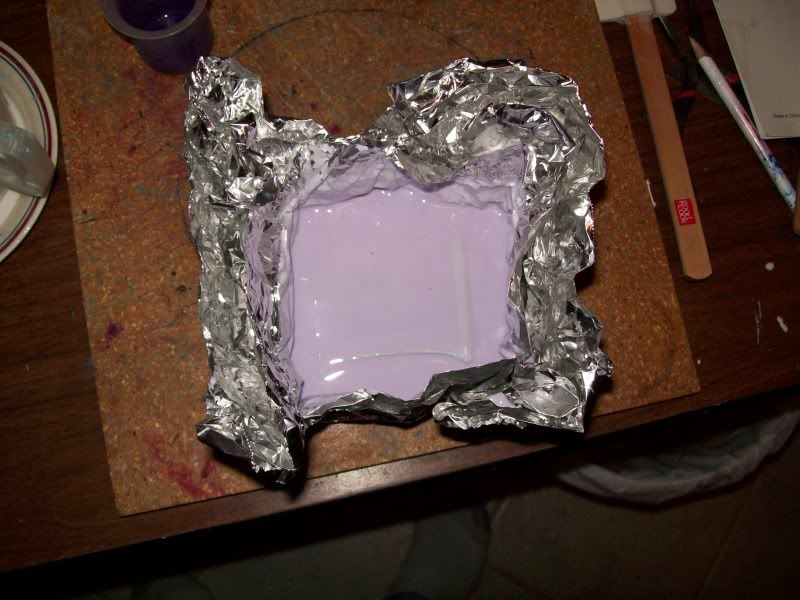 It's been setting awhile, just thought I would post a pick. I don't think getting the foil off is going to be easy though! THAT WAS A HORRIBLE IDEA!! I might try it again if I spray mold release in the foil first. I had to cut the foil off. If I wanted to grind the mold up for filler later, I would not be able to with the foil mixed in. |
|
|
|
Post by tuffone20 on Jan 17, 2010 12:40:18 GMT -8
Looks great Greg!! And BTW way thanks for the wheel they came out great!!
|
|
|
|
Post by Mastercaster on Jan 17, 2010 13:13:38 GMT -8
You're welcome, Marty. You need more?
|
|
|
|
Post by davewilly on Jan 21, 2010 12:18:23 GMT -8
Hey Greg you have to let me know when these will be ready to buy I want one for sure maybe 2!
|
|
|
|
Post by Mastercaster on Jan 24, 2010 15:00:46 GMT -8
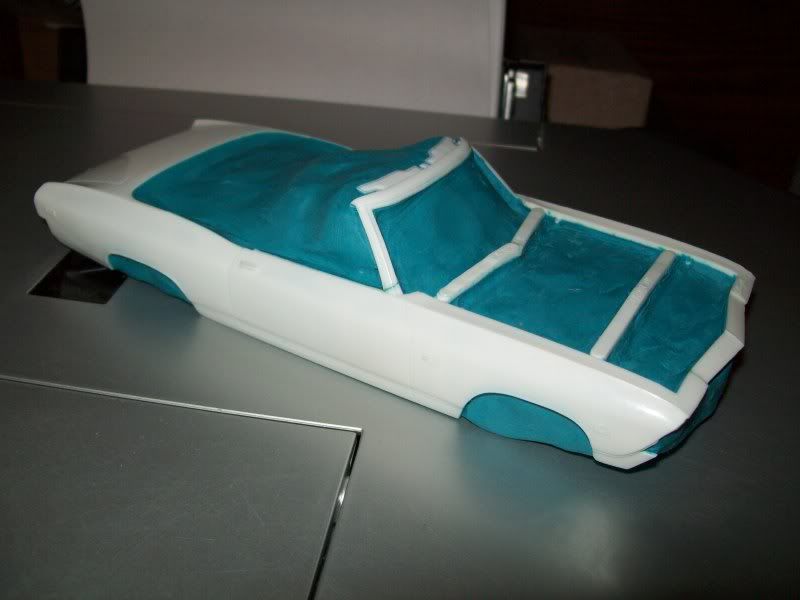 Well.....I got an unbuilt kit from the Spotlight Hobby guy, Tom Carter. And as usual, when a convertible goes through the mail, the frame gets broken! That took awhile to repair. I have a good six hours getting it this far. I also noticed that while I was getting the frame properly positioned that from the cowl to the front the body wanted to be slightly higher on the passenger side so it has just a tiny twist. Even when the body is packed full of clay, it still has a mind of it's own! When I get to the Mannix TV car Toronado Roadster, I'm going to be in trouble! |
|
|
|
Post by Mastercaster on Jan 26, 2010 7:50:03 GMT -8
The second mold produces a much nicer body.
|
|
