|
|
Post by Mastercaster on Jan 8, 2018 21:35:57 GMT -8
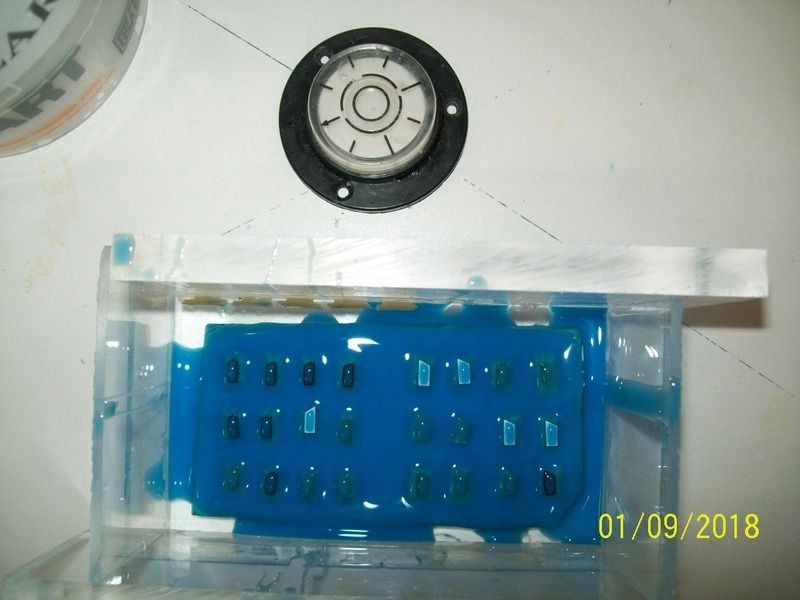 Now that the silicone holding the box together has cured and the excess silicone is removed, a small amount of vacuumed silicone is poured in. Let this set for awhile to get somewhat cured. This will help hold the parts in place when more is poured in to cover the parts and the letters that mark the mold. Use a bulls eye level to make certain your mold is level. 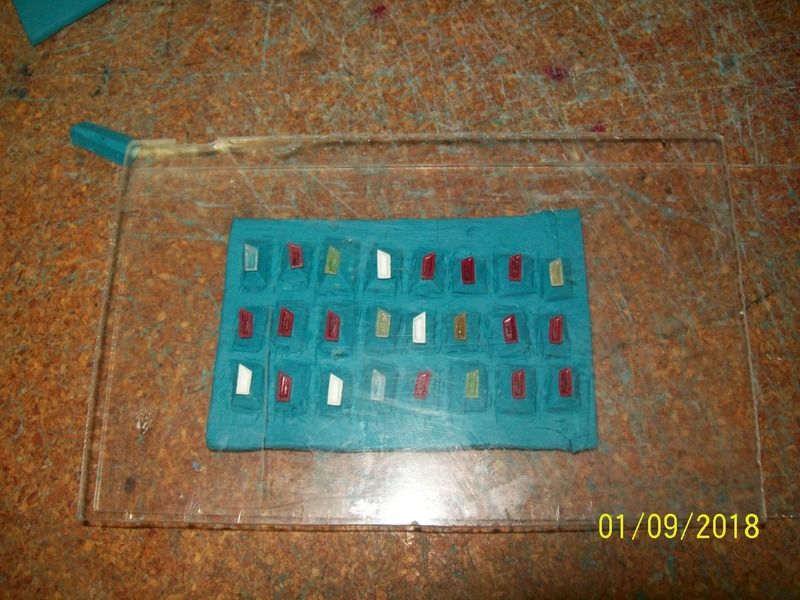 It is hard to see but there is a clear piece of plastic setting on these marker lights. It will help level all the marker lights in this mold. A little push down evenly will help seat them too. 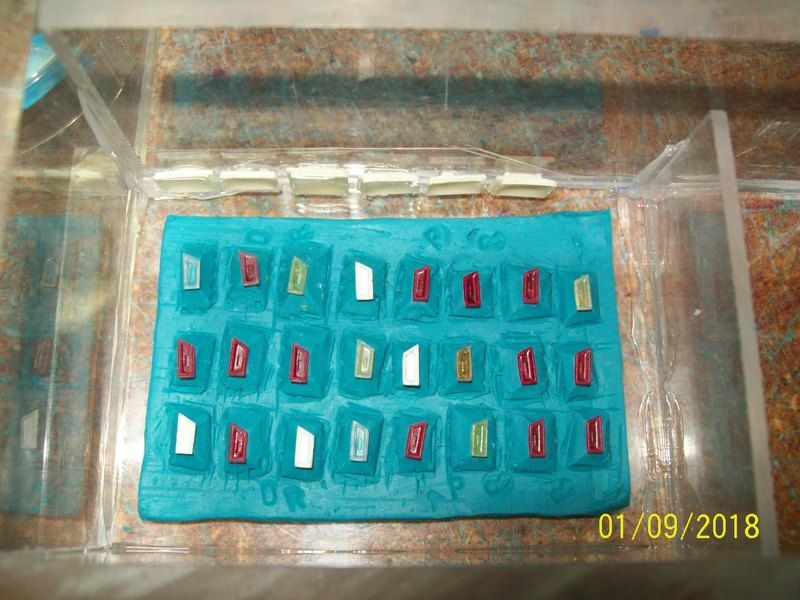 These are the marker lights for the back of the car. I took my metal stamp set and marked them DR and PR so I won't get too confused when removing the new parts from the mold. Tomorrow this one will get silicone and the first one will get the final work and silicone to finish it. More to come. resinmodelcasting.proboards.com/holygrailresins@gmail.com |
|
|
|
Post by Mastercaster on Jan 10, 2018 19:52:53 GMT -8
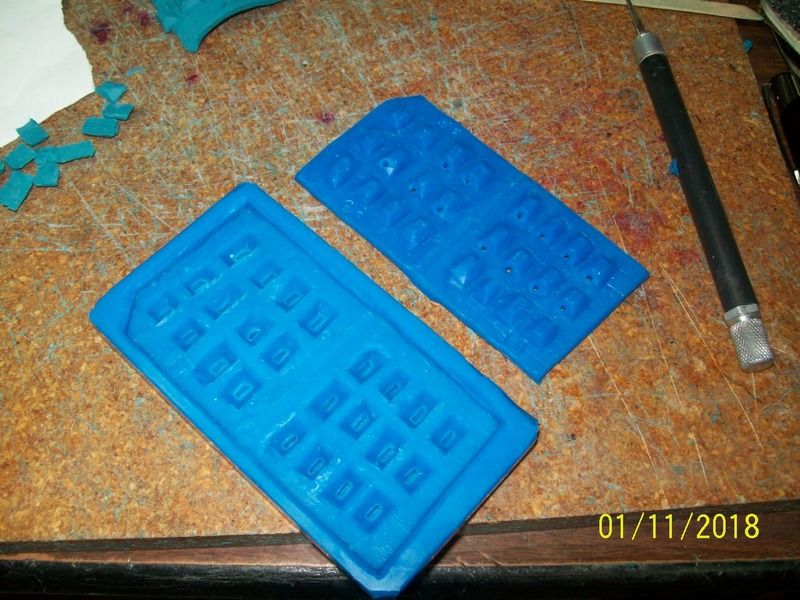 Here is the mold with the master parts removed. I put vents holes in each marker light.  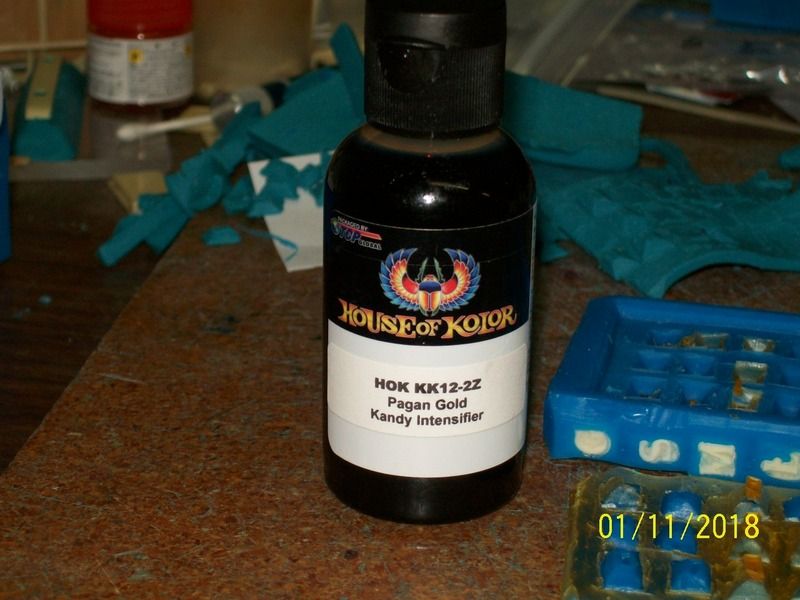 Here is the first set made. I bought a fresh bottle of HOK Pagan Gold Kandy dye to make the parts with. I like this color. I will post these made out of different paints added for comparison. resinmodelcasting.proboards.com/holygrailresins@gmail.com |
|
|
|
Post by Mastercaster on Jan 12, 2018 10:14:23 GMT -8
|
|
|
|
Post by Mastercaster on Jan 15, 2018 21:27:22 GMT -8
|
|
