|
|
Post by Mastercaster on Jan 19, 2012 10:07:45 GMT -8
|
|
|
|
Post by Mastercaster on Jan 20, 2012 8:37:34 GMT -8
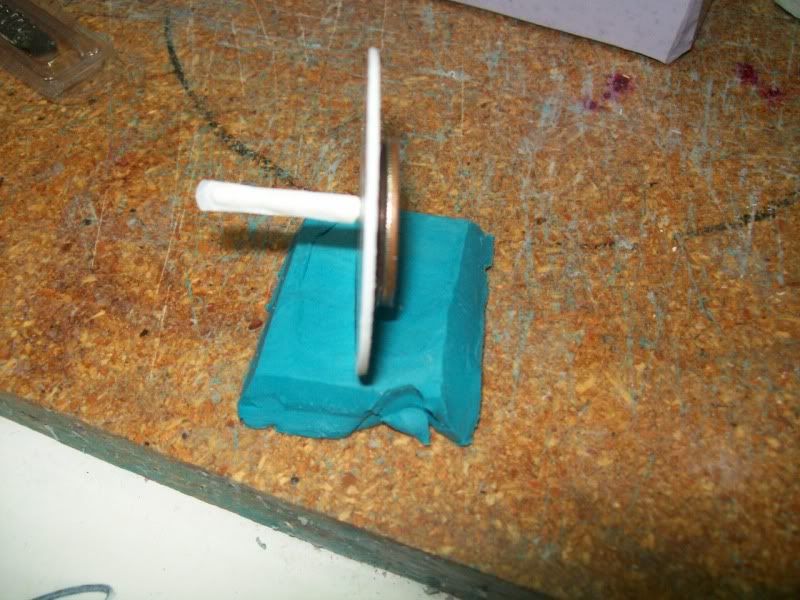 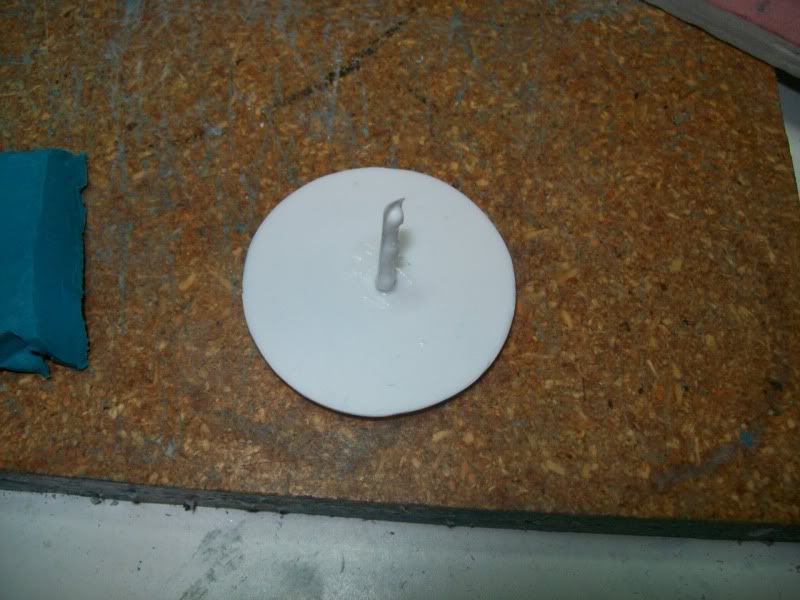 On the way to the lab in the short bus this morning I thought this up. This will be a very important part of making this mold. This was such a great idea, I should get a IQ test.  It is a styrene disc with a piece of sprue glued to one side and two quarters siliconed to the other side. |
|
|
|
Post by FMW on Jan 20, 2012 9:33:55 GMT -8
So it this a brace and stabilizer for the dome to make the exterior mold, or a brace and stabilizer for the inner mold, or both?
FMW
|
|
|
|
Post by johnteresi56 on Jan 20, 2012 10:04:25 GMT -8
Greg......you are a GENUIS !!!!!
|
|
|
|
Post by Mastercaster on Jan 20, 2012 11:19:48 GMT -8
Thanks, John. No, Jan, it is not but you will be amazed and awed when I show you. I didn't think anybody was really going to guess at what it was for. The suspense is just killing you! LOL  |
|
|
|
Post by Mastercaster on Jan 21, 2012 21:02:22 GMT -8
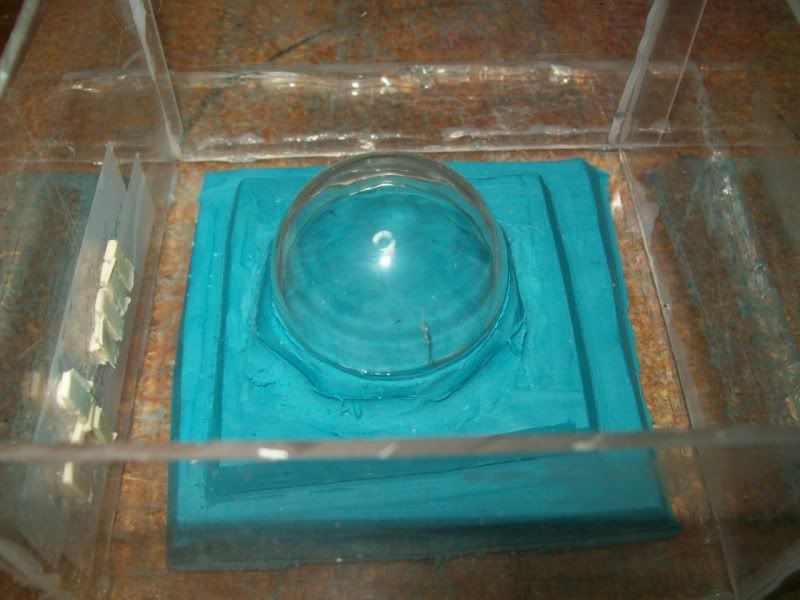 It's been a long day with this part. Sanded, polished, washed, dropped, inspected, polished, dropped again. After I washed it, it became a magnet full of static electricity. All kinds of little things were flying and clinging to it. It was hard to get some kind of inspection done to make certain the imperfections I was seeing were not on the surface on the outside or in but within. The final straw was my taking a cotton ball with alcohol and touching it to the surface by the edge to see what it would do to it. (denatured alcohol) It turned cloudy but a dry cotton ball removed the cloudiness quickly. But when I wiped it down completely this crack formed. I can't feel it with a Q-tip though. I'm going to put some silicone over it to form a skin and let it cure, this may somehow help. If it shows up in a casting. It will need to be painted and polished if it can take it and do the mold again. |
|
|
|
Post by FMW on Jan 21, 2012 21:50:52 GMT -8
If you haven't already done what you were going to do (or if you did and it didn't work), consider this:
1) Shoot the crack with super glue to hold it together.
2) Paint the area with the crack.
3) Polish the paint smooth and make your mold.
The paint will let you see the surface you're trying to fix, and you don't need a clear master to cast a clear part.
FMW
|
|
|
|
Post by Mastercaster on Jan 21, 2012 22:26:25 GMT -8
I poured some silicone over it already. Hopefully it will turn out OK. My only concern is that if a slight line might show up in the resin copies it might be very faint but I don't have enough experience to do that light sanding and polishing on the resin part. I try to be really meticulous about master parts. I don't mind setting for hours sanding and polishing on something I intend to make a copy of especially when it is intended to be clear. It sucks when it all goes to Hell in a hand basket in the last few minutes of the needed prep work. One of those marks on the lower edge finally got filled with a tiny bit of CA glue but was still hard to get the raised surface sanded down and polished out to look good. If I would have felt a Q-tip catch on that crack I would have had to resort to painting it with something and polishing it again.
|
|
|
|
Post by Mastercaster on Jan 22, 2012 11:55:42 GMT -8
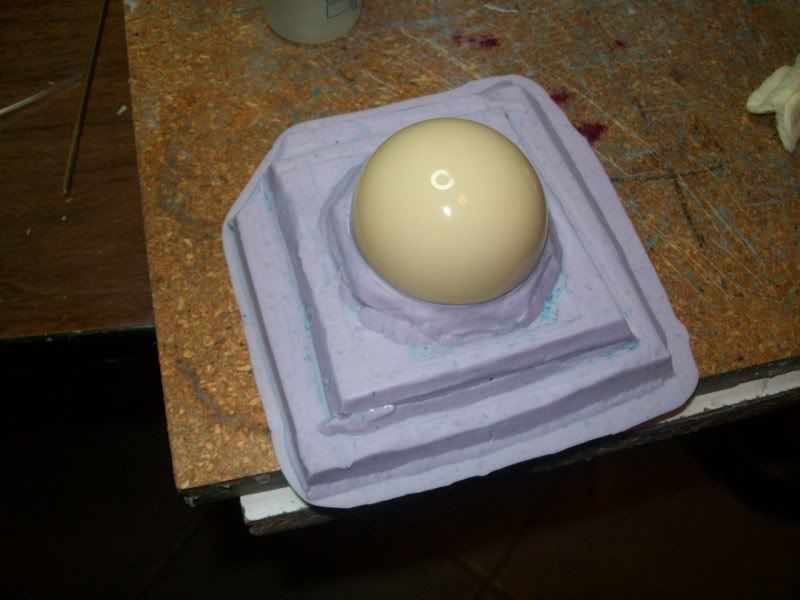
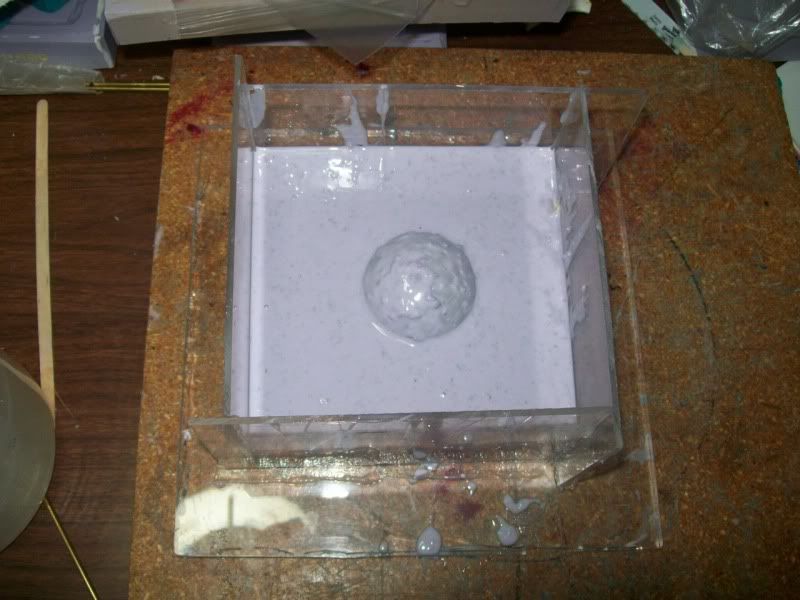 I poured some silicone over this to make a base layer. I just added this large amount of silicone for a pic. Also, I cut a corner off to key it before the big pour. |
|
|
|
Post by Mastercaster on Jan 23, 2012 7:42:09 GMT -8
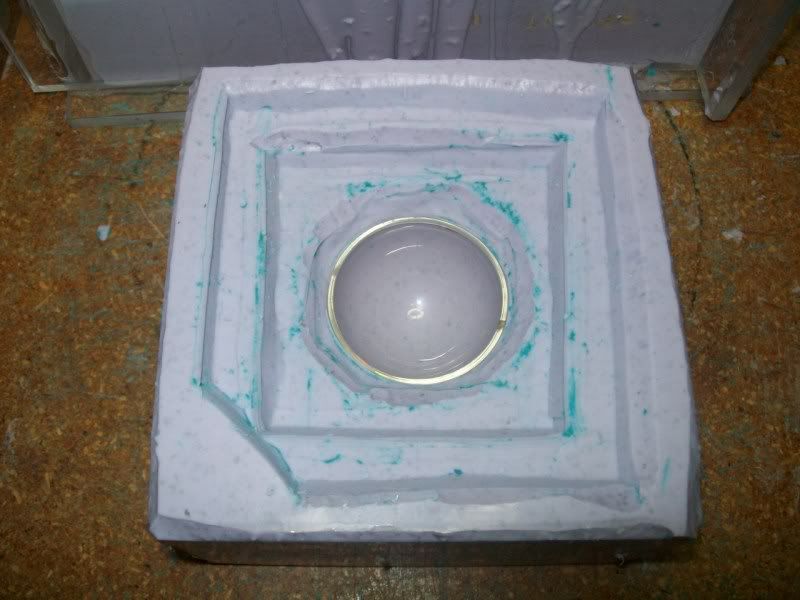 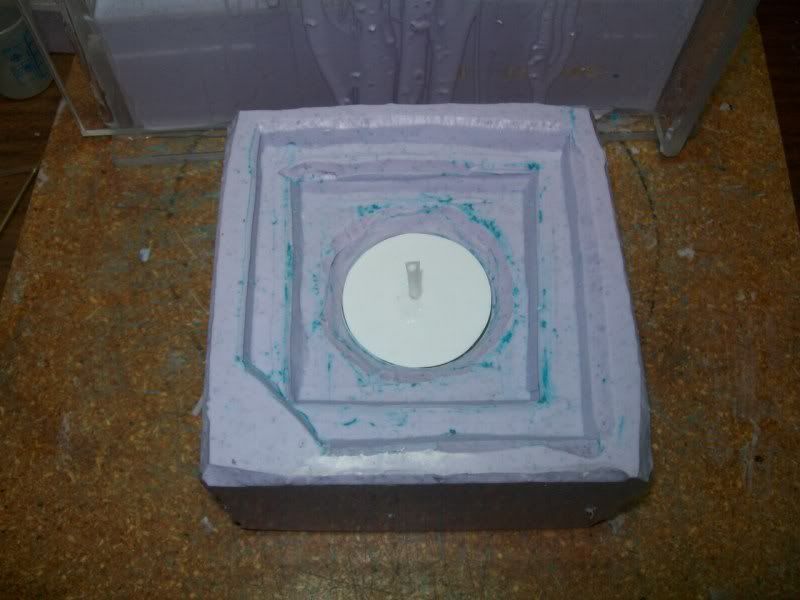 Here is the first half of the mold complete. And here is this funny thing getting used. It is a shield to keep the mold release from getting on the inner surface so I don't have to spend time removing it from the part. |
|
|
|
Post by johnteresi56 on Jan 23, 2012 7:55:49 GMT -8
Turtle soup is looking delicious!!!!!!!.......are you adding any more ingredients to your Turtle soup?
|
|
|
|
Post by Mastercaster on Jan 23, 2012 8:09:17 GMT -8
Only some black transparent paint to give it a smoked look. We will see how that turns out. The mold is finished and upon removing the master there was indeed silicone that seeped into the crack. Now the part that creates the inside surface I got just about all of it off. The part that makes the outside surface is what you see there so it is a bit tight to work in. You have to be really careful of what you are doing. I gently use my fingernail to remove most of it. I poured some of the task 8 resin in , it will cure quickly and let me see what a part in clear will look like. I might just be able to polish this new master down and make another mold. I want the part to be as perfect as I can make it. 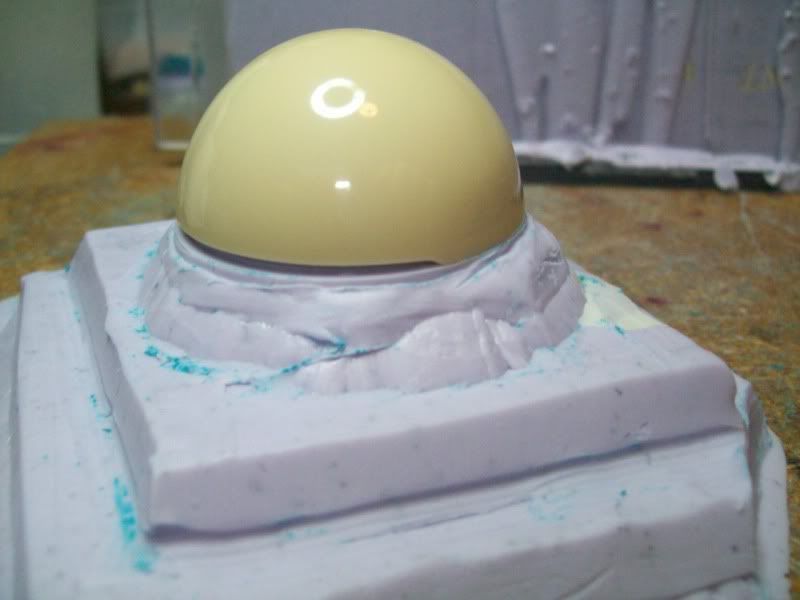 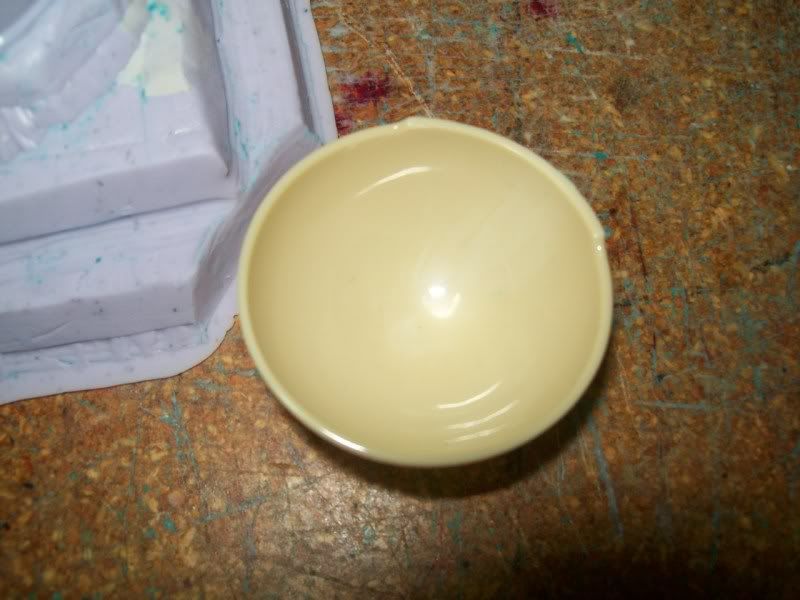 Here is one in task 8. I mixed up 5 ML of resin and missed making a whole part by a hair.. Now I will mix up some more to make a complete part. I see some places that need work so I'm pretty much making a new master. I might even spray it with some paint and see what happens. |
|
|
|
Post by FMW on Jan 23, 2012 11:06:57 GMT -8
The reflection on the surface shows the result of your careful prep work. You can see the socket break on the fluorescent lamp. On a larger picture, you might be able to read the wattage.
FMW
|
|
|
|
Post by Mastercaster on Jan 23, 2012 11:50:09 GMT -8
 After another hour or so of sanding and polishing I have a new master. I guessed pretty good on the amount of resin to make another and yet not have too much flash. If you look carefully you will see the clips holding the round tube in. |
|
|
|
Post by Mastercaster on Jan 27, 2012 9:25:52 GMT -8
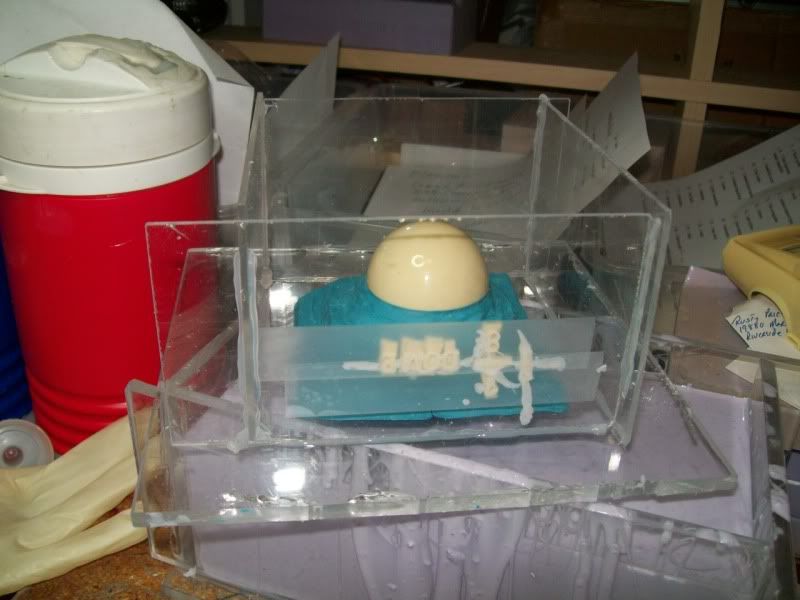 One more time! |
|

