|
|
Post by Mastercaster on Sept 23, 2009 8:28:17 GMT -8
|
|
|
|
Post by Moon Pie on Sept 23, 2009 11:35:21 GMT -8
Will you be selling those?
|
|
|
|
Post by Mastercaster on Sept 23, 2009 12:02:11 GMT -8
Yes, how many would you like? I plan to do the windshield and the hood too. I have molds to many parts of this kit. I have learned much since then. Some other parts may get new molds made.
Keith Marks makes the nicest nose stripe for this body. The kit only came with a red one on the decal sheet. Raymond Gravely has a decal sheet too, it has the Indianapolis Chevy dealer name on it.
|
|
|
|
Post by Mastercaster on Sept 24, 2009 11:39:02 GMT -8
|
|
|
|
Post by darkrapid on Sept 24, 2009 17:06:12 GMT -8
This will be cool. I also like the sillicone locating dimples you put into it. That should help the two have set properly. Do you think they will collect air? I also like the syrofoam block instead of wood for your void. That is a much better set up than the clamps holding my 2x4 that I used.
|
|
|
|
Post by Mastercaster on Sept 24, 2009 18:53:33 GMT -8
Het Raoul,
Those two pieces of wood are just holding the foam block down while curing, otherwise it will float up to the surface. Wood will too.
|
|
|
|
Post by Mastercaster on Sept 26, 2009 11:58:50 GMT -8
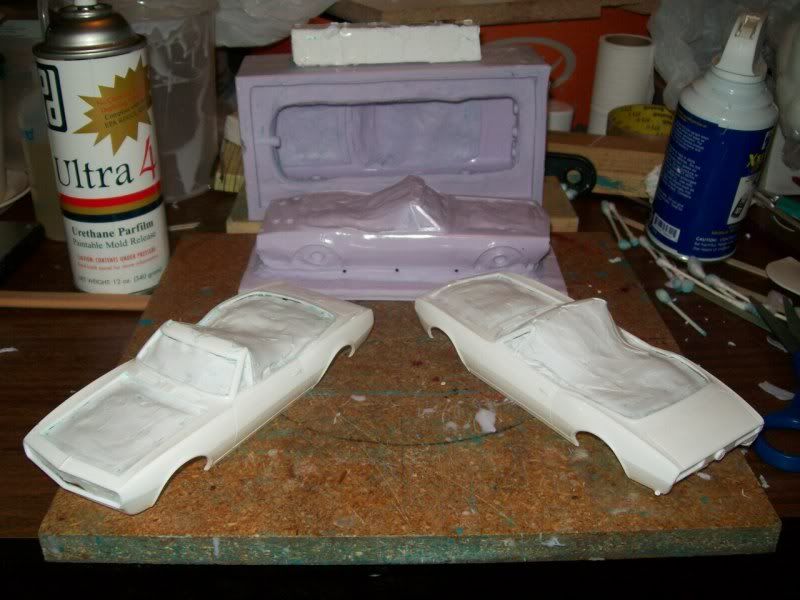 Here is a pic of two bodies, the mold and the resin bar I made to replace the foam one. There are two small defects. Just under the door handle on the passenger side a small air bubble formed and now gets filled with resin. It looks like an easy clean up. The other one is on the drivers side at the very back end and lower edge, it too will be a easy clean up. I had originally polished the body before casting because I intended to make a clear body but with a root beer colored tint. You could almost pass it off as being painted! HMMMMM.....pre polished as opposed to...........WELL, YOU KNOW!! LOL |
|
|
|
Post by darkrapid on Sept 26, 2009 15:55:32 GMT -8
Nice work Greg. You might want to show everyone how you made those air escape holes in your molds. That trick you showed me is bar far the most valuable trick you tought me!!!
|
|
|
|
Post by Moon Pie on Sept 26, 2009 16:22:50 GMT -8
Yes, how many would you like? I plan to do the windshield and the hood too. I have molds to many parts of this kit. I have learned much since then. Some other parts may get new molds made. Keith Marks makes the nicest nose stripe for this body. The kit only came with a red one on the decal sheet. Richard Gravely has a decal sheet too, it has the Indianapolis Chevy dealer name on it. Just one to do the Pace Car with. |
|
|
|
Post by Mastercaster on Sept 26, 2009 17:43:16 GMT -8
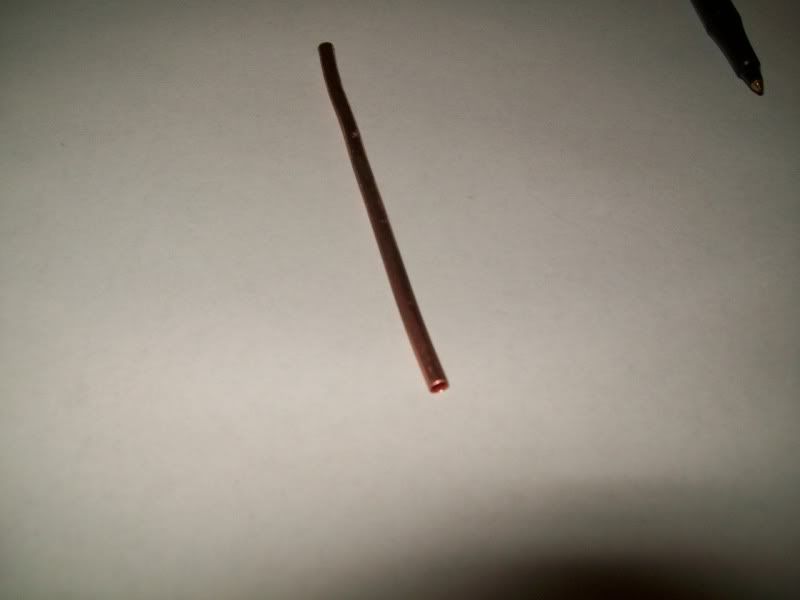 Here it is. It is about 3" inches long. It is small diameter copper tubing. I just took a small round file and sharpened it from the inside and used a sanding stick a little on the outside. When you push it into the silicone, it will cut a nice round core out and makes a nice venting hole. BEWARE, It will do the same thing with your finger too! |
|
|
|
Post by Mastercaster on Sept 26, 2009 18:25:49 GMT -8
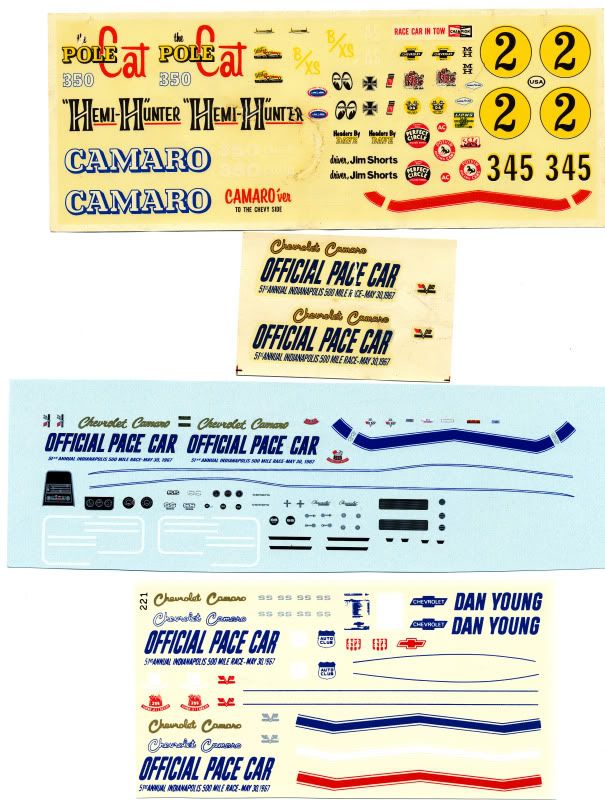 Here is a comparison of decal sheets: the top two are original issue, the next one is a Keith Marks set and the bottom one I got from Raymond Gravely. The white stripes on the Keith Marks set is to do the piping trim on the seat covers. |
|
|
|
Post by darkrapid on Sept 27, 2009 21:27:22 GMT -8
I'm wondering how many we will see in the replica theme this year. I was thinking of finishing mine.
|
|
|
|
Post by Mastercaster on Sept 28, 2009 11:22:08 GMT -8
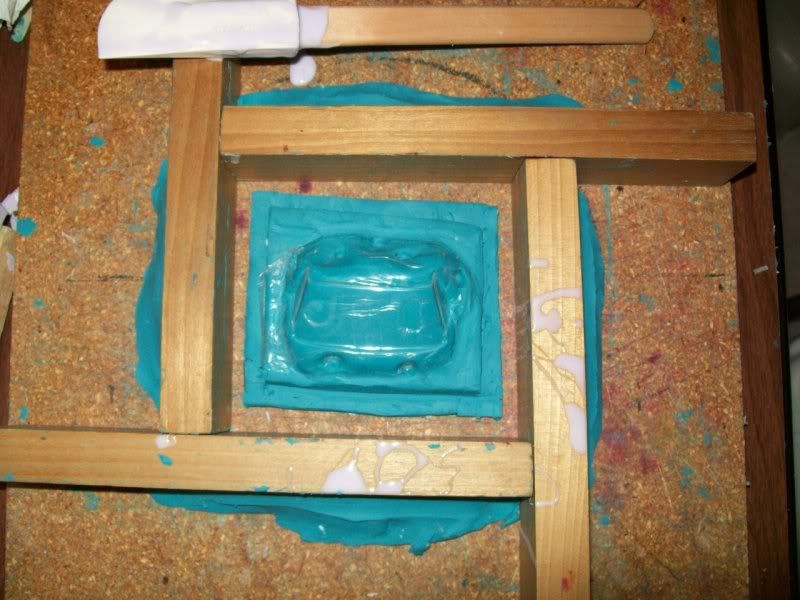 Here is the windshield. I spent about two hours cleaning it up by polishing it up with the Bare Metal Foil plastic polish.. There were some scuffs that polished out pretty quickly, but five scratches that took most of the time. I took two dots of clay and stuck them to the inside of the glass. I then took a small square of a food storage bag and stuck it to them and then clayed it up. I sure hope it works. If the glass gets pulled out like it did on the 57 Chevy project, I don't know what will happen. I really like the BMF polish, it works great on paint too! Greg |
|
|
|
Post by Mastercaster on Sept 28, 2009 11:26:15 GMT -8
Hey Raoul, You don't see these on contest tables very often.
|
|
|
|
Post by Mastercaster on Sept 29, 2009 11:05:59 GMT -8
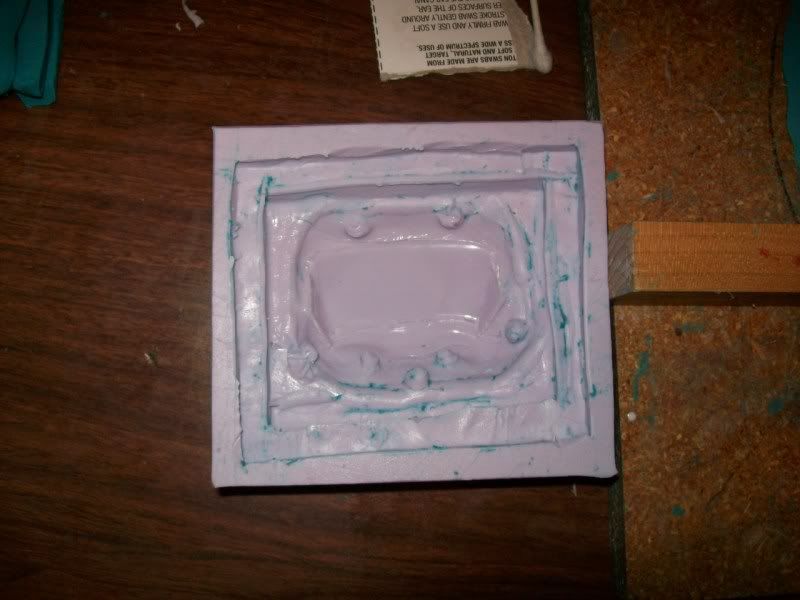 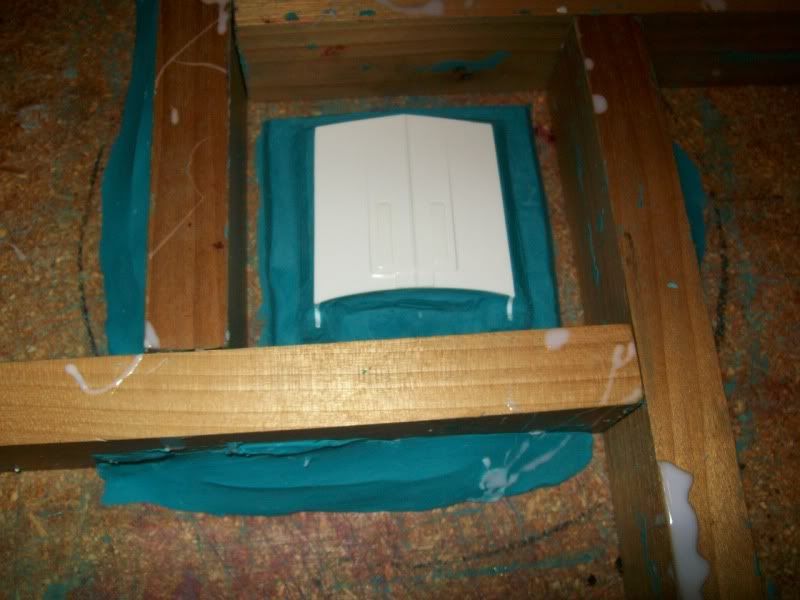 I can only hope the windshield mold turns out OK. After extensive cleaning and more polishing I dropped the mold!! The window did not come out but it might as well have! If you look closely the darker areas are the unseated ones. Silicone will probably find it's way behind the window. If it does I might be able to peel it out as it may not actually stick. I first noticed this happened on the Cosma Ray body at the very lower edge, it also happened on this Camaro body mold too. A very thin layer was cured behind the very lower edge of the body mold. I was amazed that it actually came loose by rubbing my finger over it. There is that difference in body number 1 and body number 2. And here is the hood mold started. This hood has been another disaster from the past. I have probably made a mold of this hood some four times now. After about four copies are made the area that forms the indent around the grilles pulls away and it is no good. I decided to re master the hood into three pieces It was mostly a success except I did not notice until all the work was done that the hood was thicker on one side than the other.. It was a real d**n shame, I put a lot of effort into it and I will try it again. I only wish AMT would have given the hood more consideration for detail.  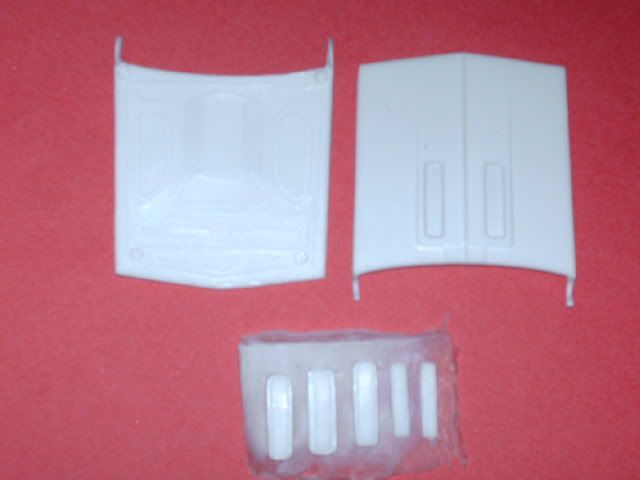 The pics are bad, but you can tell on the top pic where the silicone has been torn away. The bottom pic shows the parts I had previously made . I had to make and cut up several hoods to do this. I had to carefully sand out the grilles by hand with a round and flat file and then cut up another hood to get the grilles out. We will see how my new mold and next attempt goes. |
|
